Showing posts with label dessert. Show all posts

Friday, January 22, 2016

the poverty luxe kitchen vol. 25: merengue cookies.


i believe ive talked about my fondness for hollandaise sauce (yes, yes i have), and let me reiterate: i freaking LOVE hollandaise sauce. i literally named my son benedict because of how much i love hollandaise sauce (benedict, like the eggs. i seriously dont understand how i am allowed to adult). 

the thing about hollandaise sauce though is that it only uses the egg yolks. so what the heck do we do with all those whites? obviously we dont just throw them away (actually once upon a time we had a dog and i would feed them to the dog). what we do is we make merengue cookies. 

merengue cookies are amazing little things: theyre naturally fat and gluten free and taste like lucky charms marshmallows. also, theyre really easy to make, AND (if youre already using the yields for something else) practically free! the only caveat is that you do kind of need an electric mixer of some sort (thank you, my dear kitchenaid) and they take kind of a long time to bake (for cookies). but still. theyre awesome. 

merengue cookies. 
(makes 1 cookie sheet full, approximately 30-35 1.5 inch cookies)

heres what you need: 
3 egg whites, at room temperature (this is very, VERY important!)
1/4 tsp cream of tartar
1 cup sugar
1 tsp vanilla extract

heres what you do: 

combine the egg whites, cream of tartar, and vanilla in a large bowl (or bowl of your stand mixer), and beat at a high speed until foamy. 

slowly ad in sugar and continue to beat until stiff, glossy peaks form. 

gently transfer merengue into a gallon ziplock bag and cut a small hole in one corner. 

pipe small (1.5 inch in diameter) dots onto a foil lined baking sheet. 

bake at 300 degrees for 45 minutes, or until completely dry. 

let cool completely before removing from baking sheet.

store in an airtight container for up to a week. 

that was easy, wasnt it? whats your favorite easy dessert to make? 


post signature

Friday, January 8, 2016

the poverty luxe kitchen vol. 23: flourless peanut butter cookies.


every now and then theres a recipe thats just EVERYWHERE on the internet claiming to be the best thing ever. like, remember those "banana pancakes"? those had their moment right when i got my celiac diagnoses, so i tried them out and the were awful. i tried them again and again and eventually came to the conclusion that there is just no way to make eggs and bananas not disgusting. obviously since then I've been a little wary about internet food trends for some time, especially the minimal ingredient ones. 

BUT then i kept seeing these "flourless peanut butter cookies" or "three ingredient cookies" on pinterest and food blogs. at first i brushed them off as something not worth trying, until, of course, i REALLY needed some cookies (breastfeeding has a habit of doing that to a lady) and we were almost out out of gluten free flour. so i gave them a shot and... they were totally legit cookies. like, better than the peanut butter cookies i made from a normal recipe with the the gluten free flour i love (yes i do buy it in five pound bags, but sprouts has it a bit cheaper than that). the first batch i made got a little burnt but i figured out that was actually because of my terrible cookie pan, so i tried again and the second batch was PERFECT. 

now were making these a lot more often than id like to admit...

flourless peanut butter cookies. 
(makes 12-16 cookies)

heres what you need: 

1 cup peanut butter (creamy or chunky, this does NOT work with "natural" type peanut butters)
1 cup sugar
1 egg
1 tsp vanilla extract

heres what you do: 

preheat oven to 350 degrees. 

blend peanut butter and sugar together until completely blended (i use my kitchenaid but a hand mixer will work also). 

add egg and vanilla and continue to blend, scraping bowl occasionally to ensure the dough is completely mixed.

scoop golf-ball sized balls of dough onto a foil-lined cookie sheet, and press down with a fork to make a "criss cross" pattern. 

bake for approximately 10 minutes, until edges start to brown. 

let cookies cool completely before removing from cookie sheet. 

so yeah, theres an internet fad recipe that totally works. like, i bring these to potlucks and not-gluten free people love them. 

have you had any luck with internet fad recipes? id love to hear your stories in the comments! 

post signature


Wednesday, August 26, 2015

gluten free mango ginger cupcakes (guest post by stacie at housewifes whimsy)

hey everyone! stacie from Housewife’s Whimsy is back with another guest post, this time with a recipe for gluten free mango ginger cupcakes. as if a cupcake recipe wasnt awesome enough, shes here today with one thats not only gluten free, but with a totally unique flavor AND a mascarpone icing, are you excited? cause i am. lets let stacie take over so we can get to the actual recipe:


A fresh fruit base is a departure from my typical cupcake recipes. I personally love anything and everything chocolate but I really wanted to embrace the flavors of a California summer for this cupcake. So thanks to Poverty Luxe for inspiring me to bring these bright flavors to North Iowa! The mango and ginger flavor combo may not be the first thing you think of, but you will definitely fall in love once you try it.
If you’ve ever made gluten free cupcake recipes before you know that they can tend to be on the dry crumbly side. I’ve been able to change and refine this recipe over time so it is now perfect! I have a fabulous chocolate version on my blog to complement this vanilla based version.  The texture of the cake is just as good as any “regular” cupcake you might eat. It is light and fluffy without any hint of dryness. By using both xanthan gum and cream of tartar you get the best cupcake texture possible.
This recipe uses fresh fruit throughout the entire recipe. It also has the added benefit of no refined sugars in either the cake or icing. Because of this, the cupcake is not overly sweet. It has a hint of sweetness due to the honey, but mostly it relies on the mango and ginger flavors to shine through. The mascarpone provides the perfect vehicle for the bright summery California flavor combination. The hint of lemon added to the ginger syrup really creates a complex flavor blend throughout the entire cupcake.
I typically use piping bags and tips when I ice my cupcakes. This gives them the professional look and feel that really impresses those eating your cakes. If you’re not familiar with how to do this, I have a short tutorial over on my blog that walks you through how to get that bakery look. If you’re short on time though you can ice these cupcakes with a spatula or offset knife. I chose not to garnish these since I felt they were far too pretty with the clean lines, but you could feel free to finish the tops with a chunk of mango or candied ginger if you wish.
Gluten Free Mango-Ginger Cupcakes
For the Cakes:
1 Cup Gluten Free Flour
½ Cup Raw Honey
¼ Cup Salted Butter
¼ Cup Extra Virgin Olive Oil
4 Eggs
½ Teaspoon Vanilla Extract
1 Teaspoon Xanthan Gum
1 Teaspoon Cream of Tarter
½ Cup Mango Puree
½ Teaspoon Ground Ginger
¼ Cup Milk
For the Icing:
½ Cup Mango Puree
¼ Cup Chopped Fresh Ginger Root
½ Cup Water
1 Tablespoon Raw Honey
Splash of Fresh Lemon
16oz Mascarpone
2 Tablespoons Arrowroot Starch/Corn Starch
To make the cakes:
Preheat the oven to 350 and grease a twelve cup muffin tin or line it with paper liners.
In the bowl of a stand mixer combine the honey, butter, olive oil and eggs on high until well mixed and free of lumps.
Add the mango puree, vanilla extract and ground ginger. Stir until mixed.
Once the mixture is well combined stir in the xanthan gum, cream of tartar and gluten free flour. Beat on high until slightly elastic and the xanthan gum has been activated.
Add the milk and slowly mix until incorporated.
Using a ¼ cup measuring cup spoon the prepared batter into the lined muffin tin.
Bake for 18-20 minutes or until a toothpick inserted into the center of the cupcakes comes out clean. Let cool completely before icing the cupcakes.
To make the icing:
Place the fresh ginger, water, honey and spritz of fresh lemon in a small saucepan over medium heat. Let boil until reduced by half. Strain and let cool before moving on.
In a small bowl place the mascarpone, mango puree, ginger syrup and arrowroot starch. Use a spatula to stir until all the ingredients are well combined, adding additional arrowroot starch if the mixture is too runny.
Spoon the finished icing into a piping bag fitted with an icing tip if using. Pipe the icing onto the cooled cupcakes and enjoy!

Stacie LaMoore has been blogging at Housewife’s Whimsy since November 2014. Her blog contains a variety of topics including Gluten Free recipes, natural body and home ideas, and most importantly, cupcakes. She lives in northern Iowa with her husband, dog and cat where there isn’t much to do other than bake and watch the corn grow. She loves reading, kayaking and everything related to baking.  She’s very excited to have this chance to share a little of her life with you!


post signature

Monday, August 3, 2015

the poverty luxe kitchen vol. 19: homemade whipped cream


remember that thing about how i was bringing back old recipes from the dark ages of poverty luxe? well ive a good one for you today: homemade whipped cream. 

funny story time: when james and i first got married and i was FINALLY the household grown up in charge of buying groceries, one of my first executive decisions was to buy a can (or two, because it was almost always on sale buy one get one free) of whipped cream every single week because i was an adult, ok? obviously this didnt exactly last long as i realized that 1. even the "good" canned whipped cream is filled with gross chemicaley ingredients, 2. its super expensive and for the $5 i was spending on a topping i could buy the ingredients for an entire dinner, and 3. whipped cream really isnt that healthy and eating it (and whatever dessert it was on top of) every day was making me kind of fat. so the whipped cream habit kind of stopped, until my birthday came around and james got me the kitchenaid mixer that was the only thing on my wedding registry that i actually wanted and nobody got for us (that maybe i only asked him to buy for me every single day up until then). then it was homemade whipped cream all the time. ok well not all the time because heavy whipping cream is like, super expensive all the time and never goes on sale. 

but recently we started shopping mostly at costco than the regular grocery store (ill probably talk more about that later), and i found something particularly exciting in the dairy department: an entire quart of heavy whipping cream for $3.99. which means that now we have an option for whipped cream thats not only not chock full of chemicals and propellants, but also totally affordable (each batch costs just a tad over $1)! so now were back to homemade whipped cream all the time (also im nursing and not exactly rational in my dietary choices right now). 

a couple things though before we get into the recipe: 1. i make this in my kitchenaid stand mixer and its super easy, however, if you dont have one, you can also make it in a bowl with a hand mixer and that totally works too. 2. it is of the utmost importance that your tools AND your cream are thoroughly chilled before whipping (meaning, no you can not use those cute little 8 oz juice boxes of cream they sell at trader joes right when you get hime from the store) or you will end up with really weird butter (that actually isnt that bad on really sweet things like pancakes but since youre trying to make whipped cream its just disappointing). 

now with that out of the way, lets get to the recipe. 

whipped cream. 
(serves approximately 4 as a topping)

heres what you need: 

1 cup heavy whipping cream (chilled)
3 tablespoons powdered sugar
1/2 teaspoon vanilla extract (i highly recommend the bourbon vanilla from trader joes)

heres what you do: 

chill your mixing bowl and whisk (or beaters if youre using a hand mixer) in the freezer for at least ten minutes. 

next, combine all three ingredients and whip on your mixers highest setting, watching closely and stopping immediately once it looks like whipped cream (approximately 2-3 minutes).

serve immediately, you can not save this for later. 

our favorite way to eat this whipped cream is on top of fresh fruit (especially during the summer), but, obviously, homemade whipped cream is an excellent addition to basically any dessert recipe. 

question: im currently working on some big, exciting content changes starting in september, and i want to know what kind of recipes YOU want to see here in the poverty luxe kitchen? more dinners? desserts? snacks? let me know in the comments!

post signature

Wednesday, October 8, 2014

alices vintage star wars party.


on sunday, alice turned three. so obviously we threw her a party. on saturday. because saturday is a little more convenient and (also obviously) we wanted to spend sunday at disneyland and thats just how we roll. 

so yeah, birthday party. 

this year it was a little tricky to pick a theme, seeing as alice IS old enough to have interests and preferences (as in, now she has tons of friends and likes to play outside so the party HAD to be at a park), but shes NOT old enough to understand the gravity of picking a birthday party theme. wed ask her about all the different things she likes, "do you want a princess party? a my little pony party? an alice in wonderland party? a dr who party? a dinosaur party? a harry potter party?" and the answer was always "yes". 

so james and i agreed on star wars (disclaimer, alice DOES love star wars, and science fiction/fantasy in general), but since star wars is a pretty standard party theme (and i refuse to acknowledge the existence of prequel films), we went with a vintage star wars theme. 

because it was at the park (and we had QUITE an extensive guest list) we kept things simple with just treats and a piñata. i got a plain cake from costco, made pretzel lightsabers (which, by the way, is incredibly difficult without a microwave), and my brother just so happened to have a nice selection of actual vintage star wars toys to use for table decor:


oh, and there was the very, very important, not at all negotiable even though it was way expensive custom death star piñata: 


(sidenote: continuing last years tradition of birthday dress fiascos, i accidentally made alices dress WAY too big and had i had to make serious alterations the morning of the party, but thankfully no one noticed)

honestly since the majority of the kids at the party were preschool age, i was NOT expecting the party to last very long, but a friend brought some pool noodle lightsabers to share, and all the kids spent a good half hour playing contently with them:


 and totally ditching the party to go play on the playground:


but dont worry, everybody came back when we started painting cookies:


cookie painting was my moms idea, i had already bought these (also embarrassingly expensive) cookie cutters for the party: 


and with just a few jars of icing and a pack of paintbrushes, they were instantly transformed from just a snack into a super fun activity that all of the kids LOVED. seriously, my mom knows whats up: if youre having a party with lots of kids, cookie painting will always be a hit (thanks mom!). 

obviously since we had cookies, we were also going to need some milk to go with them. and whats a star wars party without BANTHA MILK!!!!


(pause for the like three people who know what im talking about appreciate what i just said)

after cookies and milk it was time to smash that piñata: 


sing happy birthday:


(btw, alice was SUCH a good sport about pretending to blow out the candles like six times so i could get a nice picture. i like her.)

and opening presents:


overall, this was a MUCH mellower party than last year (even though there WAS a similar jamess work fiasco for the two weeks prior to the party AND it was way too hot), despite the fact that there were about five times as many kids, which was totally awesome. and i dont think any of us could have been happier with how it turned out. 

especially alice, and thats what really matters. 

Thursday, May 8, 2014

gluten free chocolate chip banana bread recipe. (guest post by jessica of jess loves this life).

(hello again! its still school week, and i dont have a new post for you, however my dear friend jessica is here to show you how to make some gluten free banana bread!)

Hey there! I'm Jess and I blog over at Jess Loves This Life. I'm so excited to be back here on Poverty Luxe again to share some yummy eats with you all! In case you missed my first guest post, you can check it out here! Today I'll be sharing the tastiest gluten free banana bread ever!


I'm going to be honest, I had never made this bread before this post and I was a little nervous it might be a flop. I also had never A) made any type of gluten free bread before, just cakes and cookies and such and B) was way too impatient to follow a lengthy bread recipe step by step so I kind of winged it a little. I tend to do this quite a bit with many recipes. Usually it works out, but there are times where my stuff ends up being fed to my pup...there are also times where even he doesn't want my reject foods. We've all been there I'm sure. Anyway, this little bread making adventure was definitely a success, and I'm sure you'll love it once you try it for yourself! I decided I'd make this bread with whatever I already had on hand instead of buying anything I might only use for this one recipe (which also happens all too often), and I'm really glad I did that because truly, this bread is awesome and can quickly be whipped up at any moment!


Here's what you'll need:
-3 ripe bananas
-1 egg
-1/2 tsp pure vanilla extract
-3 tbsp grape seed oil (or melted coconut oil)
-1/4 cup cane sugar
-1/4 cup brown sugar
-3 tsp baking powder
-1/2 tsp cinnamon
-a pinch of sea salt
-3/4 cup pf milk
-1 1/4 cup of gluten free flour (I personally do not recommend using rice flour for this, it'll throw the flavor off as rice flour is usually a bit overpowering in baked goods)
-1 1/4 cup of gluten free oats
...I also snuck in a small handful of dark chocolate chips! SO good! 

Here's what to do:
1. Preheat your oven to 350 & line a loaf pan with parchment paper
2. Mash up your bananas in a large bowl and slowly add the rest of the ingredients, stirring your mixture between each ingredient. I added them in the order they're listed in, but any way works. Add your mixture into your lined loaf pan
3. Bake for 1 hour
4. Let cool completely before you cut it, other wise your bread will crumble.
5. Enjoy with a large cup of coffee!!

You can store your leftovers in a sealed container for a few days...if it makes it that long without it getting eaten that is!

Thanks so much Victoria, for having me on here again! Don't forget to come say hello all around the internet!


Friday, November 22, 2013

pumpkin spice merengue cookie recipe.

note: this recipe was originally posted on xoxo rebecca, but i thought id share it with you guys just in case anyone missed it.

hello everyone, hope youre having a great week! today im going to show you how to make merengue cookies. 

but first, a little background: in the meyers house, we eat a lot of hollandaise sauce. its probably my favorite thing ever and who doesnt love a dinner that involves an entire stick of butter? but the problem with hollandaise sauce is it requires three egg yolks, leaving you with three egg whites to try and not let go to waste. 

merengue cookies are FANTASTIC. why? because not only do they conveniently use up three otherwise wasted egg whites and some other ingredients im sure you already have in your pantry, theyre also gluten free and pretty healthy as far as cookies are concerned. also, theyre delicious. also also, its super easy to customize the flavor to your liking. 

since fall baking season is in full swing, i thought id give the basic merengue recipe a holiday spin by making these pumpkin spice merengue cookies:                                             


pumpkin spice merengue cookies:

ingredients:
3 egg whites, room temperature
1/4 teaspoon cream of tartar
1 cup white sugar
1/2 teaspoon vanilla extract
1/4 teaspoon pumpkin pie spice

start by preheating your oven to 300 degrees and lining a cookie sheet with foil or parchment paper (this is VERY important because the merengue is VERY sticky). next beat the egg whites  until theyre foamy (note: this is a VERY helpful time to own a kitchenaid), add the cream of tartar and beat until soft peaks form. now turn your mixer to its highest setting and add the sugar VERY SLOWLY (a tablespoon or two at a time), and beat until stiff peaks form. lastly beat in the vanilla and pumpkin pie spice (or whatever flavorings you prefer, just remember to keep it light because the merengues dont have much flavor of their own and whatever you add will be REALLY strong). youll know youre done when the merengue is stiff and white and glossy. next carefully spoon your finished merengue into a gallon bag with the corner clipped off (or a pastry bag with a large round tip if youre fancy), and pipe small (less than two inch) dots of merengue onto your lined baking sheet. bake for approximately two hours until the outsides start to crack, and let them cool completely before removing them from the cookie sheet (trust me, they wont come off).

and thats it! hope you like it! also, please, PLEASE let me know if you try out any exciting new flavors in your merengues!


Thursday, September 5, 2013

our third anniversary.


just in case this is your first time here (in that case, welcome!), and you havent noticed that ive mentioned it about a thousand times, yesterday was jamess and my third wedding anniversary (you can read more about our wedding here). this anniversary was absolutely, by far my favorite ever, because well, our first two were kind of weird: the first one i was eight months pregnant and the second was during a totally crazy transitional phase. but this third one, it was everything a girl could ever ask for. 

first off, james was home so the three of us had a picnic lunch at the beach. 
second, we actually exchanged gifts. i know gift giving is one of those couple things that is supposed to be totally normal, but for some reason, we really suck at it. both of us. somehow we really pulled it together though. 

 last week james treated me to a surprise haircut, and i totally thought that was it, but he also wanted me to have something to open on our anniversary when i gave him his gift, so he got me a hello kitty case for my 3ds. im sure to any mature adult this sounds like a totally weird and silly gift, but 1: i saved up a lot of money for my special animal crossing 3ds xl and its always either left out somewhere or jammed in my purse, and 2: ive got games and chargers and such lost all over the house, so this was really sweet and thoughtful. 

now my gift for james almost didnt happen, i had wanted to get him a pair of rainbow flip flops for months, because he only has the one pair he got on our honeymoon that are too big and falling apart and really terrible and he REALLY needs some nice, grown up flip flops (when you live at the beach, "nice flip flops" is a thing. trust me). the only problem is that theyre pretty expensive and weve been super broke all year and since im barely employed these days i didnt know if i was going to be able to make it happen. for a while it was looking like i wasnt. well i taught private knitting lessons all summer and at the last minute was able to scrape up the money i needed to get them (on sale with free shipping to boot!!!), plus a super rad card from julie ann art:


and third, james took me out for literally the best dinner ive ever had. we went to aliottas via firenze in torrance:


which i found kind of by accident when i was searching yelp for restaurants with gluten free options (because one of these days wahoos, in n out, and sushi are going to get old), and i found that this place not only has a huge gluten free menu if things i actually want to eat, but also has separate gluten free equipment for celiacs!!! literally EVERY single part of the meal was fantastic. i wasnt going to bore you with blurry, poorly lit food pictures, but hey, this is my blog and i really feel like gushing about this food. 

 i got a pasta with clams and white wine sauce:


and james got a seared ahi steak with veggies:


both of which were SO good that we not only demolished them, but also scraped up every last drop of sauce with a spoon, completely throwing away all etiquette so that we could savor every last morsel of deliciousness, it was that good. and not only was it a wonderful meal, for the first time ever since being diagnosed with celiac, i got to order something totally normal (and not weird hippy crap) at a nice restaurant and enjoy it without worrying about getting sick. 

and then there was dessert. normally i dont get dessert when we go out because usually the only thing i can have is ice cream and i am not paying $8 for one serving of ice cream, but this place happened to have my very favorite, creme brulee:


and this was heavenly. im really glad james got a cannoli and i didnt have to share, because i literally almost started crying over how good this creme brulee was. it was perfect, with exactly the right ratio of crust to custard and i swear there were like nine vanilla beans in it. 

i seriously cant even get over how perfect this anniversary was.

thank you aliottas for actually caring about people with celiac getting to enjoy your lovely restaurant, we will definitely be back. 

and thank you james, for taking me out and treating me like a princess, happy anniversary!

p.s. stay tuned for tomorrow, because ive got a GIVEAWAY coming!!!

Sunday, September 1, 2013

sunday sweets. more chocolate chip cookies.

happy sunday! is everyone having a good holiday weekend? im going to keep this short, because its sunday and im still recovering from school week and im about to slip into a deep food coma, but i just HAVE to tell you about these cookies i just made:


these were on sale at vons for $2.50, which during school week, when all diet and budget sensibilities go out the window, is a totally acceptable price for no-reason-in-particular junk food. well, its been way too hot for baking all week but i made mac and cheese with roasted broccoli for dinner and the apartment was already an oven, so i finally got around to making them tonight. 

and holy moly these are some seriously legit gluten free cookies:


i mean, its not like ive tried all that many gluten free cookies, but these are BY FAR the best ive had so far. theyre fluffy and chewy and delicious and dont have a powdery gluten free aftertaste! these cookies are, as alice has taken to calling everything lately, wonderful. 

and thats all that i have to say about that. i can hear my bed calling me and weve got a fun day off planned for tomorrow, so ill see you next time. 

stay tuned because this week im going to show you our wedding pictures!!!

Monday, August 26, 2013

sunday sweets. another pumpkin pie and a family dinner.

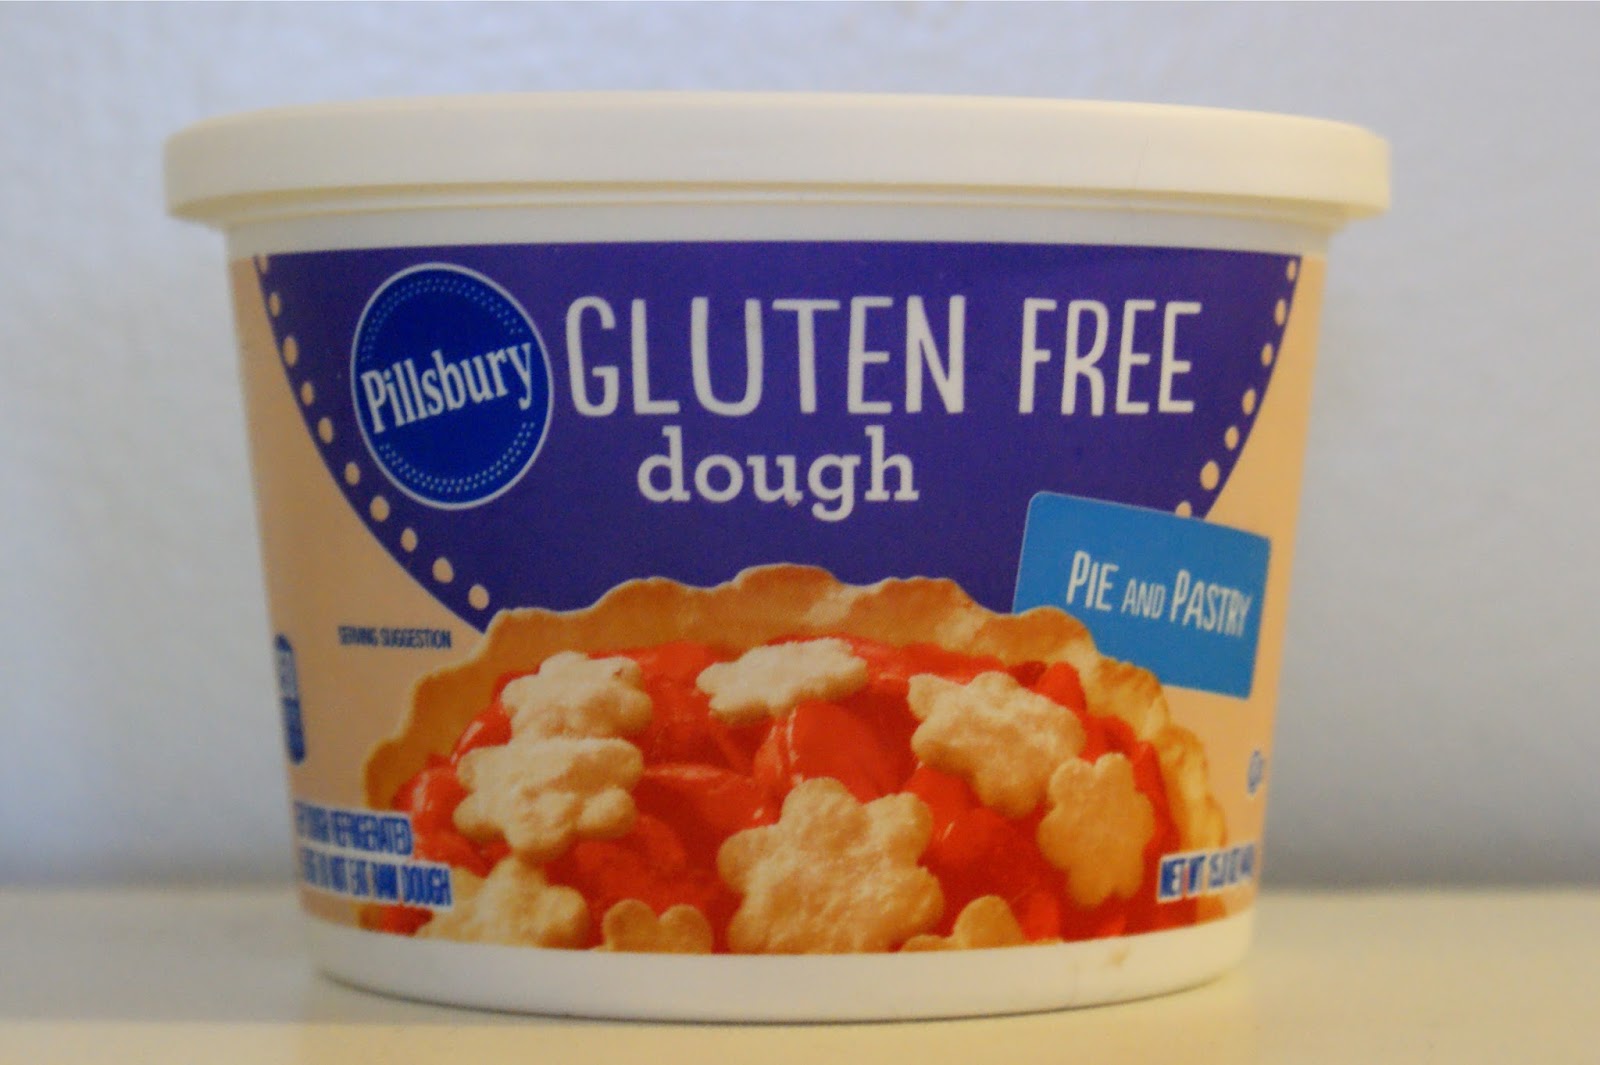
yes, i know that im posting this a little late. i also realize that ive already made a pumpkin pie, but i really wanted to try out this dough my mom found at the 99 cent store:


and we already had all the other ingredients for pumpkin pie, so earlier this week i penciled in pumpkin pie as our sunday dessert. then on friday my mom invited us over for a family dinner sunday night, and requested that i bring "a dessert that involves whipped cream". so our sunday pie became a family dinner party pie with homemade whipped cream. and it was awesome. 

because my mom made amazing homemade chili and potatoes:


and alice got to play outside while everyone else ate (shes doing this thing where she wont eat anything except church donuts on sundays):


and we got to hang out with not only my immediate family, but also my grandma, aunt, cousins, and some family friends. outside, eating chili, in the summertime, because, you know, chili is totally a normal summer picnic food:


after everyone was done with dinner i whipped the cream (recipe here) and it was time for dessert (p.s. a pint of whipping cream is only $2.04 at target as opposed to $3.79 at the grocery store, just fyi):


which in addition to my pie and whipped cream also included a delicious gluten-free coffee cake that my grandma made. 

so about the pie, for the filling i used the same recipe as last time, but used the pilsbury crust that i mentioned at the beginning of the post. and well, the filling came out nicely, but the crust... it was much easier to work with than the mix i used before, ill give it that. unfortunately,  just like the regular pilsbury pie crust that comes in a tube, its really salty and kind of tastes like play-dough and doesnt really go well with pie. im thinking maybe it will be a bit more appropriate for something savory, like the quiche im making for dinner tonight. 

anyways, after dessert we all played an excessively loud and intense game of pit:


which if youve never played it, is a really great game for families (or friends) that enjoy yelling, screaming, and arguing over a very fast and competitive game that usually ends in someone throwing something. so its perfect for us, and we usually end up playing it at every family gathering at my moms house. 

unfortunately we couldnt stay late, since today was the first day of school week and we all had to get up at 5, so we went home and went to bed, and now today is kind of weird and sleepy because mine and alices sleep schedules are all out of whack, but its been productive, so i guess thats ok. 

what about you? did you do anything fun this weekend?