Showing posts with label projects. Show all posts

Wednesday, August 19, 2015

housewifes whimsy hand + body lotion (a guest post).

today i have another wonderful lady taking over: stacie from Housewife’s Whimsy is here with a recipe for some homemade lotion with essential oils! this recipe looks absolutely fantastic and i hope i can get the spare time to make a batch sometime soon. but this is her recipe, not mine so ill let stacie take over now:

One of my favorite things to do is make homemade lotion. I’ve been doing it for some time now and I just love the way it feels when I put a fresh batch on my hands. This lotion recipe I’ve created is super silky, soft and luxurious. You will be in heaven once you try it out!
If you’ve made homemade lotion before you know that it can tend to be on the greasy/oily side. I’ve actually fixed that problem with this recipe! By adding a little bit of Arrowroot starch (or corn starch) you can actually make the lotion less greasy when you first put it on. It will absorb quickly into your skin and keep it soft throughout the day. The lotion has a thin consistency so it is perfect for spreading all over your body.
This recipe has been created exclusively for Poverty Luxe, but it is based on my favorite Honey and Shea Lotion. However, I have not included any coconut oil in this recipe since I know some people have allergic reactions.  This lotion is perfect for anyone with very sensitive skin. If you have trouble with fragrance or any essential oils you can simply omit this from the finished product. You will then have a wonderful unscented product to work with.  I’ve listed a few ingredients as optional, however if you omit them your finished product will not be as hydrating as this version. I also highly suggest using all organic ingredients since then you will only be putting only the very best on your body.
While I have a variety of essential oils on hand, I realize you may not. You can use any combination of EO’s you wish, you will simply need about 80 drops for this recipe. I’ve created a blend specifically for Poverty Luxe and this recipe below. It is a bright citrus based fragrance with notes of eucalyptus and clove bud.  This is one of my favorite EO blends to date, the only other one that even comes close is the blend for my Eucalyptus Citrus Body Butter. Depending on what you prefer, or any allergies you need to consider, use whatever blend works for you.
Homemade lotion will last for about three months at room temperature. If you keep it in the fridge you it will have a slightly longer shelf life, but not by much. However, this recipe makes the perfect amount of lotion, one for you and one for a friend! It is also a great way to reuse those mason jars you have laying around from other projects. Just simply make sure they have been sterilized before you use them for lotion, otherwise it will cut down on the shelf life. I personally like to glue some decorative paper to the tops of the lids to make them a little more beautiful.
Housewife’s Whimsy Hand & Body Lotion
1/3 Cup Grapeseed Oil
1/3 Cup Sunflower Oil
1/3 Cup Sweet Almond Oil
¼ Cup Beeswax
Optional:
3 Teaspoons Organic Honey with Honeycomb
4 Teaspoons Vitamin E Oil
4 Teaspoons Shea Butter
6 Tablespoons Distilled Water
4 Tablespoons Arrowroot Starch
80 Drops Essential Oil
Special Poverty Luxe EO Blend:
20 Drops Lemon EO
20 Drops Sweet Orange EO
10 Drops Tea Tree EO
10 Drops Clove Bud EO
10 Drops Eucalyptus EO
5 Drops Frankincense EO
5 Drops Myrrh EO
Combine the oils, beeswax, honey, vitamin E oil, and shea butter in a medium saucepan, set over low heat.

Gently stir until the beeswax has melted.

Remove from heat and pour into a large bowl. Pour in the distilled water and arrowroot starch.

Using a hand mixer, mix together the oil and water until it resembles lotion.

Let cool to the touch then gently stir in the essential oils.
Once the lotion has completely cooled, spoon it into clean jars. (This recipe will make approximately two 8oz containers.)

Spread liberally over your hands and body and enjoy!

Pro tip: Have a specific saucepan, mixing bowl and mixer to use for making lotion. It is incredibly difficult to get these items completely clean so having ones specified for this use will prevent cross contamination with food.

Stacie LaMoore has been blogging at Housewife’s Whimsy since November 2014. Her blog contains a variety of topics including Gluten Free recipes, natural body and home ideas, and most importantly, cupcakes. She lives in northern Iowa with her husband, dog and cat where there isn’t much to do other than bake and watch the corn grow. She loves reading, kayaking and everything related to baking.  She’s very excited to have this chance to share a little of her life with you!


post signature

Wednesday, July 8, 2015

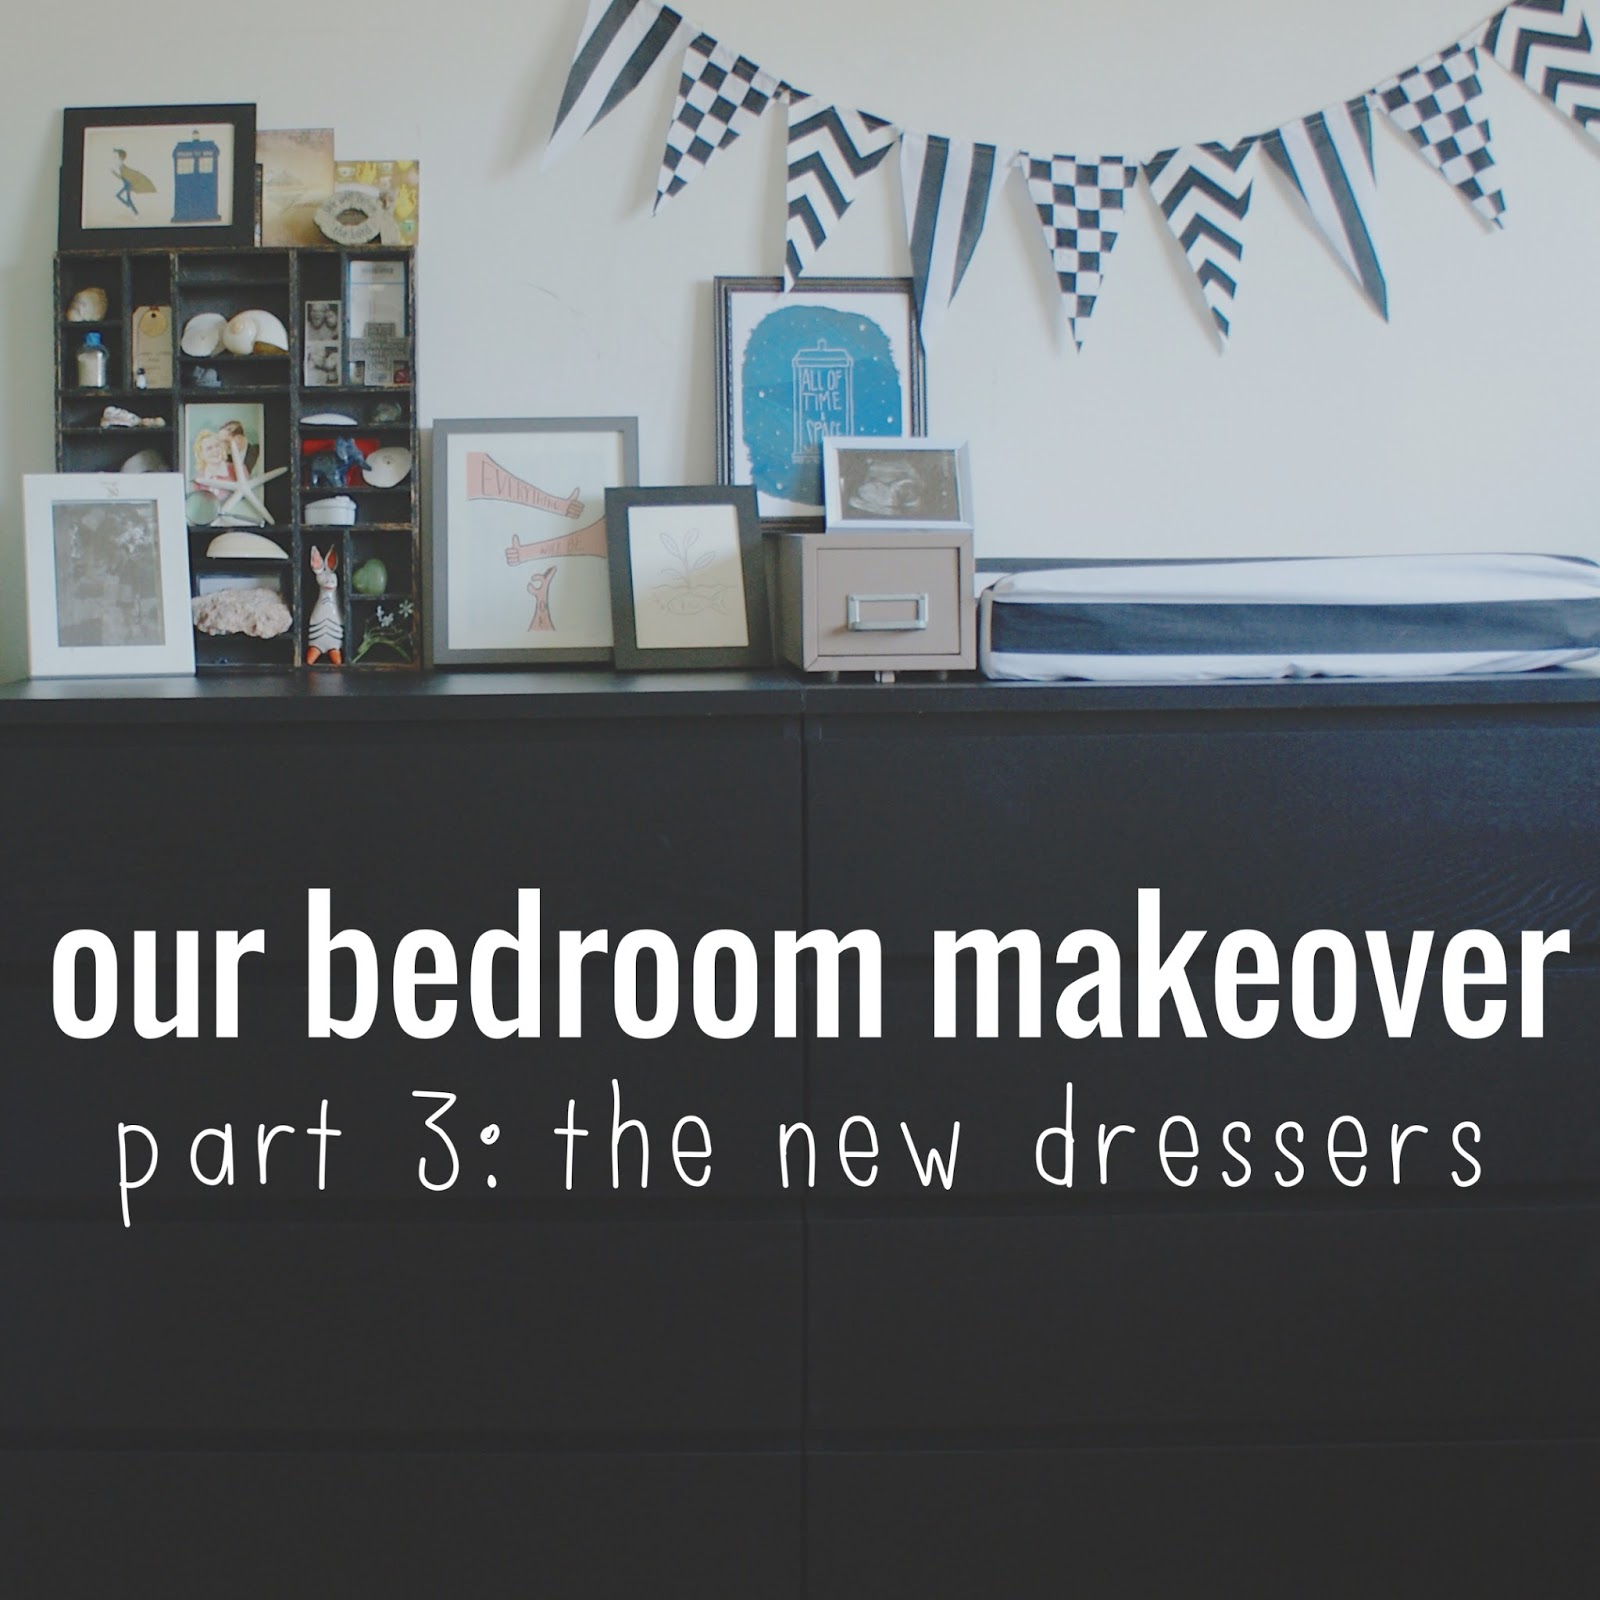
our bedroom makeover part 3: the new dressers.


in case youre a new reader/missed it/forgot i was doing this series because its been so long since ive mentioned it: were in the middle of our first big home improvement project here at the meyers house: a complete bedroom makeover. if youd like to catch up, you can see our "before" pictures and read about our goals/plans in part one and check out our awesome new bed (which i am still absolutely in love with) in part two. but enough about that, its time to move on to part three: the new dressers. 

now, if you read the the post about the bed, you might remember how at the end of that project i was all "that was surprisingly easy! everything is going great! i love redecorating!". and well... that should have served as a warning for how things were going to start going once we got to the dressers. 

see, it was mid-late april when we finished up everything with the bed, and after giving ourselves (ok mostly just me) a little time to recover/get things put back together, we figured that we could get the dressers all done by the end of may (we knew they would take a bit longer since we had to sell/get rid of the old ones) and the nursery done at some point in june and everything would be all set long before it was time before baby arrives. ha. ha, ha, HA. 

heres how things actually happened: may turned out to be a crazy month with james working out of town, me having finals, james having school week, and then james working out of town some more (actually, into the first couple weeks of june), so i didnt have much help with the remaining de-cluttering we had left. which, of course, had gotten down to just jamess stuff so i couldnt do it by myself anyway. at the same time, we learned that it is surprisingly difficult to get rid of an old bedroom set. i tried for weeks to sell it as a set because that was easiest for me, but nobody wanted the whole set. so then i listed the pieces individually, and heres where things get weird: the totally trashed nightstand? that goes immediately for almost the entire asking price no problem. the dressers we eventually sold to a family who offered to take both at a slightly lower price. the mirror, the nicest, least dated, most practical piece of the whole set? crickets. (dont worry we did eventually find it a home). 

also, because things got delayed for so long, ikea apparently discontinued the dressers we had planned on buying. BUT (finally some good news here) we did pick an alternative we were happy with, AND by time the old dressers were out and we could go buy the new ones, they were on sale. 

getting everything set up and put back together ended up taking for. freaking. ever. (ok like a week) because of course james got sent out of town (then to a far-away job that made him come home really late) RIGHT when we got the new dressers home, but eventually we got everything taken care of, even if it was like, a whole month behind my original schedule. 

so how do things look now? pretty dang great if you ask me, heres the before: 


and heres the after: 


now, obviously everythings a lot tidier and more attractive and thats great and all, but heres the really mind-blowingly amazing part: EVERYTHING that was in those two huge dressers that took up the whole wall (plus all of the babys things) comfortable fit into the two dressers that take up just slightly more space than jamess dresser alone. well, actually, the footprint of the new dressers is only slightly wider than jamess old dresser, theyre actually shallower (but taller) and i have even more floor space for pattern making and fabric cutting.

one concern i did have about moving our dresser situation into something more compact was that we were going to lose a fair amount of surface area (especially considering that one of the dressers would also be babys changing table area), but that turned out to not be a problem at all since 1. the dressers were kind of just collecting clutter/messes that really belonged elsewhere, 2. my new nightstand has three drawers and actually gave a bunch of things an actual home, and 3. there was totally a bunch of junk up there that needed getting rid of (but since it was out of the way, we never bothered). 

anyway, i love the new arrangement. i love how clean and sleek and not hideous the new dressers are, how all our things take up WAY less space, and especially how i finally, for the first time ever in my entire life (that i can remember) have a little tiny part of my home that looks absolutely just the way i want it to: 


maybe this seems really silly and dramatic, but decorating doesnt come naturally to me, and over the years ive really struggled to find my personal style when it comes to homemaking, and trying to reconcile that with the fact that i hated most of the things we owned and we didnt have money to replace them made things really difficult. paralyzingly difficult. like, ive never actually felt at home anywhere weve lived up until now because so little of what we had was something i liked or chose, it was all just there. 

but now, i do know what i like: i like things mostly plain and neutral with some small personal touches. i like things to be functional and i do not like having every single available space occupied. i like empty wall space but i also like having a few special pieces of art on display. and i really, really like the way things are going in our home so far. 


post signature

Friday, December 19, 2014

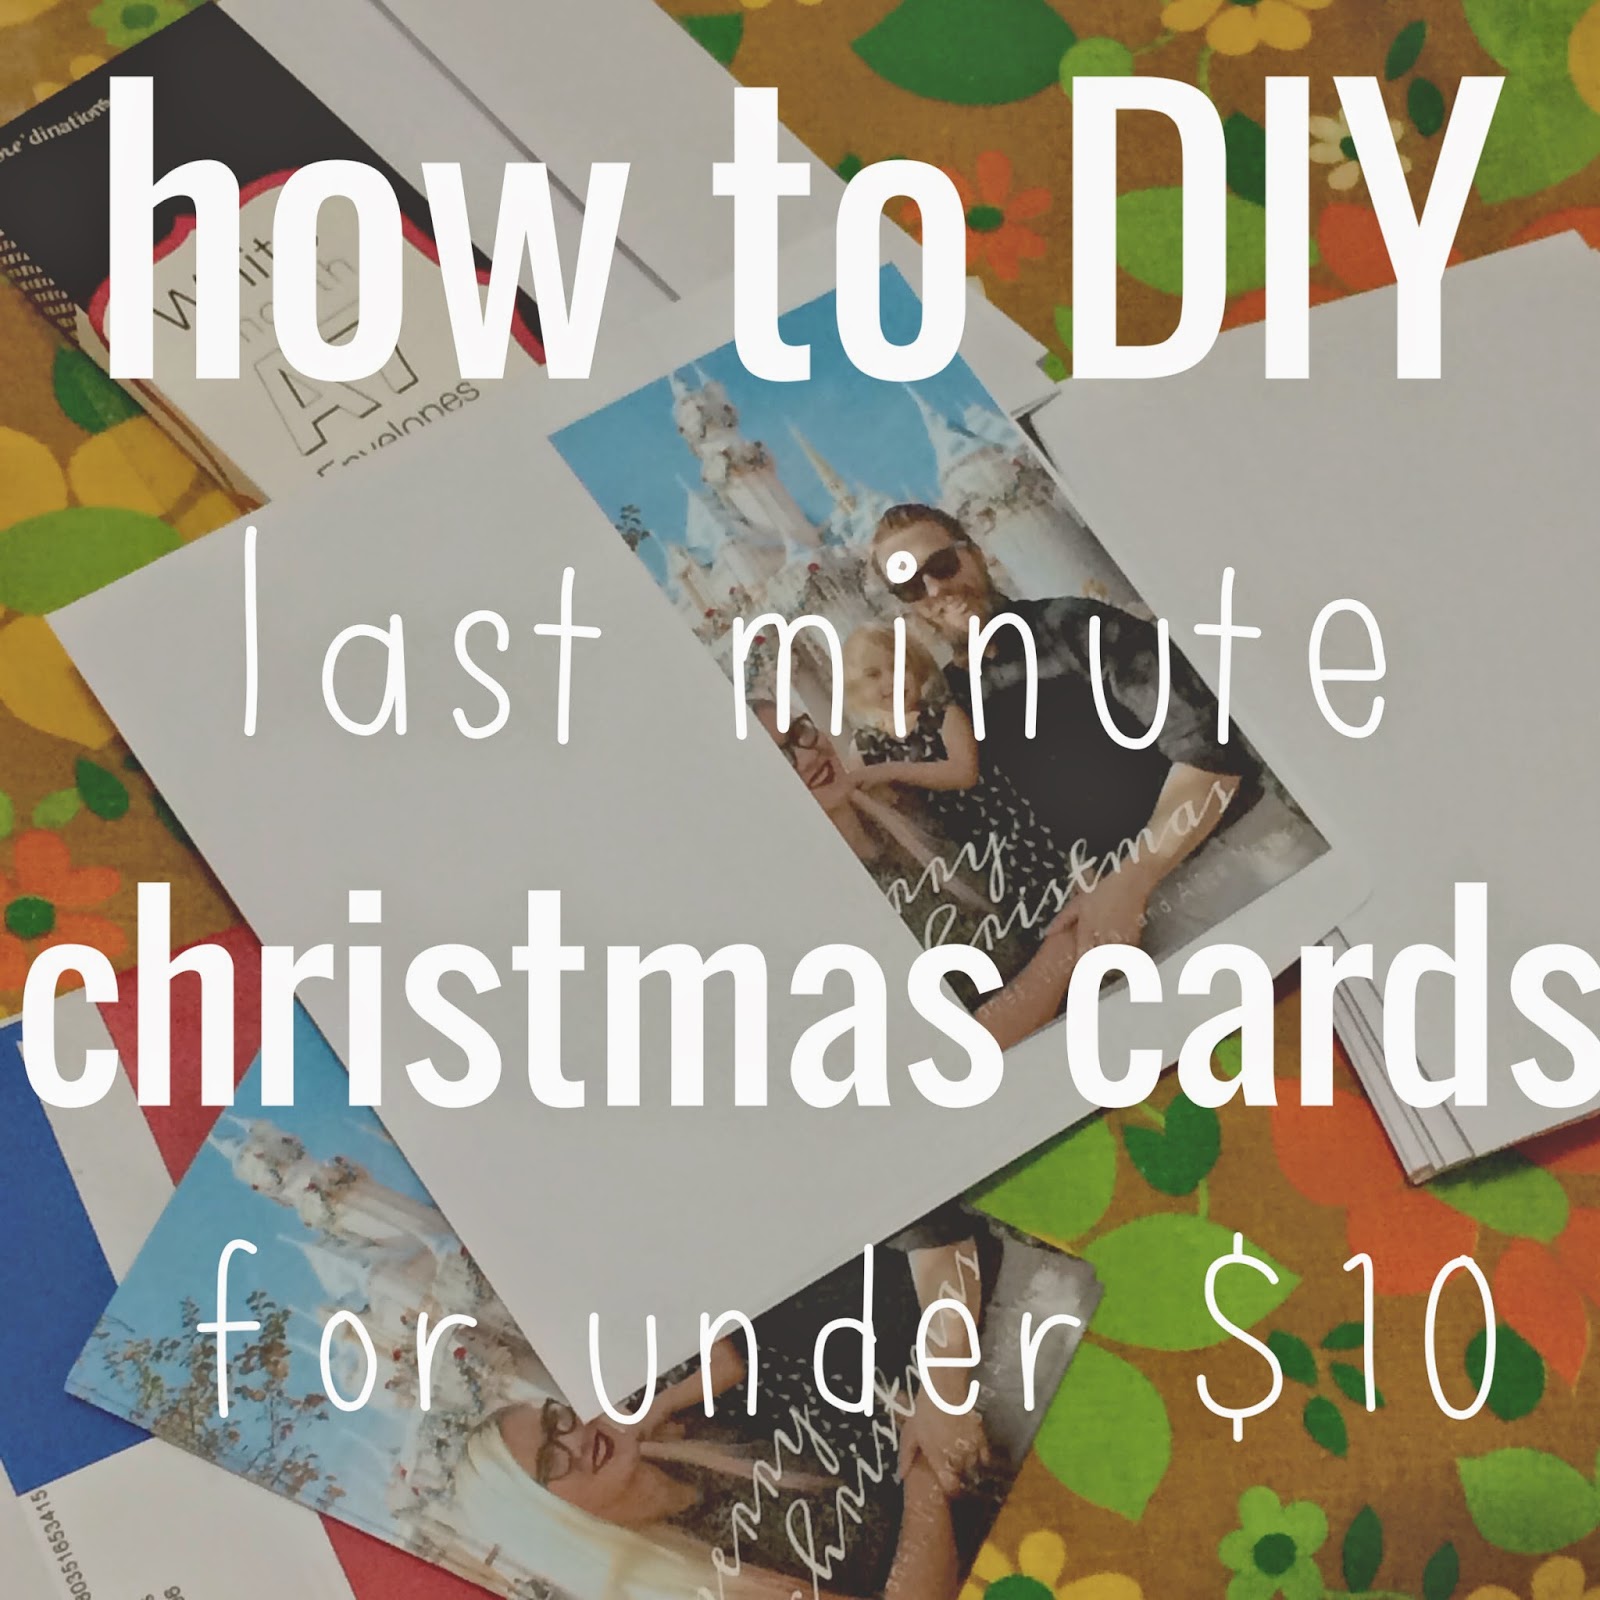
how to DIY last-minute christmas cards for under $10.


who here is a mega christmas procrastinator? oh come on, i know it cant be just me. 

well, funny story: as bad at christmas (and everything) related procrastinating as i usually am, taking way too many classes this last semester (more on that later) has made things about 9000 times worse. its december 19th. i am addressing and mailing our christmas cards as we speak (well, as you read this, since this the internet and all). 

but im damn proud of these christmas cards. yeah theyre maybe a teeny little bit late (but realistically were going to see approximately 90% of our intended recipients in real life before christmas). but they are not one teeny little bit half-assed. actually, theyre awesome, 100% DIY, and cost us less than $10. 

yes, you read that correctly. ten dollars. yes, that includes envelopes. yes, you can totally do the exact same thing right now and have spiffy new christmas cards in a couple hours. actually, writing this tutorial is taking way longer than actually making these cards did. just saying. 

so, ready to make some some legit-looking fast and easy christmas cards? lets go!

1. snap a family picture (or a few). bonus points if you already have a decent photo from earlier in the year. this was actually the most labor intensive step for us because despite my super simple minimalist christmas card concept, james really wanted to take our family picture at disneyland. so while your process might enjoy digging something from your hard drive or having a friend snap a photo at the park, ours involved lugging the tripod and DSLR and toddler that was not having anything to do with this nonsense through disneyland and having everyone stare at us while we took pictures with a timer. i can guarantee that as long as you dont do that this step is super easy. 

2. turn it into a christmas card-worthy graphic. depending on your style, you can VERY easily (even if you have zero design skills like me), slap a simple greeting onto a photo (or collage if youre feeling ambitious) using an app like a beautiful mess or a site like picmonkey. i like a beautiful mess because there arent a ton of options and theyre all curated to coordinate so its really, really hard to make something that looks bad. 

3. print your graphic at target. or walmart, or an office store, or wherever on-demand photo prints are sold. 4x6 prints are going to be the cheapest (i got mine at target for 13 cents each), so make sure you optimized your graphic to print at 4x6 (or 5x7 if youre a big spender). 

4. grab some plain envelopes. obviously, the main advantage for buying christmas cards from a card printer is that they come with envelopes. but this is not nearly as big of a problem as you think it is. joanns sells them in the paper-crafts section with all the other card-making supplies. unfortunately my joanns didnt have any A4 envelopes appropriate for my 4x6 cards, so i got stuck with 5x7 envelopes, but i guess thats not a huge deal since 25 envelopes was $3.99 (and 30% off). 

5. and youre done! seriously, thats it. yesterday, i ordered my prints, ran to joanns for envelopes, and when i got to target to pick them up, they were done. easiest christmas cards ever. and the cost breakdown? 25 prints at $.13 each = $3.25, 25 blank envelopes (on sale) = $2.79. a beautiful mess app = $.99. total cost for 25 totally legit christmas cards? $7.03 (plus tax). 

cant beat that, can you? 

and while were on the topic, merry christmas from the meyers family to yours!


Monday, October 27, 2014

easy diy weeping angels.

youre probably aware by now that i had a totally rad dr who themed birthday party last weekend. and whats a dr who party without some (fake, thank GOODNESS) webbing angels hanging around to scare the bejezzus out of everyone? not much of a dr who party ad all, if you ask me...

anyway, fellow whovian party planners may or may not have seen this incredible tutorial using barbies and stone texture spray paint. its amazing. and also, really really time consuming and potentially very expensive if you dont already have all those supplies just lying around. (if you havent seen the tutorial though, go take a look, its not one to be missed). 

now, i am way, way too broke and lazy to deal with that involved of a project. so i came up with my own cheaper, faster, easier, and still freaking terrifying alternative:


heres what you need: 

1. assorted angel tchotchkes (note: these are surprisingly difficult to find seeing as folks tend to collect them and not get rid of them, so be prepared to spend some time looking for them. though i did find what i needed at a fairly large thrift store)

2. krylon natural stone spray paint (available at craft and hardware stores, i made five weeping angels without using up a whole can, so you dont need a lot)

3. paper and tape to mask off a safe area for overspray (very important)

heres what you do:

step 1: pick a nice sunny spot outside and tape down some paper to protect everything around you from overspray (do NOT make my mistake of picking a spot in the shade because you think it will make the project more comfortable, because all it will do is make your angels take for-freaking-ever to dry):


step 2: thoroughly coat your angels with the spray. please note that the stone spray is a lot less like paint and a lot more like stuff with bits in it so make sure to turn your pieces upside down, spray the underside first, THEN turn them over and spray from the top:


step 3: let your angels dry for at least fifteen minutes in the sun (guess how many tries it took me to figure that one out...), before going back to fill in the nooks and crannies. dont worry about the paint getting thick, lumpy or drippy though, it just adds to the effect. 


step 4: let them dry (again IN. THE. SUN.) for a couple more hours until the stone finish fully hardens, and then YOURE DONE!

wasnt that easy? 

im really happy with how these came out, and i got a LOT of compliments about them at the party. mainly im happy that i got to still have my weeping angels for about $15 and an hour, instead of spending who knows how much on an all day project. 

please let me know if you try this out, id love to see what you make!

(p.s. this post was not sponsored in any way by krylon it just so happens that they make the only stone type spray paint i could find) 


Thursday, April 17, 2014

how to make a fitted sheet (out of that flat sheet that you werent using anyway)


embarrassing confession time: i am a violently fitful sleeper. to the point where i WEAR GIANT GAPING HOLES in my sheets. im not kidding. i wish i was kidding, because a few months ago, i finally wore out the super fancy sheets we got on clearance right after we got married. and i dont mean that the sheet finally wore out, i mean that there was a distinct, obvious, victoria-sized hole on my side of the bed and the rest of the sheet was perfect.

at the time this happened, we had NO money for new sheets. not even crappy ones, given that our (hand-me-down) mattress is a king sized extra thick pillow top and the cheapest cheap sheets i could find were $40 +.  i knew we couldnt get crappy sheets because one time i had crappy sheets and i wore them to ribbons in like a year. so i started researching options and i found a few tutorials on how to make a fitted sheet. 

and i was like, "great! i totally have the flat sheet that came with our set because theres nothing i hate more than flat sheets and i have a matching one hanging out in the linen closet wasting space so ill use that! problem solved!"

but just about all of these tutorials involved measuring your mattress and doing all this complicated math (i guess its not that complicated, but please remember that im HORRIBLE at math), measuring the dimensions of the mattress and adding various amounts to account for hems, elastic casing, and seam allowances. 

i started taking measurements and trying to work out the math but it got too complicated and i wasnt sure the flat sheet would be big enough and my enthusiasm for making a fitted sheet waned all the way down to "oh well, thats too much work, ill just pull out the ugly flannel sheet that i hate and hope we have enough money for nice sheets when that one eventually wears out". 

then one day a couple weeks ago, it hit me that flat sheets are specifically designed to wrap all the way around the mattress and that OF COURSE it was enough fabric and the only measurement i even needed was the mattress height and i didnt even have to do ANY hems or casings. 

awesome. 

so, i finally made our fitted sheet. and because i know that i am certainly not the only person out there that HATES sleeping with a flat sheet (they make me claustrophobic, ok), i thought that all you kind folks would appreciate this little tutorial, because whats better than getting a free extra fitted sheet in your sheet set?

heres what you need:


flat sheet in the same size as your mattress
measuring tape
rotary mat + clear ruler
marking pen of some kind
scissors or rotary cutter
pins
lots and lots of elastic (enough to go ALL THE WAY around your mattress, my king sized sheet used about 8.5 yards)
sewing maching (not pictured)

and heres what you do:

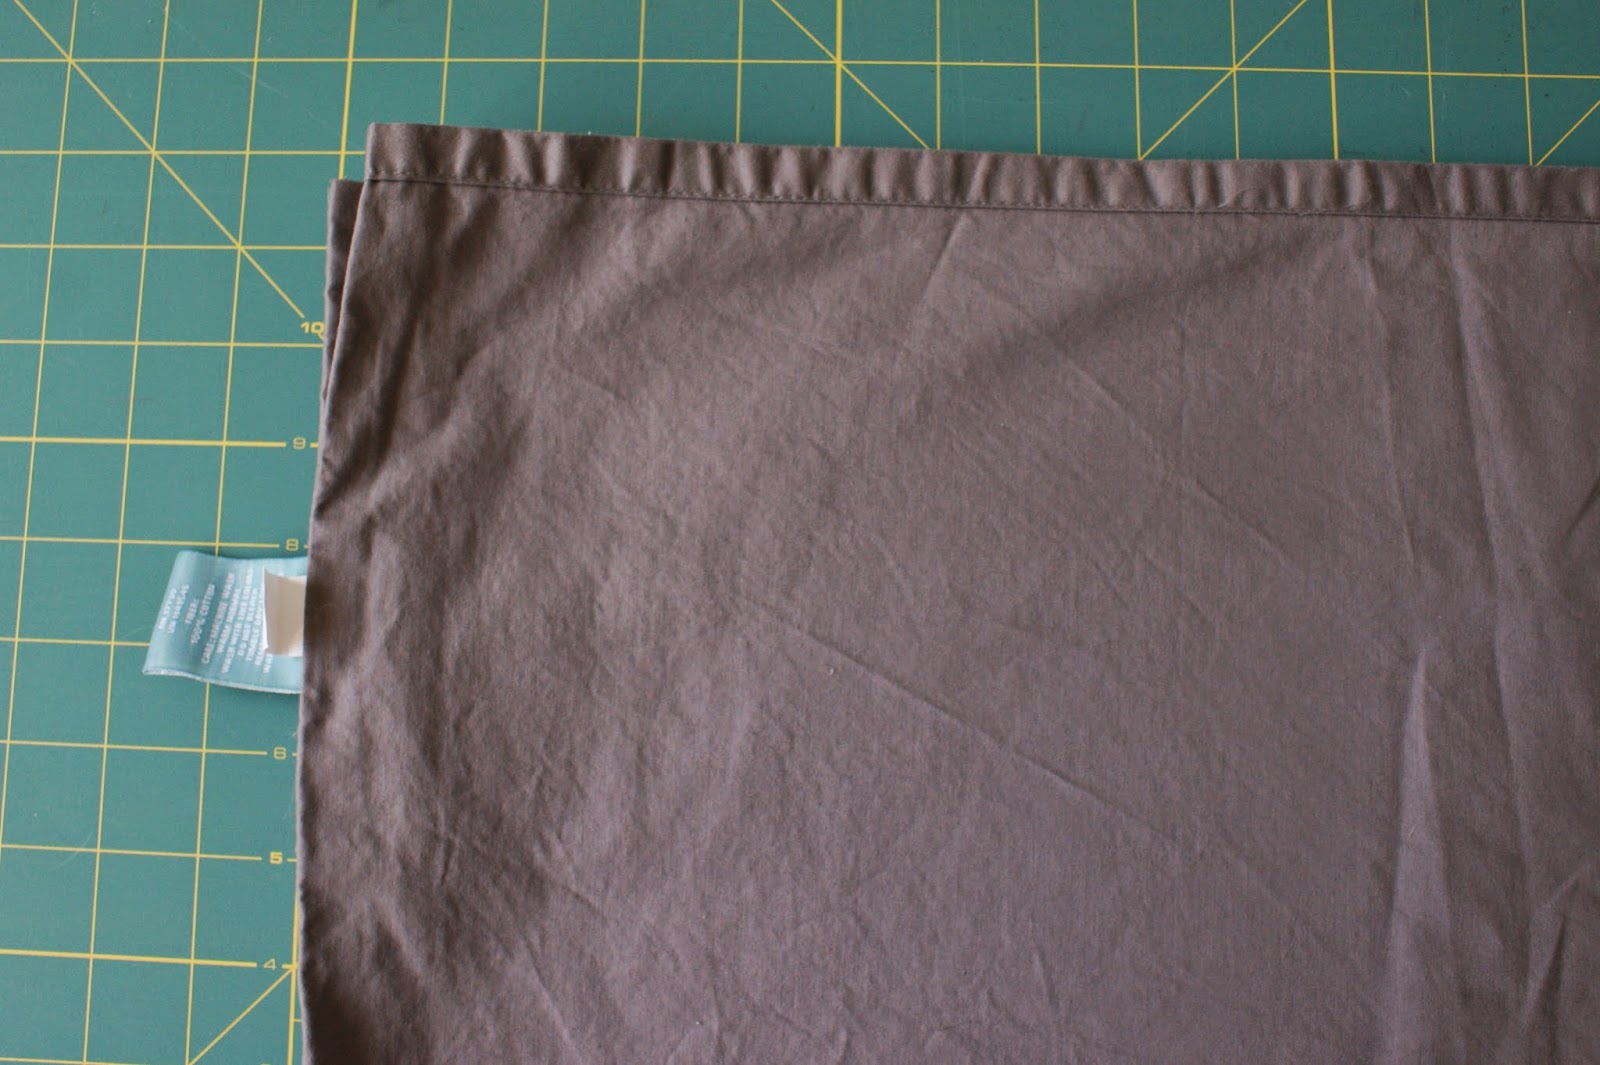
step one: fold your flat sheet in quarters with all four corners exactly together (this makes it so you only have to cut and measure once):


step two: measure the overall height of your mattress, and add about an inch or so to account for the seam allowances (my mattress was about 13 inches high, so i did 14 inches):


step three: mark a square using that measurement on the corner of your sheet (so, in my case, 14x14 inches):


and cut it out, cutting through all four layers at the same time:


step four: pin each corner together right sides together (and dont mess this up like i did):


this is what makes the "pockets" for your mattress)

step five: sew each corner shut, using a short straight stitch for extra durability:


step six: finish your seam allowances with a zigzag stitch (this is important to prevent fraying, since sheets get washed a lot, you dont want the seams to wear out):


step seven: heres where things get tricky, set your sewing machine to a stretch stitch (like the one thats a zigzag/running stitch combination, and place one end of your elastic under the presser foot like so:


and sew a few stitches back and forth to secure the end. next pull your elastic TIGHT and hold it right up against the edge of the sheet (just like in the picture) sew ALL THE WAY around your sheet, keeping the elastic pulled as tightly as possible. 

it should look like this on the inside:


and this on the outside:


step eight: when you get all the way back to where you started, keep sewing the elastic until it overlaps the beginning by about an inch, and then back stitch a few times to make sure its EXTRA secure:


step nine: clip any threads you have left, and then youre done! go enjoy your brand spanking new custom fitted sheet!

but after telling a few people about this project, i noticed that flat sheets are a pretty polarizing issue. people either love them or hate them. what are your thoughts on flat sheets? necessary, or unpleasant? 

Tuesday, February 4, 2014

basic slouch hat (free crochet pattern!)

hey everyone! hope you're all having a great week so far!

today I've got a free crochet pattern for you guys!

this hat is a really great project for beginning/intermediate crocheters that have a good handle on the fundamentals of crochet, and want to try something a little more advanced, but nothing too crazy. if that sounds like you, then be sure to pin/bookmark this pattern, because i think you'll really like it. 

i mean, 1. its cute, 2. it only takes a couple hours start-to-finish, 2. it doesn't even use a whole skein of yarn, and 4. the basic pattern really has a lot of room as far as customization is concerned (colors, stripes, embellishments, etc.). honestly its one of my favorite quick crochet projects. 

(funny side note: back in the myspace days, i made a LOT of money one summer making custom hats for teenagers who usually paid me by mailing me envelopes of cash exactly like the post office tells you not to do)

just like my spiral lace slouch hat knitting pattern, my favorite yarn to use for this is cannas choice by lion brand, but any worsted weight yarn (or two strands of very thin yarn if you feel like getting crazy) will work wonderfully. just don't use a yarn thats too thick, or your hat WILL be stiff and not slouchy at all. don't say i didn't warn you. 

anyway, heres the pattern:


i really hope you get a chance to try this pattern out, and if you do, PLEASE send me a picture of your cute hats! id love to see what you do with this pattern!

oh! one more thing, if you REALLY want a pdf copy to download to your computer/kindle/ipad/whatever, you can buy one for just $2 right here.

Thursday, January 9, 2014

arm-knit infinity scarf tutorial.

hello friends! hope everyones having a good week so far! this week is my first week back to juggling all three of my jobs after christmas break, and it hasnt exactly been the smoothest transition. BUT james worked three days (so far) at his regular job AND (thanks to a really weird assortment of food left from last weeks botched meal plan) i managed to pull together a meal plan for this week that only required $15 of groceries! and that makes me pretty happy. 

but not as happy as i am to show you how to make this super cozy giant knit infinity scarf:


which, by the way, is knit using your arms, and only your arms. im serious. i first tried this technique maybe 5 or 6 years ago when i read about it in one of the stitch n bitch books (i made a few scarves from strips of recycled tshirts), and then didnt really think about it again until a recent youtube search for an unrelated knitting technique revealed that arm knitting is totally a thing now. 

then a few days later it was double-discount day at work (meaning we got an extra forty percent off sale prices instead of twenty) and i saw this dash yarn by red heart and i knew that it would be the perfect christmas gift for my sister. 

and then i started making it and realized i HAD to share this project with you guys. why? well one, its super cute and practical and on trend. and two, it only uses one skein of yarn that retails for about $10 (meaning, as long as you go to joanns with a coupon you wont pay more than $6). and three, it takes less than an hour from start to finish. 

so what im getting at here is that you can make a super impressive handmade gift in less than an hour for $6. 

and heres how you do it:

(disclaimer: this was jamess very first time shooting a tutorial with me and we had some lighting issues due to not owning studio lights, so please excuse the inconsistent photography)

you will need:
1 skein red heart boutique dash in the color of your choice (i used meadow)
your arms
and maybe some scissors

step 1: start by making a slip knot about 3 feet from the end of your yarn. if you dont know how to make a slip knot, ill show you right now. start by making a fish shape with the cut end (tail) of your yarn crossing over the long (working) end like so:


next, reaching under the "body" side of the fish closest to where the tail crosses over, pinch a little piece of the "tail" like so:


and pull that little bit up through the "body" of the fish shape:


and pull your little loop away from the two ends of the yarn to tighten:


and ta-da! slip knot:


step 2: cast on your first row of stitches by placing your slip knot over your left hand like so:


next, using your right hand, reach through the loop on your left hand and pinch a little bit of the long (working) end of the yarn (not the tail!):


and pull it back through the loop on your left hand:


stretching it out until its big enough to fit onto your left hand next to the first loop:


now repeat this process again with the next loop so that you have three:


four:

five stitches on your left hand:


step 3: start knitting your first row by pulling a loop through your last stitch just as you were before:


only this time, drop the left hand loop off and leave the new loop on your right hand, like so (basically you just did a knit stitch without needles):


and repeat this process in each of the stitches on your left hand:


until you have five loops on your right hand and none on your left:


step 4: knit your second row by reversing the process of your first row, using your left hand to pull the yarn through the loops on your right hand:


dropping the right hand loop, and moving the stitches to your left hand:


all the way across:


step five: repeat steps three and four until you end a row with about 3-4 feet of yarn left over. your scarf will look something like this:


step six: begin the bind-off row by "knitting" your first:


and second loops:


next, begin binding off by taking the first loop (the one on the far right):


and pulling it up and over the second loop, dropping it so that only the second loop remains:


repeat this process, knitting one loop:


and pulling the previous loop over it:


until you only have one loop left:


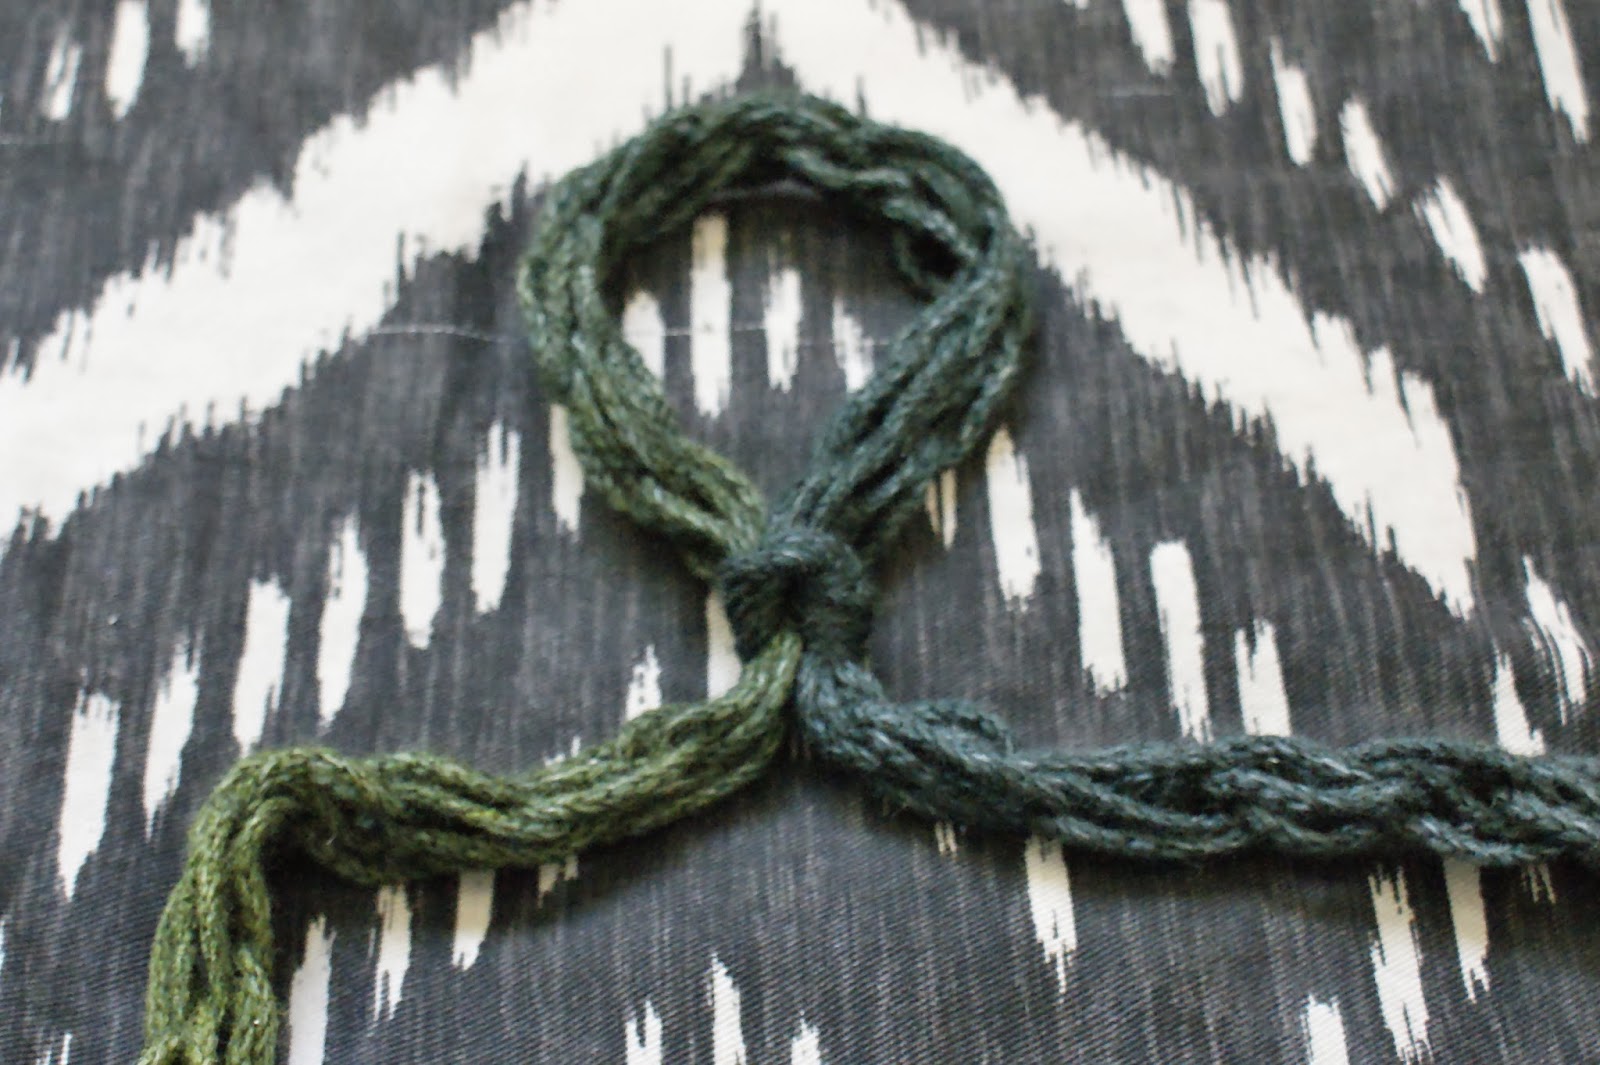
and pull the last of your yarn through this last loop, forming a knot and the end of your bound off edge:


step seven: finish your scarf by first tucking the tail left from your bind off edge back into the scarf so that its hidden:


then, using the long tail that you left in the beginning:


"sew" the two ends of the scarf together:


making sure to match the rows of stitches so that the edges are straight:


finally, knot the end of your seam:


and weave the last of your tail into the wrong side of the seam to hide it, trimming if necessary:


step eight: go out and show off your super cute new scarf:


and when people compliment it (which they will) you can say, "oh, this old thing? its just something simple that i whipped up one afternoon", because, its true. 

hope youve enjoyed this tutorial, please PLEASE let me know if you end up using it, id LOVE to see the scarves that you make!