
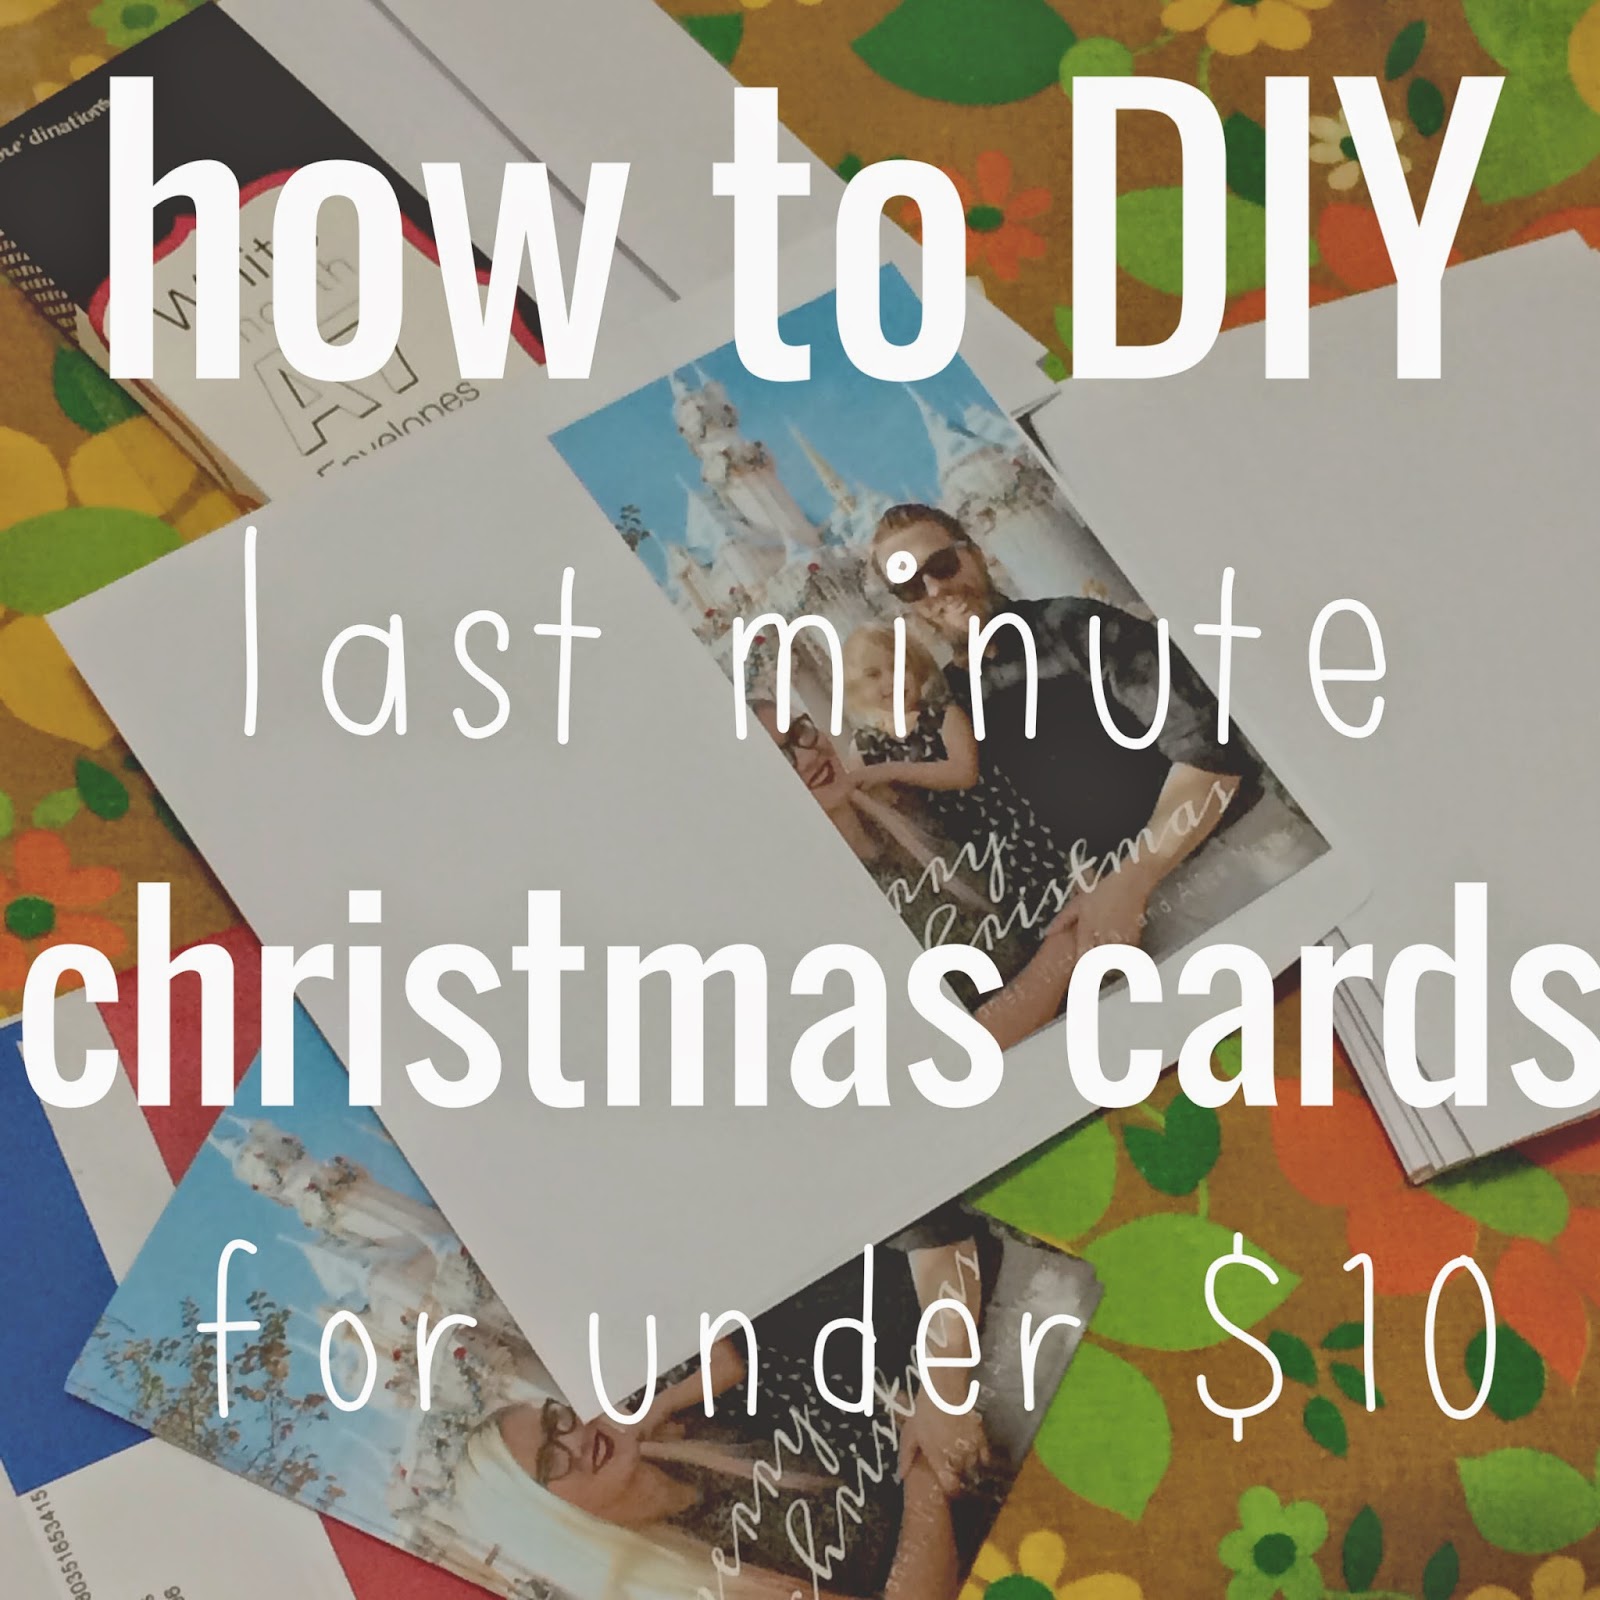
who here is a mega christmas procrastinator? oh come on, i know it cant be just me.
well, funny story: as bad at christmas (and everything) related procrastinating as i usually am, taking way too many classes this last semester (more on that later) has made things about 9000 times worse. its december 19th. i am addressing and mailing our christmas cards as we speak (well, as you read this, since this the internet and all).
but im damn proud of these christmas cards. yeah theyre maybe a teeny little bit late (but realistically were going to see approximately 90% of our intended recipients in real life before christmas). but they are not one teeny little bit half-assed. actually, theyre awesome, 100% DIY, and cost us less than $10.
yes, you read that correctly. ten dollars. yes, that includes envelopes. yes, you can totally do the exact same thing right now and have spiffy new christmas cards in a couple hours. actually, writing this tutorial is taking way longer than actually making these cards did. just saying.
so, ready to make some some legit-looking fast and easy christmas cards? lets go!
1. snap a family picture (or a few). bonus points if you already have a decent photo from earlier in the year. this was actually the most labor intensive step for us because despite my super simple minimalist christmas card concept, james really wanted to take our family picture at disneyland. so while your process might enjoy digging something from your hard drive or having a friend snap a photo at the park, ours involved lugging the tripod and DSLR and toddler that was not having anything to do with this nonsense through disneyland and having everyone stare at us while we took pictures with a timer. i can guarantee that as long as you dont do that this step is super easy.
2. turn it into a christmas card-worthy graphic. depending on your style, you can VERY easily (even if you have zero design skills like me), slap a simple greeting onto a photo (or collage if youre feeling ambitious) using an app like a beautiful mess or a site like picmonkey. i like a beautiful mess because there arent a ton of options and theyre all curated to coordinate so its really, really hard to make something that looks bad.
3. print your graphic at target. or walmart, or an office store, or wherever on-demand photo prints are sold. 4x6 prints are going to be the cheapest (i got mine at target for 13 cents each), so make sure you optimized your graphic to print at 4x6 (or 5x7 if youre a big spender).
4. grab some plain envelopes. obviously, the main advantage for buying christmas cards from a card printer is that they come with envelopes. but this is not nearly as big of a problem as you think it is. joanns sells them in the paper-crafts section with all the other card-making supplies. unfortunately my joanns didnt have any A4 envelopes appropriate for my 4x6 cards, so i got stuck with 5x7 envelopes, but i guess thats not a huge deal since 25 envelopes was $3.99 (and 30% off).
5. and youre done! seriously, thats it. yesterday, i ordered my prints, ran to joanns for envelopes, and when i got to target to pick them up, they were done. easiest christmas cards ever. and the cost breakdown? 25 prints at $.13 each = $3.25, 25 blank envelopes (on sale) = $2.79. a beautiful mess app = $.99. total cost for 25 totally legit christmas cards? $7.03 (plus tax).
cant beat that, can you?
and while were on the topic, merry christmas from the meyers family to yours!


