Showing posts with label crafts. Show all posts

Wednesday, August 19, 2015

housewifes whimsy hand + body lotion (a guest post).

today i have another wonderful lady taking over: stacie from Housewife’s Whimsy is here with a recipe for some homemade lotion with essential oils! this recipe looks absolutely fantastic and i hope i can get the spare time to make a batch sometime soon. but this is her recipe, not mine so ill let stacie take over now:

One of my favorite things to do is make homemade lotion. I’ve been doing it for some time now and I just love the way it feels when I put a fresh batch on my hands. This lotion recipe I’ve created is super silky, soft and luxurious. You will be in heaven once you try it out!
If you’ve made homemade lotion before you know that it can tend to be on the greasy/oily side. I’ve actually fixed that problem with this recipe! By adding a little bit of Arrowroot starch (or corn starch) you can actually make the lotion less greasy when you first put it on. It will absorb quickly into your skin and keep it soft throughout the day. The lotion has a thin consistency so it is perfect for spreading all over your body.
This recipe has been created exclusively for Poverty Luxe, but it is based on my favorite Honey and Shea Lotion. However, I have not included any coconut oil in this recipe since I know some people have allergic reactions.  This lotion is perfect for anyone with very sensitive skin. If you have trouble with fragrance or any essential oils you can simply omit this from the finished product. You will then have a wonderful unscented product to work with.  I’ve listed a few ingredients as optional, however if you omit them your finished product will not be as hydrating as this version. I also highly suggest using all organic ingredients since then you will only be putting only the very best on your body.
While I have a variety of essential oils on hand, I realize you may not. You can use any combination of EO’s you wish, you will simply need about 80 drops for this recipe. I’ve created a blend specifically for Poverty Luxe and this recipe below. It is a bright citrus based fragrance with notes of eucalyptus and clove bud.  This is one of my favorite EO blends to date, the only other one that even comes close is the blend for my Eucalyptus Citrus Body Butter. Depending on what you prefer, or any allergies you need to consider, use whatever blend works for you.
Homemade lotion will last for about three months at room temperature. If you keep it in the fridge you it will have a slightly longer shelf life, but not by much. However, this recipe makes the perfect amount of lotion, one for you and one for a friend! It is also a great way to reuse those mason jars you have laying around from other projects. Just simply make sure they have been sterilized before you use them for lotion, otherwise it will cut down on the shelf life. I personally like to glue some decorative paper to the tops of the lids to make them a little more beautiful.
Housewife’s Whimsy Hand & Body Lotion
1/3 Cup Grapeseed Oil
1/3 Cup Sunflower Oil
1/3 Cup Sweet Almond Oil
¼ Cup Beeswax
Optional:
3 Teaspoons Organic Honey with Honeycomb
4 Teaspoons Vitamin E Oil
4 Teaspoons Shea Butter
6 Tablespoons Distilled Water
4 Tablespoons Arrowroot Starch
80 Drops Essential Oil
Special Poverty Luxe EO Blend:
20 Drops Lemon EO
20 Drops Sweet Orange EO
10 Drops Tea Tree EO
10 Drops Clove Bud EO
10 Drops Eucalyptus EO
5 Drops Frankincense EO
5 Drops Myrrh EO
Combine the oils, beeswax, honey, vitamin E oil, and shea butter in a medium saucepan, set over low heat.

Gently stir until the beeswax has melted.

Remove from heat and pour into a large bowl. Pour in the distilled water and arrowroot starch.

Using a hand mixer, mix together the oil and water until it resembles lotion.

Let cool to the touch then gently stir in the essential oils.
Once the lotion has completely cooled, spoon it into clean jars. (This recipe will make approximately two 8oz containers.)

Spread liberally over your hands and body and enjoy!

Pro tip: Have a specific saucepan, mixing bowl and mixer to use for making lotion. It is incredibly difficult to get these items completely clean so having ones specified for this use will prevent cross contamination with food.

Stacie LaMoore has been blogging at Housewife’s Whimsy since November 2014. Her blog contains a variety of topics including Gluten Free recipes, natural body and home ideas, and most importantly, cupcakes. She lives in northern Iowa with her husband, dog and cat where there isn’t much to do other than bake and watch the corn grow. She loves reading, kayaking and everything related to baking.  She’s very excited to have this chance to share a little of her life with you!


post signature

Friday, January 2, 2015

2015: a year for focus (part one: blog and shop goals)


hello january! nice to see you around again. if were being completely honest here, ive never been a huge fan of january. i often refer to it as "the monday of the year". but as ive gotten older, ive grown to appreciate mondays. monday is a day to regroup, make a plan of attack, and kick the next weeks butt. and maybe january can be like that too. 

in my last post, i unveiled my "one word" for 2015, and in case you missed it, that word was "focus". i chose focus as the guide for my goals this year because with all the crazy changes and developments of the past year, i realized that while we have lots of REALLY cool stuff going on right now, what i really need to do is step back and focus. 

focus on our long-term plans, focus on why were doing the things were doing, focus on what we actually need to do, not just get wrapped up in whatevers being thrown at us on whatever day. 

and im starting this year of a new, focused mindset with a different kind of goal list. rather than writing a long list of scattered, random goals for the year, i picked six key areas (blog, shop, family, home, financial, and personal) and made just a few goals in each area to focus on. 

and since six topics is a lot to cover all at once, ive paired them up so that this can be a little mini-series. today: we have blog and shop goals, on monday well talk about family and home foals, and finally on wednesday well talk about financial and personal goals. lets press on, shall we? 

blog goals: 

1. solidify my brand and content. ive been writing this blog for (gasp!) almost two years and for basically all of it ive really struggled with my identity as a blogger and the direction/brand of this blog. who am i? what kind of blog is this? where do i fit into the blogging community? what is my niche? if this blog is going to really get anywhere, i need to stop trying to do all the things and figure this out. im currently in the middle of coaching about this, and its really exciting to start the new year already making progress on a big goal. 

2. plan and write posts ahead of time. since im not a full time blogger making a living at this (yet), i have to balance writing and maintaining this blog with all the other things i juggle on a daily basis. this means im not able to write, edit, and promote each post on the day its supposed to go live. i need to use my large blocks of free time (weekends, late nights, days alice is out), to get multiple posts ready to go. and if that is going to work at all, i need a plan. so in the immediate future i need to map out my topics for a, um... long time, so that i can use my writing time for writing. 

3. consistently blog throughout the entire year. this means: figuring out a comfortable (but reliable) posting schedule, finding my rhythm for social media, not taking huge breaks, things of that nature. obviously this is going to take some trial and error, but for now my first step is to determine my weekly posting schedule, both for timing as well as topics. tentatively i have things set like this: mondays - personal/family/random posts, wednesdays - money/home/shopping posts, fridays - food/craft/shop-related posts. this way, you guys know when to expect a post from me, and also, that youre always going to have something a little different to read. 

4. collaborate and connect more. one of the hardest things about being a blogger is feeling like youre in this alone, when really theres a HUGE and super supportive community out there to work with. and this year, i really want to embrace that. how? im not sure yet, this may mean more sponsorships, linkups, giveaways, and guest posting, it may mean something totally crazy and different. well just have to wait and find out. 

shop goals. 

1. apply for patchwork santa ana in the spring. black friday weekend i was invited to sell at a somewhat spontaneous holiday market with some friends, and to my surprise (it was a small event, mostly of people i know), i ended the year with a decent amount of money to invest in my business. and i decided that its finally time to stop being a scaredy cat and apply for my first "real show". if i get in, this would be a HUGE step for me as a person, and poverty luxe as a business. if i dont, well then its off to goal #2. 

2. vend at 2-3 "real" craft fairs. by "real" i mean not the small, community type events that ive done in the past, i mean serious events like patchwork or the silver lake flea market or something else similar (obviously im researching more options). ive learned (over and over) that the smaller events, while lower in booth fees, are lower in attendance, sales, and networking opportunity, and while ill probably only be able to afford a couple of larger events over the course of the year, id rather invest in events with a greater chance of growing my business. 

3. launch my kids line and experiment with womens tops. ive had a kids line planned out for a while: more sizes of skirts, a sundress that doubles as a top as the child grows, and a simple little t-shirt in fun prints, and before i can launch, i need to do a little more sizing research and make the paper patterns. also, in order to launch the shirt, i need to either be very patient and fix my serger, or be extra very patient and save up for a new one. ive also had some ideas for adult sized tops, so by the end of the year, id like to at least have made some prototypes. 

4. turn my stash into inventory. seriously, im just sitting on piles of beautiful fabrics just waiting to be turned into something useful. so this year, my focus is to build my inventory from the fabrics i have until i absolutely need to go fabric shopping (and also to donate/give away anything thats not useful. 

so those are my blog and shop goals for 2015. now, if you notice, some of those goals, well, i could use a little help to accomplish. and im not the type to ask for help without offering anything in return. so to help jump start my goals to collaborate with other bloggers more, and to help finance my future vendor applications, im having two HUGE sales: 

50% off ALL sponsorships with code JAN15 in my passionfruit shopi have two options: one includes a large sidebar ad, social media shoutouts, AND a full blown guest post on poverty luxe, for just $10 ($5 this month), and the other includes a small sidebar ad and an introductory shoutout on twitter for $3 (just $1.50 with the code). buying a sponsorship from me is not only a super fun (and inexpensive) way to grow your blog by collaborating with someone super fun (me), but also ALL the money i bring in through sponsorships goes RIGHT back into sponsoring other bloggers! 

30% off EVERYTHING in the poverty luxe etsy shop with code JAN15! in order for me to keep things moving with the shop, i really need to keep things moving in the inventory department, both to make room for the new lines, as well as to help fund the application/booth fees for any shows i apply for this year. this means you can score some AWESOME (if i do say so myself) handmade, eco-friendly clothing at an even more awesome price. 

both codes are good for the whole month of january, too!

Friday, December 19, 2014

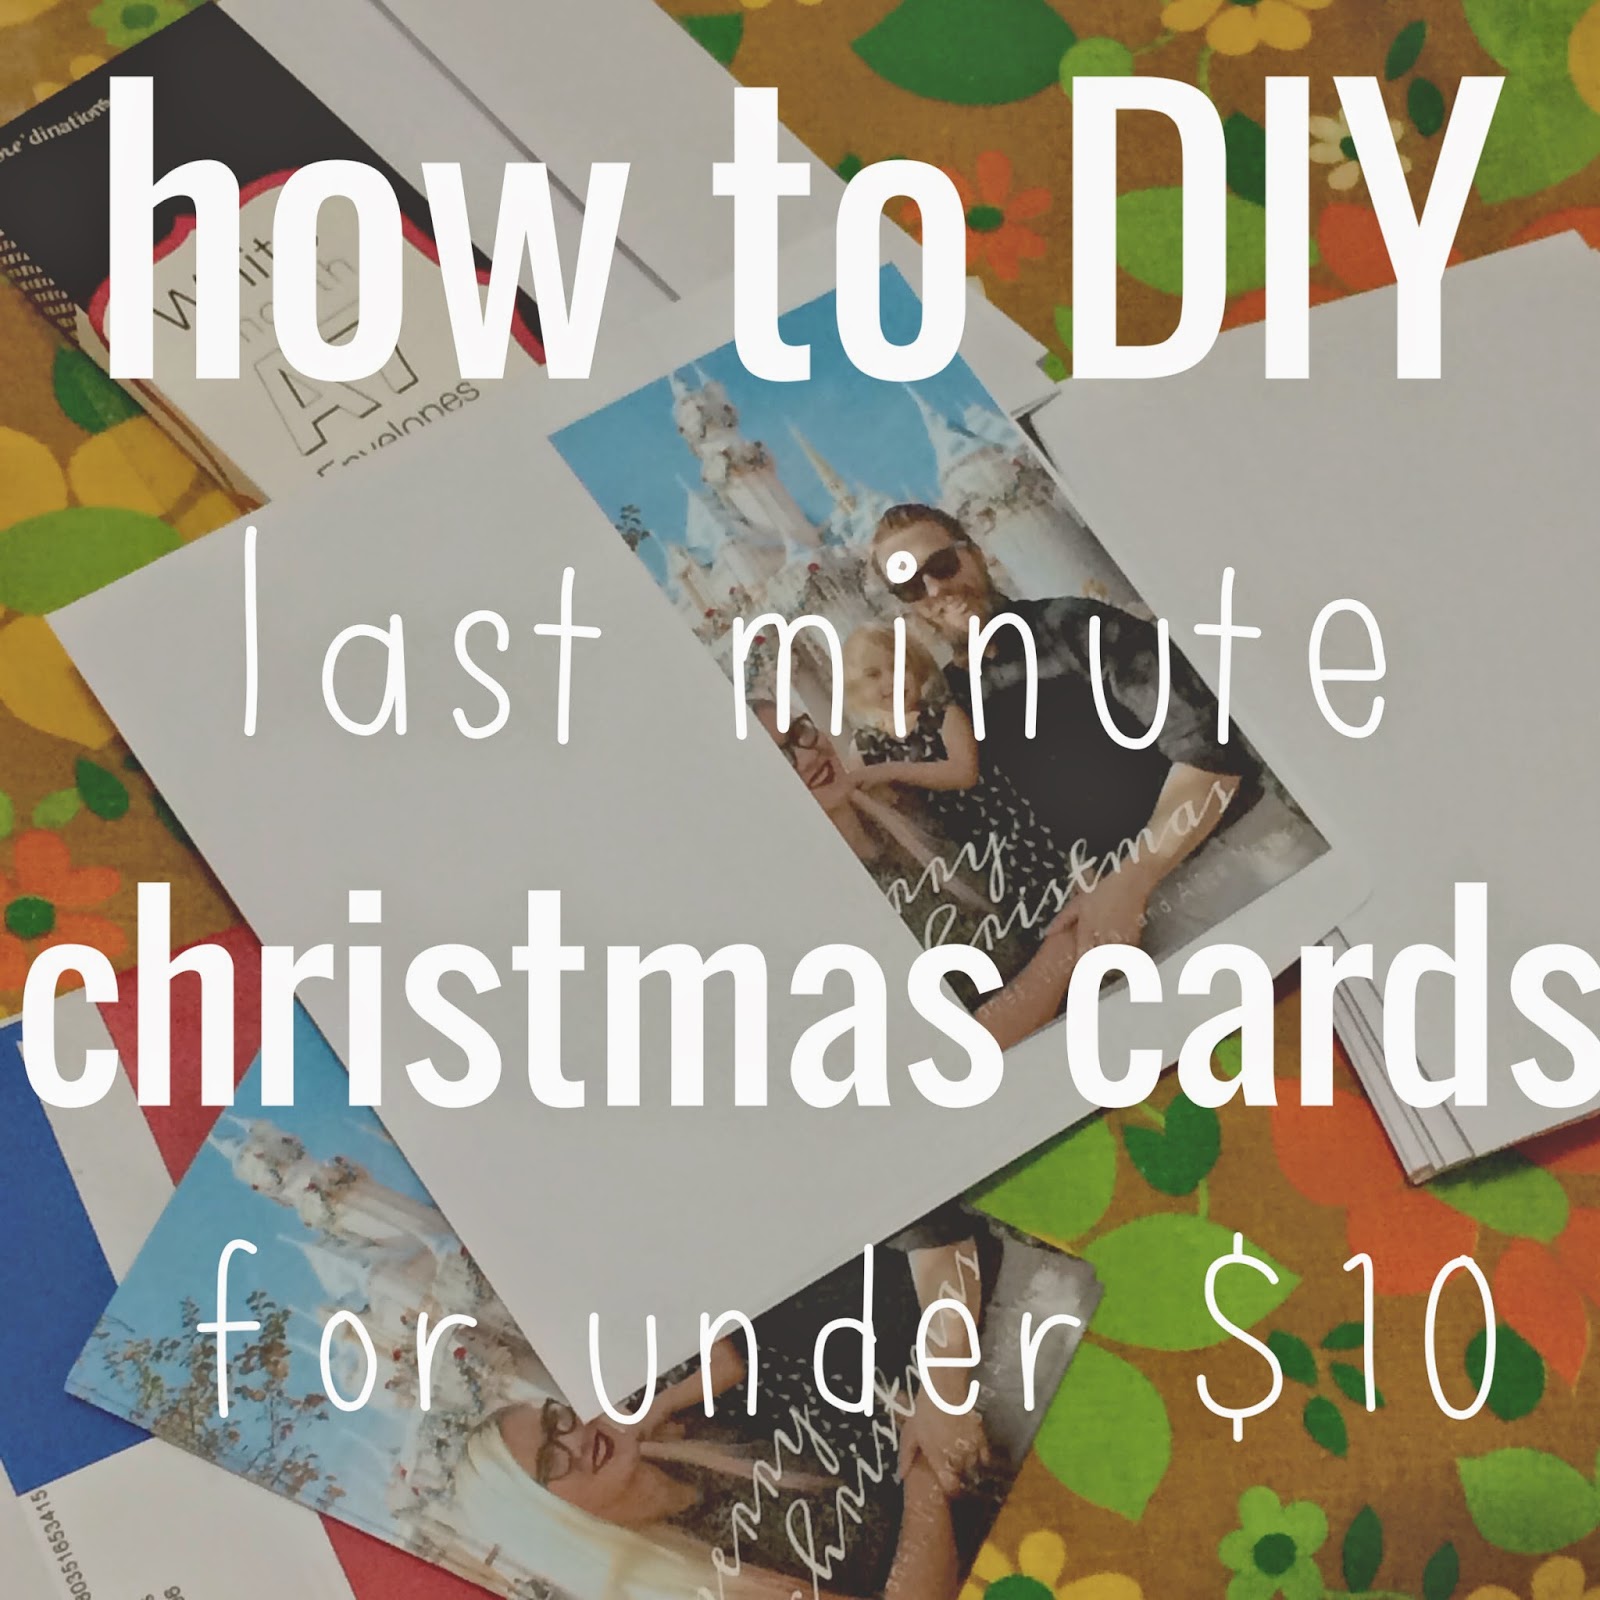
how to DIY last-minute christmas cards for under $10.


who here is a mega christmas procrastinator? oh come on, i know it cant be just me. 

well, funny story: as bad at christmas (and everything) related procrastinating as i usually am, taking way too many classes this last semester (more on that later) has made things about 9000 times worse. its december 19th. i am addressing and mailing our christmas cards as we speak (well, as you read this, since this the internet and all). 

but im damn proud of these christmas cards. yeah theyre maybe a teeny little bit late (but realistically were going to see approximately 90% of our intended recipients in real life before christmas). but they are not one teeny little bit half-assed. actually, theyre awesome, 100% DIY, and cost us less than $10. 

yes, you read that correctly. ten dollars. yes, that includes envelopes. yes, you can totally do the exact same thing right now and have spiffy new christmas cards in a couple hours. actually, writing this tutorial is taking way longer than actually making these cards did. just saying. 

so, ready to make some some legit-looking fast and easy christmas cards? lets go!

1. snap a family picture (or a few). bonus points if you already have a decent photo from earlier in the year. this was actually the most labor intensive step for us because despite my super simple minimalist christmas card concept, james really wanted to take our family picture at disneyland. so while your process might enjoy digging something from your hard drive or having a friend snap a photo at the park, ours involved lugging the tripod and DSLR and toddler that was not having anything to do with this nonsense through disneyland and having everyone stare at us while we took pictures with a timer. i can guarantee that as long as you dont do that this step is super easy. 

2. turn it into a christmas card-worthy graphic. depending on your style, you can VERY easily (even if you have zero design skills like me), slap a simple greeting onto a photo (or collage if youre feeling ambitious) using an app like a beautiful mess or a site like picmonkey. i like a beautiful mess because there arent a ton of options and theyre all curated to coordinate so its really, really hard to make something that looks bad. 

3. print your graphic at target. or walmart, or an office store, or wherever on-demand photo prints are sold. 4x6 prints are going to be the cheapest (i got mine at target for 13 cents each), so make sure you optimized your graphic to print at 4x6 (or 5x7 if youre a big spender). 

4. grab some plain envelopes. obviously, the main advantage for buying christmas cards from a card printer is that they come with envelopes. but this is not nearly as big of a problem as you think it is. joanns sells them in the paper-crafts section with all the other card-making supplies. unfortunately my joanns didnt have any A4 envelopes appropriate for my 4x6 cards, so i got stuck with 5x7 envelopes, but i guess thats not a huge deal since 25 envelopes was $3.99 (and 30% off). 

5. and youre done! seriously, thats it. yesterday, i ordered my prints, ran to joanns for envelopes, and when i got to target to pick them up, they were done. easiest christmas cards ever. and the cost breakdown? 25 prints at $.13 each = $3.25, 25 blank envelopes (on sale) = $2.79. a beautiful mess app = $.99. total cost for 25 totally legit christmas cards? $7.03 (plus tax). 

cant beat that, can you? 

and while were on the topic, merry christmas from the meyers family to yours!


Monday, October 27, 2014

easy diy weeping angels.

youre probably aware by now that i had a totally rad dr who themed birthday party last weekend. and whats a dr who party without some (fake, thank GOODNESS) webbing angels hanging around to scare the bejezzus out of everyone? not much of a dr who party ad all, if you ask me...

anyway, fellow whovian party planners may or may not have seen this incredible tutorial using barbies and stone texture spray paint. its amazing. and also, really really time consuming and potentially very expensive if you dont already have all those supplies just lying around. (if you havent seen the tutorial though, go take a look, its not one to be missed). 

now, i am way, way too broke and lazy to deal with that involved of a project. so i came up with my own cheaper, faster, easier, and still freaking terrifying alternative:


heres what you need: 

1. assorted angel tchotchkes (note: these are surprisingly difficult to find seeing as folks tend to collect them and not get rid of them, so be prepared to spend some time looking for them. though i did find what i needed at a fairly large thrift store)

2. krylon natural stone spray paint (available at craft and hardware stores, i made five weeping angels without using up a whole can, so you dont need a lot)

3. paper and tape to mask off a safe area for overspray (very important)

heres what you do:

step 1: pick a nice sunny spot outside and tape down some paper to protect everything around you from overspray (do NOT make my mistake of picking a spot in the shade because you think it will make the project more comfortable, because all it will do is make your angels take for-freaking-ever to dry):


step 2: thoroughly coat your angels with the spray. please note that the stone spray is a lot less like paint and a lot more like stuff with bits in it so make sure to turn your pieces upside down, spray the underside first, THEN turn them over and spray from the top:


step 3: let your angels dry for at least fifteen minutes in the sun (guess how many tries it took me to figure that one out...), before going back to fill in the nooks and crannies. dont worry about the paint getting thick, lumpy or drippy though, it just adds to the effect. 


step 4: let them dry (again IN. THE. SUN.) for a couple more hours until the stone finish fully hardens, and then YOURE DONE!

wasnt that easy? 

im really happy with how these came out, and i got a LOT of compliments about them at the party. mainly im happy that i got to still have my weeping angels for about $15 and an hour, instead of spending who knows how much on an all day project. 

please let me know if you try this out, id love to see what you make!

(p.s. this post was not sponsored in any way by krylon it just so happens that they make the only stone type spray paint i could find) 


Friday, August 8, 2014

CREATE 2014 + getting back in the craft fair game.

as youve probably heard about a million, billion times on instagram and twitter, we (i almost typed i, but really poverty luxe is a family affair and james and alice deserve credit here too) did our first craft fair with poverty luxe last weekend!

now, this wasnt my first craft fair ever, id actually done quite a few when i was in college with my old etsy shop. but, none of those really went all that great, and after taking SUCH a long break (during which, i obviously analyzed and overanalyzed everything i did wrong and how to address it) , i was really happy to finally have a chance to put all these really important things i know now (like, um, branding, customer service, and displays that are actually functional). and i mean, $50 craft fair, RIGHT DOWN THE STREET FROM MY HOUSE? sold. 

even though i had booked the fair a couple MONTHS ago, i (obviously) totally procrastinated and didnt really do any preparations until the last couple of weeks before the fair, but thankfully, everything got done. i made somewhere around 100 new bows (several new fabrics will be coming to the shop soon!), and james helped me make a super cute display for them: 


(p.s. that awesome white cubby thing? i found that IN THE TRASH just a couple days before the fair, how perfect is that?)

even though it took a couple of very frustrating trips to the hardware store, we did get my rack built, and its awesome and i love it: 


also, i painted signs, which dont look like much but im really proud of them because i do. not. paint. and they came out pretty cute. 

but seriously, how stinking cute are all my skirts all lined up on my new rack? i mean really:


and of course i had a couple clearance bins of pieces from my old shop that I'm just not sure what to do with (but seriously, what am i supposed to do with this stuff?):


and after weeks of stress and panic and frustration and tears and feeling like a failure because i couldnt get the freezer paper printing on fabric thing to work (spoiler alert: james did, everything has labels now), we had achieved something i had never been able to do before with  my old shop:


and attractive, functional booth/display, filled with a carefully curated collection of well-constructed pieces that all go together and reflect a consistent brand image. that alone was an amazing feeling. 

but after all that blathering about the booth and the process and all that, im assuming what you actually want to know is how the fair itself actually went. 

and well, im not sure how to answer that question. obviously, the most important part is that i did it and poverty luxe is henceforth able and prepared to do more craft fairs in the future, and the second most important part is that i didnt lose money on the fair (mainly thanks to my completely insane business model). 

but the event itself? meh. dont get me wrong, the girls running the fair worked very hard, they picked a great location, a great mix of vendors, and did a great job about promoting the event as a whole as well as spotlighting the individual vendors on instagram. however, i didnt realize that the girls running the show were like, 18, and maybe not super experienced with running a full-blown craft fair (and maybe this is just me being snobby from having been involved in several real, serious craft fairs in the past), but the day-of operations? those were kind of a mess. and attendance? well, lets just say that if each individual vendor had simply brought 10 friends/family members (like i did), and nothing else, the attendance would have been awesome. and sales? my sales covered my booth fee (plus a little left over to sponsor a blog giveaway coming up), BUT all of that, except for one $5 purchase, was from people i know. 

but instead of focusing on those things, id rather give us all pats on the back for just doing the fair, and appreciate the cute new prints and tardis skirt that i got from other vendors. 

and you know, i actually wrote a blog post, so thats cool. 

Thursday, June 26, 2014

poverty luxe: coming soon to a craft fair near you! (assuming that youre near gardena, that is...)


so, i was hoping that id be able to jump right back into blogging at full speed with the "what is poverty luxe" series that ive been working on, but as you may or may not know (depending on how many social media outlets you follow me on), james has been working out of town for the past five weeks. 

five. weeks. 

and most of those weeks have included working on saturday, meaning, that for over a month now, i only have a husband at home on sundays. over half of which is spent at church and our new weekly trip to the revolving sushi restaurant and 99 cent store (which are conveniently right next to each other, thus proving that a low income, mostly asian neighborhood is the BEST PLACE EVER). so as you can probably imagine, writing a serious  series defining and explaining the somewhat abstract ethos of our lifestyle, well... thats not coming along as quickly as i had hoped. 

BUT! i do have some good news for you: (and also perhaps a handful of shorter, lighter posts both before and in between this new series):

poverty luxe (the brand) is officially booked for its first ever real life craft fair this summer!!!!!

the event is called CREATE 2014, and its happening on august 2nd, right here in gardena, you can read more about the event on their website, and i am so, SO excited to be a part of it (i seriously could NOT even make up a better jump back into the craft fair world!).

and since june has absolutely FLOWN by (mostly because of my exhausted and sleep-deprived state), i now have a little more than a month to prepare. which ordinarily would send me straight into panic mode, except that im already happy with the size of my inventory, so sewing more isnt necessarily a priority. 

i do have to make fabric labels and sew them into all my skirts though (does anyone know where i can get freezer paper around here?), make some signs, and build a clothing rack  (does anyone want to come over with some drills?. 

but i can do all that in a month, right? 

i really hope so, i mean, this booth is already paid for....

Thursday, April 17, 2014

how to make a fitted sheet (out of that flat sheet that you werent using anyway)


embarrassing confession time: i am a violently fitful sleeper. to the point where i WEAR GIANT GAPING HOLES in my sheets. im not kidding. i wish i was kidding, because a few months ago, i finally wore out the super fancy sheets we got on clearance right after we got married. and i dont mean that the sheet finally wore out, i mean that there was a distinct, obvious, victoria-sized hole on my side of the bed and the rest of the sheet was perfect.

at the time this happened, we had NO money for new sheets. not even crappy ones, given that our (hand-me-down) mattress is a king sized extra thick pillow top and the cheapest cheap sheets i could find were $40 +.  i knew we couldnt get crappy sheets because one time i had crappy sheets and i wore them to ribbons in like a year. so i started researching options and i found a few tutorials on how to make a fitted sheet. 

and i was like, "great! i totally have the flat sheet that came with our set because theres nothing i hate more than flat sheets and i have a matching one hanging out in the linen closet wasting space so ill use that! problem solved!"

but just about all of these tutorials involved measuring your mattress and doing all this complicated math (i guess its not that complicated, but please remember that im HORRIBLE at math), measuring the dimensions of the mattress and adding various amounts to account for hems, elastic casing, and seam allowances. 

i started taking measurements and trying to work out the math but it got too complicated and i wasnt sure the flat sheet would be big enough and my enthusiasm for making a fitted sheet waned all the way down to "oh well, thats too much work, ill just pull out the ugly flannel sheet that i hate and hope we have enough money for nice sheets when that one eventually wears out". 

then one day a couple weeks ago, it hit me that flat sheets are specifically designed to wrap all the way around the mattress and that OF COURSE it was enough fabric and the only measurement i even needed was the mattress height and i didnt even have to do ANY hems or casings. 

awesome. 

so, i finally made our fitted sheet. and because i know that i am certainly not the only person out there that HATES sleeping with a flat sheet (they make me claustrophobic, ok), i thought that all you kind folks would appreciate this little tutorial, because whats better than getting a free extra fitted sheet in your sheet set?

heres what you need:


flat sheet in the same size as your mattress
measuring tape
rotary mat + clear ruler
marking pen of some kind
scissors or rotary cutter
pins
lots and lots of elastic (enough to go ALL THE WAY around your mattress, my king sized sheet used about 8.5 yards)
sewing maching (not pictured)

and heres what you do:

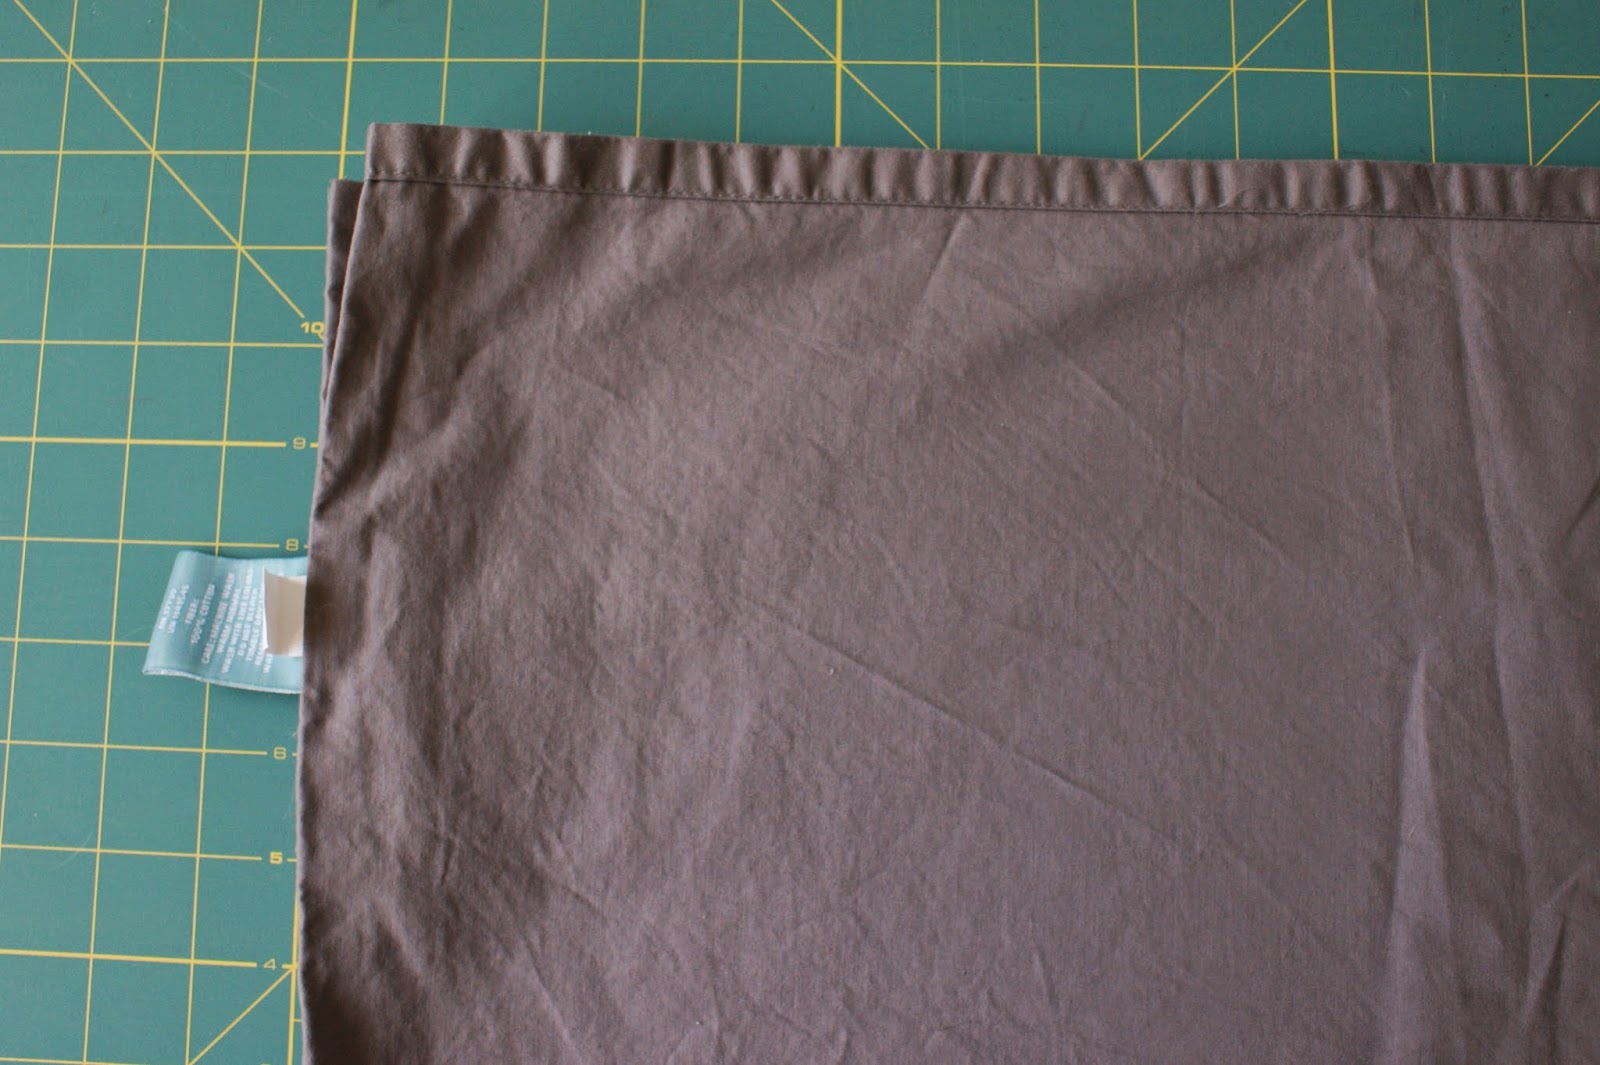
step one: fold your flat sheet in quarters with all four corners exactly together (this makes it so you only have to cut and measure once):


step two: measure the overall height of your mattress, and add about an inch or so to account for the seam allowances (my mattress was about 13 inches high, so i did 14 inches):


step three: mark a square using that measurement on the corner of your sheet (so, in my case, 14x14 inches):


and cut it out, cutting through all four layers at the same time:


step four: pin each corner together right sides together (and dont mess this up like i did):


this is what makes the "pockets" for your mattress)

step five: sew each corner shut, using a short straight stitch for extra durability:


step six: finish your seam allowances with a zigzag stitch (this is important to prevent fraying, since sheets get washed a lot, you dont want the seams to wear out):


step seven: heres where things get tricky, set your sewing machine to a stretch stitch (like the one thats a zigzag/running stitch combination, and place one end of your elastic under the presser foot like so:


and sew a few stitches back and forth to secure the end. next pull your elastic TIGHT and hold it right up against the edge of the sheet (just like in the picture) sew ALL THE WAY around your sheet, keeping the elastic pulled as tightly as possible. 

it should look like this on the inside:


and this on the outside:


step eight: when you get all the way back to where you started, keep sewing the elastic until it overlaps the beginning by about an inch, and then back stitch a few times to make sure its EXTRA secure:


step nine: clip any threads you have left, and then youre done! go enjoy your brand spanking new custom fitted sheet!

but after telling a few people about this project, i noticed that flat sheets are a pretty polarizing issue. people either love them or hate them. what are your thoughts on flat sheets? necessary, or unpleasant?