Showing posts with label diy. Show all posts

Wednesday, August 19, 2015

housewifes whimsy hand + body lotion (a guest post).

today i have another wonderful lady taking over: stacie from Housewife’s Whimsy is here with a recipe for some homemade lotion with essential oils! this recipe looks absolutely fantastic and i hope i can get the spare time to make a batch sometime soon. but this is her recipe, not mine so ill let stacie take over now:

One of my favorite things to do is make homemade lotion. I’ve been doing it for some time now and I just love the way it feels when I put a fresh batch on my hands. This lotion recipe I’ve created is super silky, soft and luxurious. You will be in heaven once you try it out!
If you’ve made homemade lotion before you know that it can tend to be on the greasy/oily side. I’ve actually fixed that problem with this recipe! By adding a little bit of Arrowroot starch (or corn starch) you can actually make the lotion less greasy when you first put it on. It will absorb quickly into your skin and keep it soft throughout the day. The lotion has a thin consistency so it is perfect for spreading all over your body.
This recipe has been created exclusively for Poverty Luxe, but it is based on my favorite Honey and Shea Lotion. However, I have not included any coconut oil in this recipe since I know some people have allergic reactions.  This lotion is perfect for anyone with very sensitive skin. If you have trouble with fragrance or any essential oils you can simply omit this from the finished product. You will then have a wonderful unscented product to work with.  I’ve listed a few ingredients as optional, however if you omit them your finished product will not be as hydrating as this version. I also highly suggest using all organic ingredients since then you will only be putting only the very best on your body.
While I have a variety of essential oils on hand, I realize you may not. You can use any combination of EO’s you wish, you will simply need about 80 drops for this recipe. I’ve created a blend specifically for Poverty Luxe and this recipe below. It is a bright citrus based fragrance with notes of eucalyptus and clove bud.  This is one of my favorite EO blends to date, the only other one that even comes close is the blend for my Eucalyptus Citrus Body Butter. Depending on what you prefer, or any allergies you need to consider, use whatever blend works for you.
Homemade lotion will last for about three months at room temperature. If you keep it in the fridge you it will have a slightly longer shelf life, but not by much. However, this recipe makes the perfect amount of lotion, one for you and one for a friend! It is also a great way to reuse those mason jars you have laying around from other projects. Just simply make sure they have been sterilized before you use them for lotion, otherwise it will cut down on the shelf life. I personally like to glue some decorative paper to the tops of the lids to make them a little more beautiful.
Housewife’s Whimsy Hand & Body Lotion
1/3 Cup Grapeseed Oil
1/3 Cup Sunflower Oil
1/3 Cup Sweet Almond Oil
¼ Cup Beeswax
Optional:
3 Teaspoons Organic Honey with Honeycomb
4 Teaspoons Vitamin E Oil
4 Teaspoons Shea Butter
6 Tablespoons Distilled Water
4 Tablespoons Arrowroot Starch
80 Drops Essential Oil
Special Poverty Luxe EO Blend:
20 Drops Lemon EO
20 Drops Sweet Orange EO
10 Drops Tea Tree EO
10 Drops Clove Bud EO
10 Drops Eucalyptus EO
5 Drops Frankincense EO
5 Drops Myrrh EO
Combine the oils, beeswax, honey, vitamin E oil, and shea butter in a medium saucepan, set over low heat.

Gently stir until the beeswax has melted.

Remove from heat and pour into a large bowl. Pour in the distilled water and arrowroot starch.

Using a hand mixer, mix together the oil and water until it resembles lotion.

Let cool to the touch then gently stir in the essential oils.
Once the lotion has completely cooled, spoon it into clean jars. (This recipe will make approximately two 8oz containers.)

Spread liberally over your hands and body and enjoy!

Pro tip: Have a specific saucepan, mixing bowl and mixer to use for making lotion. It is incredibly difficult to get these items completely clean so having ones specified for this use will prevent cross contamination with food.

Stacie LaMoore has been blogging at Housewife’s Whimsy since November 2014. Her blog contains a variety of topics including Gluten Free recipes, natural body and home ideas, and most importantly, cupcakes. She lives in northern Iowa with her husband, dog and cat where there isn’t much to do other than bake and watch the corn grow. She loves reading, kayaking and everything related to baking.  She’s very excited to have this chance to share a little of her life with you!


post signature

Friday, December 19, 2014

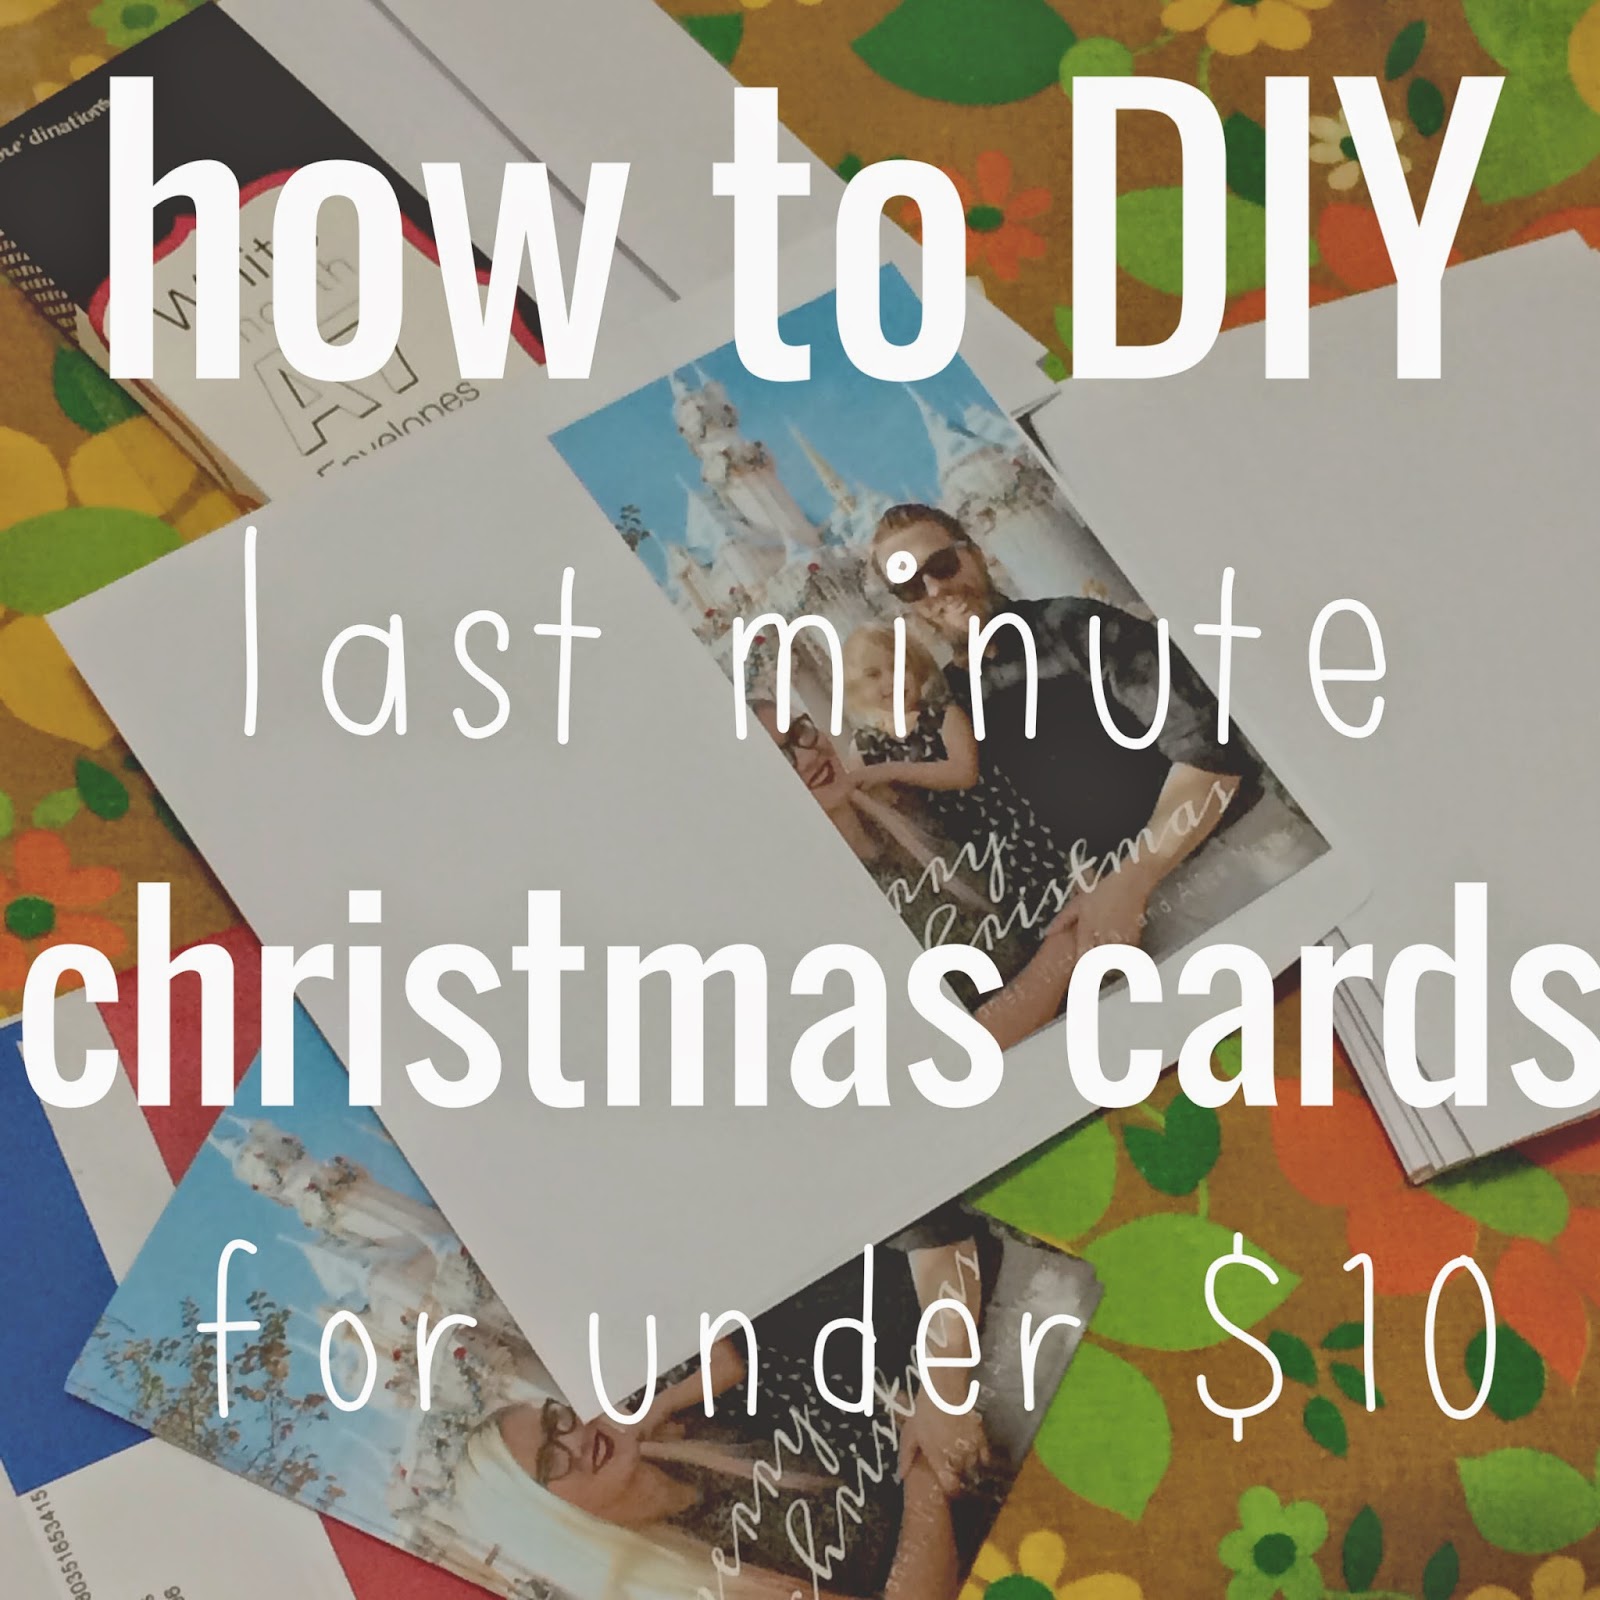
how to DIY last-minute christmas cards for under $10.


who here is a mega christmas procrastinator? oh come on, i know it cant be just me. 

well, funny story: as bad at christmas (and everything) related procrastinating as i usually am, taking way too many classes this last semester (more on that later) has made things about 9000 times worse. its december 19th. i am addressing and mailing our christmas cards as we speak (well, as you read this, since this the internet and all). 

but im damn proud of these christmas cards. yeah theyre maybe a teeny little bit late (but realistically were going to see approximately 90% of our intended recipients in real life before christmas). but they are not one teeny little bit half-assed. actually, theyre awesome, 100% DIY, and cost us less than $10. 

yes, you read that correctly. ten dollars. yes, that includes envelopes. yes, you can totally do the exact same thing right now and have spiffy new christmas cards in a couple hours. actually, writing this tutorial is taking way longer than actually making these cards did. just saying. 

so, ready to make some some legit-looking fast and easy christmas cards? lets go!

1. snap a family picture (or a few). bonus points if you already have a decent photo from earlier in the year. this was actually the most labor intensive step for us because despite my super simple minimalist christmas card concept, james really wanted to take our family picture at disneyland. so while your process might enjoy digging something from your hard drive or having a friend snap a photo at the park, ours involved lugging the tripod and DSLR and toddler that was not having anything to do with this nonsense through disneyland and having everyone stare at us while we took pictures with a timer. i can guarantee that as long as you dont do that this step is super easy. 

2. turn it into a christmas card-worthy graphic. depending on your style, you can VERY easily (even if you have zero design skills like me), slap a simple greeting onto a photo (or collage if youre feeling ambitious) using an app like a beautiful mess or a site like picmonkey. i like a beautiful mess because there arent a ton of options and theyre all curated to coordinate so its really, really hard to make something that looks bad. 

3. print your graphic at target. or walmart, or an office store, or wherever on-demand photo prints are sold. 4x6 prints are going to be the cheapest (i got mine at target for 13 cents each), so make sure you optimized your graphic to print at 4x6 (or 5x7 if youre a big spender). 

4. grab some plain envelopes. obviously, the main advantage for buying christmas cards from a card printer is that they come with envelopes. but this is not nearly as big of a problem as you think it is. joanns sells them in the paper-crafts section with all the other card-making supplies. unfortunately my joanns didnt have any A4 envelopes appropriate for my 4x6 cards, so i got stuck with 5x7 envelopes, but i guess thats not a huge deal since 25 envelopes was $3.99 (and 30% off). 

5. and youre done! seriously, thats it. yesterday, i ordered my prints, ran to joanns for envelopes, and when i got to target to pick them up, they were done. easiest christmas cards ever. and the cost breakdown? 25 prints at $.13 each = $3.25, 25 blank envelopes (on sale) = $2.79. a beautiful mess app = $.99. total cost for 25 totally legit christmas cards? $7.03 (plus tax). 

cant beat that, can you? 

and while were on the topic, merry christmas from the meyers family to yours!


Monday, October 27, 2014

easy diy weeping angels.

youre probably aware by now that i had a totally rad dr who themed birthday party last weekend. and whats a dr who party without some (fake, thank GOODNESS) webbing angels hanging around to scare the bejezzus out of everyone? not much of a dr who party ad all, if you ask me...

anyway, fellow whovian party planners may or may not have seen this incredible tutorial using barbies and stone texture spray paint. its amazing. and also, really really time consuming and potentially very expensive if you dont already have all those supplies just lying around. (if you havent seen the tutorial though, go take a look, its not one to be missed). 

now, i am way, way too broke and lazy to deal with that involved of a project. so i came up with my own cheaper, faster, easier, and still freaking terrifying alternative:


heres what you need: 

1. assorted angel tchotchkes (note: these are surprisingly difficult to find seeing as folks tend to collect them and not get rid of them, so be prepared to spend some time looking for them. though i did find what i needed at a fairly large thrift store)

2. krylon natural stone spray paint (available at craft and hardware stores, i made five weeping angels without using up a whole can, so you dont need a lot)

3. paper and tape to mask off a safe area for overspray (very important)

heres what you do:

step 1: pick a nice sunny spot outside and tape down some paper to protect everything around you from overspray (do NOT make my mistake of picking a spot in the shade because you think it will make the project more comfortable, because all it will do is make your angels take for-freaking-ever to dry):


step 2: thoroughly coat your angels with the spray. please note that the stone spray is a lot less like paint and a lot more like stuff with bits in it so make sure to turn your pieces upside down, spray the underside first, THEN turn them over and spray from the top:


step 3: let your angels dry for at least fifteen minutes in the sun (guess how many tries it took me to figure that one out...), before going back to fill in the nooks and crannies. dont worry about the paint getting thick, lumpy or drippy though, it just adds to the effect. 


step 4: let them dry (again IN. THE. SUN.) for a couple more hours until the stone finish fully hardens, and then YOURE DONE!

wasnt that easy? 

im really happy with how these came out, and i got a LOT of compliments about them at the party. mainly im happy that i got to still have my weeping angels for about $15 and an hour, instead of spending who knows how much on an all day project. 

please let me know if you try this out, id love to see what you make!

(p.s. this post was not sponsored in any way by krylon it just so happens that they make the only stone type spray paint i could find) 


Tuesday, March 11, 2014

diy heating pad tutorial.

generally speaking, im not at all shy about the fact that i have about one million health problems. i mean, i dont go out of my way to make a big public show about it, but if you ask me, i wont lie: various types of chronic pain and i have basically been inseparable since i was, i dont know 15 or 16 or something. its not something i really complain about all that much, and i definitely dont want any special treatment over it, its just what i have to deal with. maybe one day ill write a more serious post about living with invisible illness, but today is not that day. 

today I'm going to show you how to make your own super-cute heating pad. these are very, very useful for things like period cramps and muscle spasms and hands that just WILL NOT stop hurting because, i dont know, the wind blew a slightly different direction today. i (obviously) use mine all the time. but the thing is, the one i had was just rice sewn into a (clean) sock, and it was really ugly. not only was it ugly, but the sock was stretchy (like socks usually are) and that made the rice pool in the ends and it would flop around and refuse to lay flat (which was a pretty big issue when i needed to use it for my neck and shoulders). so i made a new one. 

and you should make one too. seriously, everybody should own one. you just pop this thing in the microwave for about a minute and you have over an hour of soothing heat that is way, WAY less wasteful than those stupid disposable ones. and I'm willing to bet that you already have everything you need to make one (also, this project takes maybe half an hour start to finish. YOU DONT EVEN NEED TO PLUG IN YOUR IRON). 

heres what you need:


fabric (a woven cotton is best, i used some leftovers from my battlestar galactica skirts because if anyone can make my pain go away its commander adama)
rice (about three cups)
pins
scissors
marking pen of some kind (im OBSESSED with my new chaco liner, but you can just use a marker)
thread (not pictured)
small funnel or piece of paper to fold into a funnel (not pictured)
sewing machine (not pictured, though you could totally hand sew this too)

step one: measure, mark and cut two rectangles of fabric measuring 5 by 14 inches:


step two: pin your two rectangles together right sides together:


step three: sew a running stitch around all four sides of your rectangle using a half inch seam allowance, and leave a two-inch or so gap on one of the short ends for turning:


please note the gap:


step four: trim your corners to a 45 degree angle, but be extra careful not to cut through your seams:


step five: turn your fabric right side out and use a pencil or chopstick or something to poke the corners out nice and sharp:


step six: using either an actual funnel or a piece of paper (like i did because we dont have a funnel), fill your fabric up with rice (this should take almost exactly three cups of rice):


step seven: fold the seam allowances of the opening back under and pin the heating pad shut:


step eight: sew the opening shut by hand. you can use a whipstitch or running stitch, or you can get fancy and use a ladder stitch like i did, this part is really up to you:


and now youre done!


wasnt that easy? now you have a totally cute heating pad to make all your heating pad needs a little less sucky because at least its cute. 

(p.s. as soon as james saw this he said i NEED to put them in the shop, what do you think?)

Thursday, March 6, 2014

how to make super delicious, all natural, no chemical, vegetable stock concentrate from scraps you were just going to throw away anyway.

vegetable stock. its pretty dang essential if, like me, you dont eat meat and want to enjoy things like soup and curry and risotto and quinoa that doesnt taste like dirt (though, cooking quinoa in stock does NOT make it actually tasty or filling). 

well its really hard to find one thats both affordable and not just salt and msg. 

for YEARS i was really into better than bouillon soup base (dont let the amazon price freak you out, its only like $5-6 at the grocery store and makes SO MUCH SOUP and comes out WAY cheaper than cubes). its awesome. mainly because it doesnt have any nasty chemically ingredients (some stores carry an organic version as well), and since the paste is just in a jar instead of already packed in cubes, you can totally control how much flavor gets into whatever youre making. really, if you were to ask me what my favorite broth/stock/bouillion was, id say better than bouillion. 

BUT as you probably all know by now i am allergic to everything. E.V.E.R.Y.T.H.I.N.G. and even the organic better than bouillon concentrate has soy sauce. and soy sauce, unless specifically declared gluten free (in which case, is actually tamari sauce, but thats beside the point), is a big no-no for me. i tried a couple other boullions recently and 1. they really werent nearly as good as the better than bouillon and 2. all of them either contained msg or other suspiciously msg-sounding ingredients and i just found out that i am DEFINITELY severely allergic to msg (i mean, what else could make me sick for a week from a plain salmon fillet at a restaurant?). 

so the time finally came to try something totally crazy that id wanted to try for months but was too afraid to but now i HAD to do it or we were never having soup again (and with a diet as restricted as mine, soup had to be saved AT ALL COSTS):

homemade vegetable stock concentrate from vegetable scraps. 

now, in typical obsessive compulsive firstborn fashion, i did a LOT of research on how exactly i should go about doing this, but since i had a VERY specific end product in mind, i didnt see anything that was exactly perfect. i found plenty of recipes for scrap stock (apparently its totally a thing, and a couple recipes for stock concentrate from whole veggies (but that just seemed like a waste of good vegetables). 

so basically i combined what i thought were the best methods of vegetable scrap stock  making, and stock concentrate making.   

and it turned out pretty dang awesome. so awesome that I'm going to show you how to do it too (obviously). 

this isnt really so much of a hardlined recipe as much as its a tutorial which you can customize to fit your needs/preferences. because the exact ingredients dont really matter so much as the technique, and the technique is what i couldnt anywhere in the internet, anyway. 

so lets get started:

first youre going to need to start saving your vegetable scraps. 

mine had things like carrot, onion, and potato skins, celery ends and leaves, and bits of squash and asparagus. but really you can use anything you want except leafy veggies (lettuce, broccoli, brussels sprouts, etc.)

you just put these in a gallon size ziploc in your freezer and wait till its full, it will look like this:              


depending on how much you cook this could take anywhere from a week to a couple months (it took us maybe three weeks to fill one bag?), but anyway, when its full youre going to pop it in your biggest pot, along with a few other (optional) ingredients:

i added a can of tomatoes (most of the stocks ive bought have tomato in the ingredients but we dont eat fresh tomatoes, so if you have tomato scraps in your bag this wont be necessary), a bunch of parsley (because i didnt have any herb scraps in there), a few cloves of garlic, some bay leaf, salt, and black pepper. again, this part is really up to you.

next fill the rest of your giant pot with water:


and bring everything to a boil (note: this will take FOREVER since your veggies were all frozen), it will look like really ugly soup:


once its finally boiling, lower the heat and simmer everything until quite a bit of the water has evaporated and whats left tastes like vegetable stock (be sure to check periodically to see if you need more salt, pepper, herbs, whatever) this will take about three hours. it will look really gross:


but it will taste delicious. now you need to strain all of the scraps out. you could do this any number of ways, i simply used a potato masher to hold the scraps back while i poured the liquid into a separate pot. if you want to make sure you get every last drop of vegetable goodness (and why wouldnt you?) you could put the remaining scraps in cheesecloth and squeeze out the remaining liquid. i didnt want to wait for it to cool so i just kept mashing the leftover veggies until no more liquid came out. that works too. 

if you were just wanting to make vegetable stock, this is where youd stop:


my full stock pot yielded about 2.5 quarts of absolutely wonderful vegetable stock. 

but were not just making stock here (mainly because i dont want all that stock crowding up my freezer), were making stock concentrate, so were going to add one more step and simmer the strained stock on a very low flame until almost all the water is gone and you have a VERY concentrated bouillon paste (but be careful not to burn it!):


this will take about three more hours.

(sorry for the poor image quality there, at that point it was already dark outside and the lighting in my kitchen is terrible). 

my 2.5 quarts of stock boiled all the way down to fit perfectly in one eight-ounce better than bouillon jar:


now, what I've made here is not quite as concentrated as the actual better than bouillon paste, so it takes about a tablespoon of concentrate to make two cups of broth (instead of a teaspoon per cup, but still, i found a more than satisfactory replacement for something that i can't eat anymore, AND found a way to be less wasteful in the kitchen. a total win-win, right? 

(the answer is right. i had three gallon bags of veggie scraps in my freezer. i made three jars of this)

and there you have it, thats how i made tons of super awesome vegetable stock, basically for free. it is kind of a process, and does take almost a whole day, BUT since most of the time is passive, its really not that difficult. plus, you know, you were throwing those veggie scraps out anyway. might as well make them into something useful and delicious.

Thursday, February 13, 2014

champagne cork stamp tutorial.

so, you know how we've been drinking a lot of sparkling wine? well, we've had a lot of extra corks lying around. 

and alice got a fantastic idea. 

see, at alices ballet class, her teacher gives everyone hand stamps if they're good. alice LOVES getting her stamps from miss regine. well, one day, alice picked up a cork and told me "put your hands on your head for stamps!", and "stamped" my hands with her imaginary cork-stamp. 

which gave me an equally fantastic idea: i could totally make her a whole set of actual stamps with all the champagne corks lying all over the place. and since, you know, i have a degree in printmaking (which, by the way, is a super in-demand employable skill and i never have to explain what i went to school for. sarcasm), it was actually REALLY easy. 

in this project I'm basically using the same principles as a potato stamp, but since were using corks instead of potatoes, we can clean them up when were done and keep them forever, so its way less wasteful. plus, now alice has a whole bunch of fun stamps that were basically free. 

you should totally try it out. 

heres what you'll need:


champagne corks (obviously)
a marker
a small, sharp knife
scrap paper 
stamp pad (or paint)

and heres what youll do:

step 1: use your marker to draw the desired finished shapes of your stamps. you'll want to stick to simple shapes (remember, they are pretty small and the cork is soft and not suitable for intricate details). i mainly wanted these for alice to use at craft time (and maybe help her learn her shapes), so i did a heart, star, triangle, square, flower, and arrow:


step two: use your knife to cut a thin layer of cork away from the area NOT colored with marker (in artsy terms, this is called "negative space", you want to get rid of it). the best way to do this is to make vertical cuts (perpendicular to the surface of the cork) all the way around the outline of your desired shape, and then make horizontal cuts (parallel to the surface of the cork) about a millimeter or two below the surface of the cork to remove the negative space. if you do it right, when you're done, your cork will now look like a stamp:


step 3: using your stamp pad (or paint, my "big and juicy" stamp pad was NOT as juicy as advertised, and i ended up just using paint) to test out your stamp on the scrap paper and make sure the resulting shape is what you wanted (and if not, simply wipe off and fine-tune with your knife).

and ta-da! youre done:


now you have a whole set of (basically) free stamps for all your paper crafting needs!


i was actually really surprised that the curvy shapes (like the heart and flower) and the more complex shapes (like the star and arrow)  ended up coming out MUCH nicer than the simpler ones (like the triangle and square). 

and now if i could just find my stash of blank greeting cards we could make some valentines...