Showing posts with label tutorials. Show all posts

Friday, August 21, 2015

adventure time nail art tutorial (a guest post by taylor of posh polish nails).

Hi everyone! My name is Taylor, and I am so excited to be guest posting for Poverty Luxe! Victoria has kindly given me the opportunity to write not just one, but two posts to share with you all! Before I begin, here is a little bit about me :) I am a nail blogger, I run a blog entitled Posh Polish Nails! I am currently living in Bolivia, and I love using inspiration from the world around me for my nail art! I will be sharing two different nail designs with you guys, one today and another on the 28th, and each will have a brief tutorial so that you can recreate it! Today's design is inspired by one of my favorite shows, Adventure Time! I recently discovered that Victoria and her family are also fans of the show, so I thought this would be the perfect design for this post! Here is what I came up with :)


For those of you who haven't heard of or watch Adventure Time, it is an animated show on Cartoon Network, and it is not just for kids! I chose to paint the two main characters (Index and Ring fingers) and two of my favorite reoccurring characters (Middle and Pinky). I will list the products used by finger, along with the tutorial! Let's get started!  

Ring finger (Finn):

Polishes used:

Sally Hansen - Brisk Blue and White Out Orly - Liquid Vinyl The nude is actually a bolivian brand, but any nude would work :)

Tutorial!

This design is probably the easiest out of the characters. Start with a base of white polish. Paint the tip blue, using either the polish brush or a nail art brush. Using either the polish brush or a dotting tool, paint a nude oval towards the base of your nail, above the blue. The last step is to use a black polish and a nail art brush to add Finn's facial features, and to clean up the line between the white and the blue. I didn't do such a good job with the last step lol

Middle finger ( Lumpy Space Princess):

Polishes used:

Formula X - Outrageous Sally Hansen- White Out and Lemon Shark Orly - Liquid Vinyl

Tutorial!

Start off with a purple base. Lumpy Space Princess has a very iconic star on her forehead, so I chose to start off with that, since I feel it is the most important part. Paint a star at the base of your nails, you can go ahead and use yellow polish but I chose to use white first to give the yellow more vibrancy. If you chose to use white first, go back over it with yellow after the first coat dries. Next use a large dotting tool and a black polish to paint her eyes. Using a nail art brush, paint her mouth and eyebrows using black as well. LSP has many facial expressions, feel free to paint her smiling, smirking, or another emotion if you'd like! It is up to you! Since I chose to give her a sad expression, I added small white dots in her eyes to convey emotion!

Ring finger (Jake):

Polishes used:

Sally Hansen - White out and Lemon Shark Orly - Liquid Vinyl

Tutorial!

Start with a yellow base. Lemon Shark isn't exactly the right yellow, but it was the closest I had to Jake's actual color. Once your base is dry, use a dotting tool and black polish to create his eyes. This next step is pretty tricky. Using a nail brush, paint Jake's nose and mouth. This is a bit difficult, even I didn't get it exactly right. The final step is to use a smaller dotting tool to add white dots to his eyes. I think Jake is the hardest design out of all of them, he definitely has distinct features.

Pinky (Marceline):

Polishes used:

Zoya - Megan and Demetria Orly - Liquid Vinyl Sally Hansen - White Out

Tutorial!

Start with a light grey base. Using a black polish and a nail art brush, paint her hair, leaving a decent space in the middle for her face. Her hair frames her face, so I chose to let the hair define her face in this design. While it might be easier in theory to paint your nail all black and then add her face, I find it easier to start with the lighter color as my base. Using a small dotting tool, paint her eyes! Adding her mouth is the next step. I chose to paint her mouth red, but you could use black, grey, or any other color you think fits! Since Marceline is a Vampire, she needs some fangs! Paint them using a small brush and a white polish! This last step is completely optional, if you don't have space don't worry about it! The red dot on her neck was not a mistake, she has two bite marks on her neck (I only had room to paint one), so if you want, go ahead and add them using a small dotting tool! There you have it! What do you all think? If you recreate this mani, I would love to see! Tag me on Twitter or Instagram so I can see! I had so much fun putting this design together for you all! As mentioned above, I will be back to share another design and tutorial with you on the 28th! It was inspired by Victoria's daughter Alice! Any guesses about the theme?
-Posh Polish
   
post signature

Friday, December 19, 2014

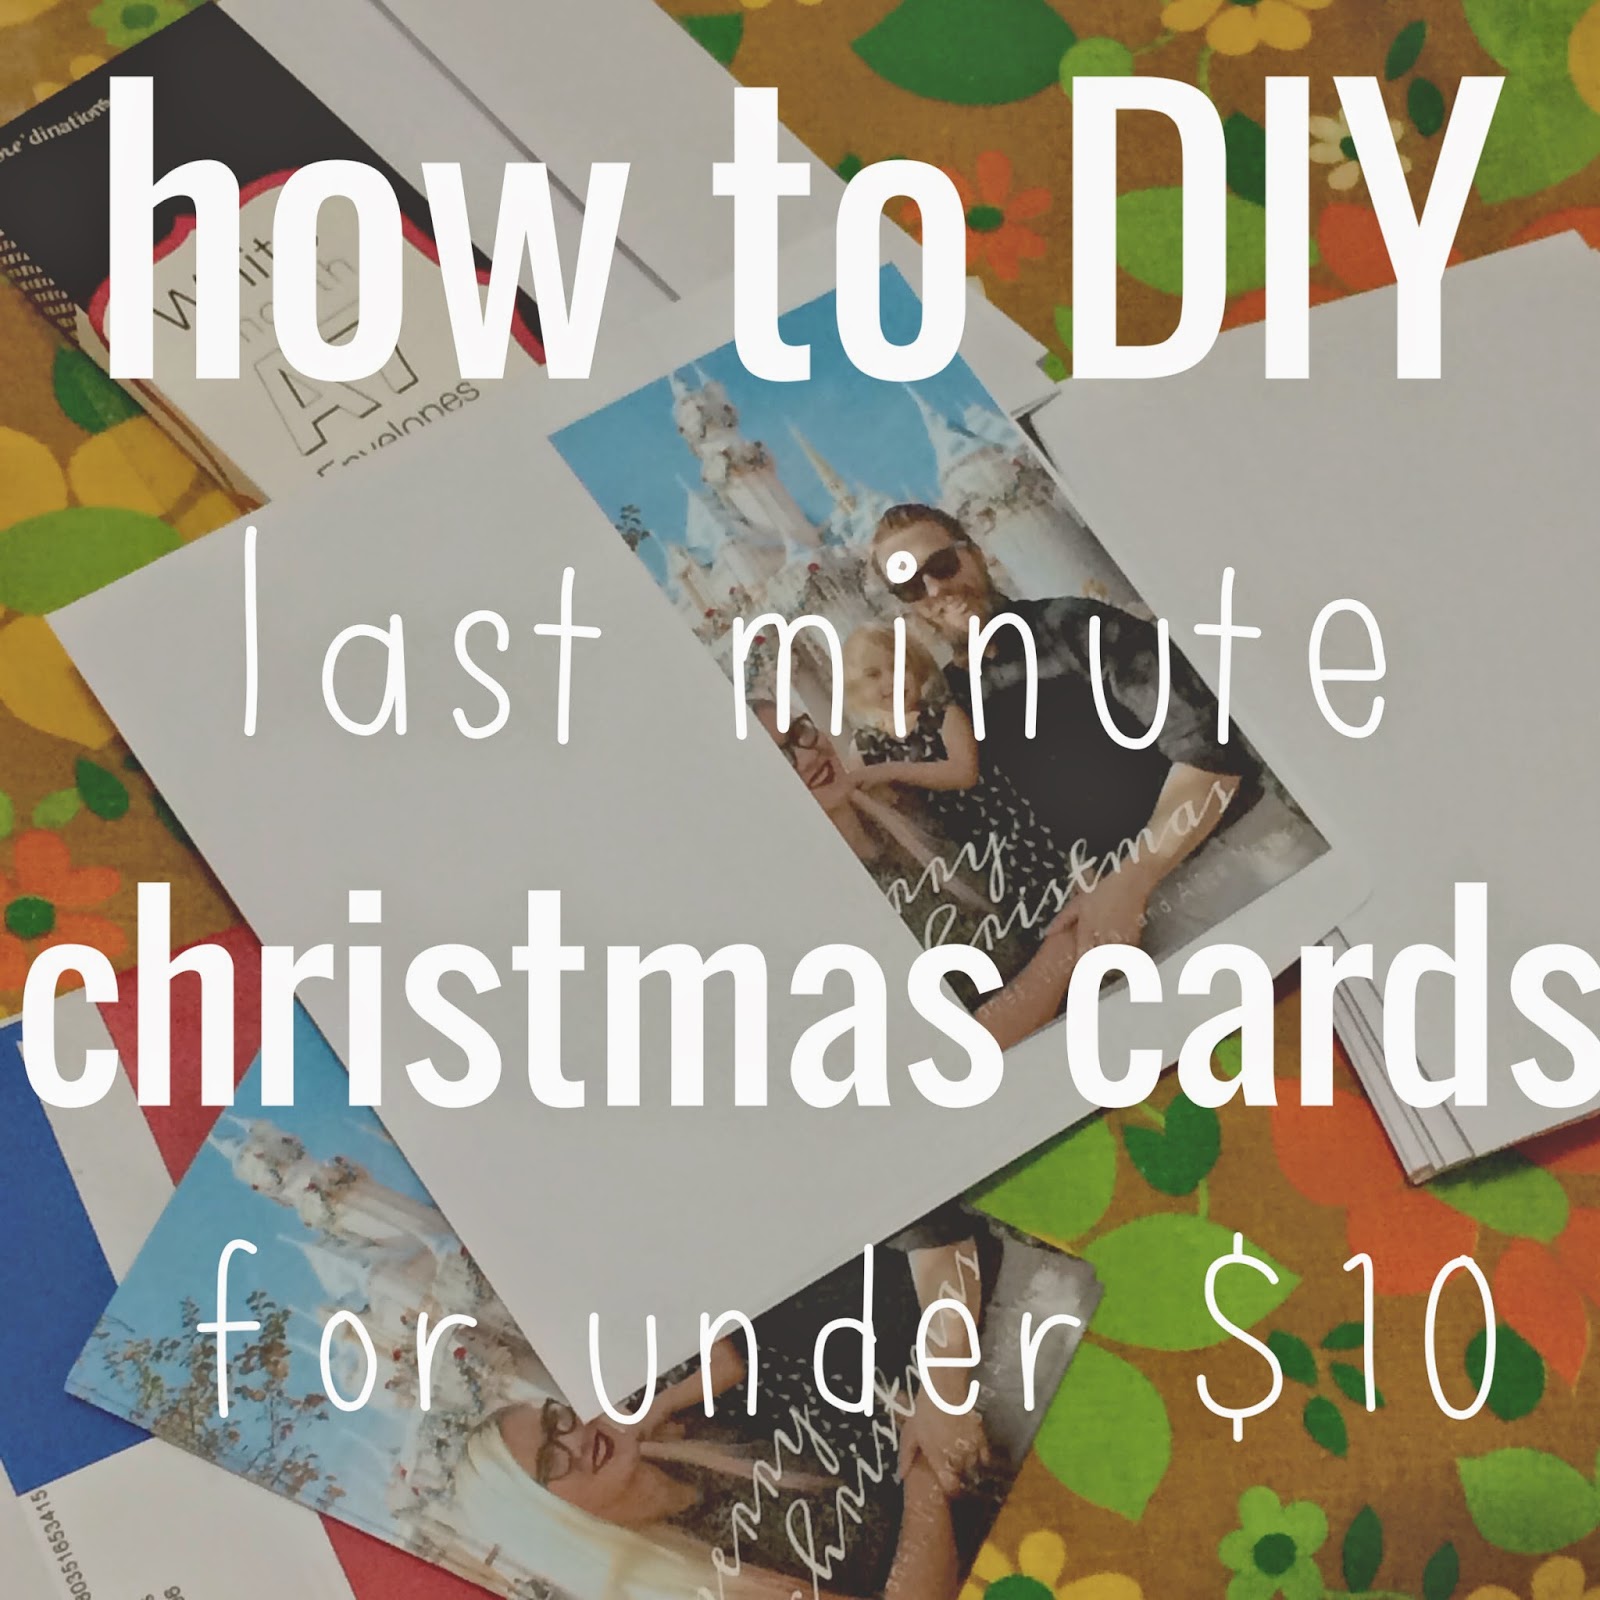
how to DIY last-minute christmas cards for under $10.


who here is a mega christmas procrastinator? oh come on, i know it cant be just me. 

well, funny story: as bad at christmas (and everything) related procrastinating as i usually am, taking way too many classes this last semester (more on that later) has made things about 9000 times worse. its december 19th. i am addressing and mailing our christmas cards as we speak (well, as you read this, since this the internet and all). 

but im damn proud of these christmas cards. yeah theyre maybe a teeny little bit late (but realistically were going to see approximately 90% of our intended recipients in real life before christmas). but they are not one teeny little bit half-assed. actually, theyre awesome, 100% DIY, and cost us less than $10. 

yes, you read that correctly. ten dollars. yes, that includes envelopes. yes, you can totally do the exact same thing right now and have spiffy new christmas cards in a couple hours. actually, writing this tutorial is taking way longer than actually making these cards did. just saying. 

so, ready to make some some legit-looking fast and easy christmas cards? lets go!

1. snap a family picture (or a few). bonus points if you already have a decent photo from earlier in the year. this was actually the most labor intensive step for us because despite my super simple minimalist christmas card concept, james really wanted to take our family picture at disneyland. so while your process might enjoy digging something from your hard drive or having a friend snap a photo at the park, ours involved lugging the tripod and DSLR and toddler that was not having anything to do with this nonsense through disneyland and having everyone stare at us while we took pictures with a timer. i can guarantee that as long as you dont do that this step is super easy. 

2. turn it into a christmas card-worthy graphic. depending on your style, you can VERY easily (even if you have zero design skills like me), slap a simple greeting onto a photo (or collage if youre feeling ambitious) using an app like a beautiful mess or a site like picmonkey. i like a beautiful mess because there arent a ton of options and theyre all curated to coordinate so its really, really hard to make something that looks bad. 

3. print your graphic at target. or walmart, or an office store, or wherever on-demand photo prints are sold. 4x6 prints are going to be the cheapest (i got mine at target for 13 cents each), so make sure you optimized your graphic to print at 4x6 (or 5x7 if youre a big spender). 

4. grab some plain envelopes. obviously, the main advantage for buying christmas cards from a card printer is that they come with envelopes. but this is not nearly as big of a problem as you think it is. joanns sells them in the paper-crafts section with all the other card-making supplies. unfortunately my joanns didnt have any A4 envelopes appropriate for my 4x6 cards, so i got stuck with 5x7 envelopes, but i guess thats not a huge deal since 25 envelopes was $3.99 (and 30% off). 

5. and youre done! seriously, thats it. yesterday, i ordered my prints, ran to joanns for envelopes, and when i got to target to pick them up, they were done. easiest christmas cards ever. and the cost breakdown? 25 prints at $.13 each = $3.25, 25 blank envelopes (on sale) = $2.79. a beautiful mess app = $.99. total cost for 25 totally legit christmas cards? $7.03 (plus tax). 

cant beat that, can you? 

and while were on the topic, merry christmas from the meyers family to yours!


Monday, October 27, 2014

easy diy weeping angels.

youre probably aware by now that i had a totally rad dr who themed birthday party last weekend. and whats a dr who party without some (fake, thank GOODNESS) webbing angels hanging around to scare the bejezzus out of everyone? not much of a dr who party ad all, if you ask me...

anyway, fellow whovian party planners may or may not have seen this incredible tutorial using barbies and stone texture spray paint. its amazing. and also, really really time consuming and potentially very expensive if you dont already have all those supplies just lying around. (if you havent seen the tutorial though, go take a look, its not one to be missed). 

now, i am way, way too broke and lazy to deal with that involved of a project. so i came up with my own cheaper, faster, easier, and still freaking terrifying alternative:


heres what you need: 

1. assorted angel tchotchkes (note: these are surprisingly difficult to find seeing as folks tend to collect them and not get rid of them, so be prepared to spend some time looking for them. though i did find what i needed at a fairly large thrift store)

2. krylon natural stone spray paint (available at craft and hardware stores, i made five weeping angels without using up a whole can, so you dont need a lot)

3. paper and tape to mask off a safe area for overspray (very important)

heres what you do:

step 1: pick a nice sunny spot outside and tape down some paper to protect everything around you from overspray (do NOT make my mistake of picking a spot in the shade because you think it will make the project more comfortable, because all it will do is make your angels take for-freaking-ever to dry):


step 2: thoroughly coat your angels with the spray. please note that the stone spray is a lot less like paint and a lot more like stuff with bits in it so make sure to turn your pieces upside down, spray the underside first, THEN turn them over and spray from the top:


step 3: let your angels dry for at least fifteen minutes in the sun (guess how many tries it took me to figure that one out...), before going back to fill in the nooks and crannies. dont worry about the paint getting thick, lumpy or drippy though, it just adds to the effect. 


step 4: let them dry (again IN. THE. SUN.) for a couple more hours until the stone finish fully hardens, and then YOURE DONE!

wasnt that easy? 

im really happy with how these came out, and i got a LOT of compliments about them at the party. mainly im happy that i got to still have my weeping angels for about $15 and an hour, instead of spending who knows how much on an all day project. 

please let me know if you try this out, id love to see what you make!

(p.s. this post was not sponsored in any way by krylon it just so happens that they make the only stone type spray paint i could find)