Showing posts with label tutorial. Show all posts

Friday, August 21, 2015

adventure time nail art tutorial (a guest post by taylor of posh polish nails).

Hi everyone! My name is Taylor, and I am so excited to be guest posting for Poverty Luxe! Victoria has kindly given me the opportunity to write not just one, but two posts to share with you all! Before I begin, here is a little bit about me :) I am a nail blogger, I run a blog entitled Posh Polish Nails! I am currently living in Bolivia, and I love using inspiration from the world around me for my nail art! I will be sharing two different nail designs with you guys, one today and another on the 28th, and each will have a brief tutorial so that you can recreate it! Today's design is inspired by one of my favorite shows, Adventure Time! I recently discovered that Victoria and her family are also fans of the show, so I thought this would be the perfect design for this post! Here is what I came up with :)


For those of you who haven't heard of or watch Adventure Time, it is an animated show on Cartoon Network, and it is not just for kids! I chose to paint the two main characters (Index and Ring fingers) and two of my favorite reoccurring characters (Middle and Pinky). I will list the products used by finger, along with the tutorial! Let's get started!  

Ring finger (Finn):

Polishes used:

Sally Hansen - Brisk Blue and White Out Orly - Liquid Vinyl The nude is actually a bolivian brand, but any nude would work :)

Tutorial!

This design is probably the easiest out of the characters. Start with a base of white polish. Paint the tip blue, using either the polish brush or a nail art brush. Using either the polish brush or a dotting tool, paint a nude oval towards the base of your nail, above the blue. The last step is to use a black polish and a nail art brush to add Finn's facial features, and to clean up the line between the white and the blue. I didn't do such a good job with the last step lol

Middle finger ( Lumpy Space Princess):

Polishes used:

Formula X - Outrageous Sally Hansen- White Out and Lemon Shark Orly - Liquid Vinyl

Tutorial!

Start off with a purple base. Lumpy Space Princess has a very iconic star on her forehead, so I chose to start off with that, since I feel it is the most important part. Paint a star at the base of your nails, you can go ahead and use yellow polish but I chose to use white first to give the yellow more vibrancy. If you chose to use white first, go back over it with yellow after the first coat dries. Next use a large dotting tool and a black polish to paint her eyes. Using a nail art brush, paint her mouth and eyebrows using black as well. LSP has many facial expressions, feel free to paint her smiling, smirking, or another emotion if you'd like! It is up to you! Since I chose to give her a sad expression, I added small white dots in her eyes to convey emotion!

Ring finger (Jake):

Polishes used:

Sally Hansen - White out and Lemon Shark Orly - Liquid Vinyl

Tutorial!

Start with a yellow base. Lemon Shark isn't exactly the right yellow, but it was the closest I had to Jake's actual color. Once your base is dry, use a dotting tool and black polish to create his eyes. This next step is pretty tricky. Using a nail brush, paint Jake's nose and mouth. This is a bit difficult, even I didn't get it exactly right. The final step is to use a smaller dotting tool to add white dots to his eyes. I think Jake is the hardest design out of all of them, he definitely has distinct features.

Pinky (Marceline):

Polishes used:

Zoya - Megan and Demetria Orly - Liquid Vinyl Sally Hansen - White Out

Tutorial!

Start with a light grey base. Using a black polish and a nail art brush, paint her hair, leaving a decent space in the middle for her face. Her hair frames her face, so I chose to let the hair define her face in this design. While it might be easier in theory to paint your nail all black and then add her face, I find it easier to start with the lighter color as my base. Using a small dotting tool, paint her eyes! Adding her mouth is the next step. I chose to paint her mouth red, but you could use black, grey, or any other color you think fits! Since Marceline is a Vampire, she needs some fangs! Paint them using a small brush and a white polish! This last step is completely optional, if you don't have space don't worry about it! The red dot on her neck was not a mistake, she has two bite marks on her neck (I only had room to paint one), so if you want, go ahead and add them using a small dotting tool! There you have it! What do you all think? If you recreate this mani, I would love to see! Tag me on Twitter or Instagram so I can see! I had so much fun putting this design together for you all! As mentioned above, I will be back to share another design and tutorial with you on the 28th! It was inspired by Victoria's daughter Alice! Any guesses about the theme?
-Posh Polish
   
post signature

Friday, December 19, 2014

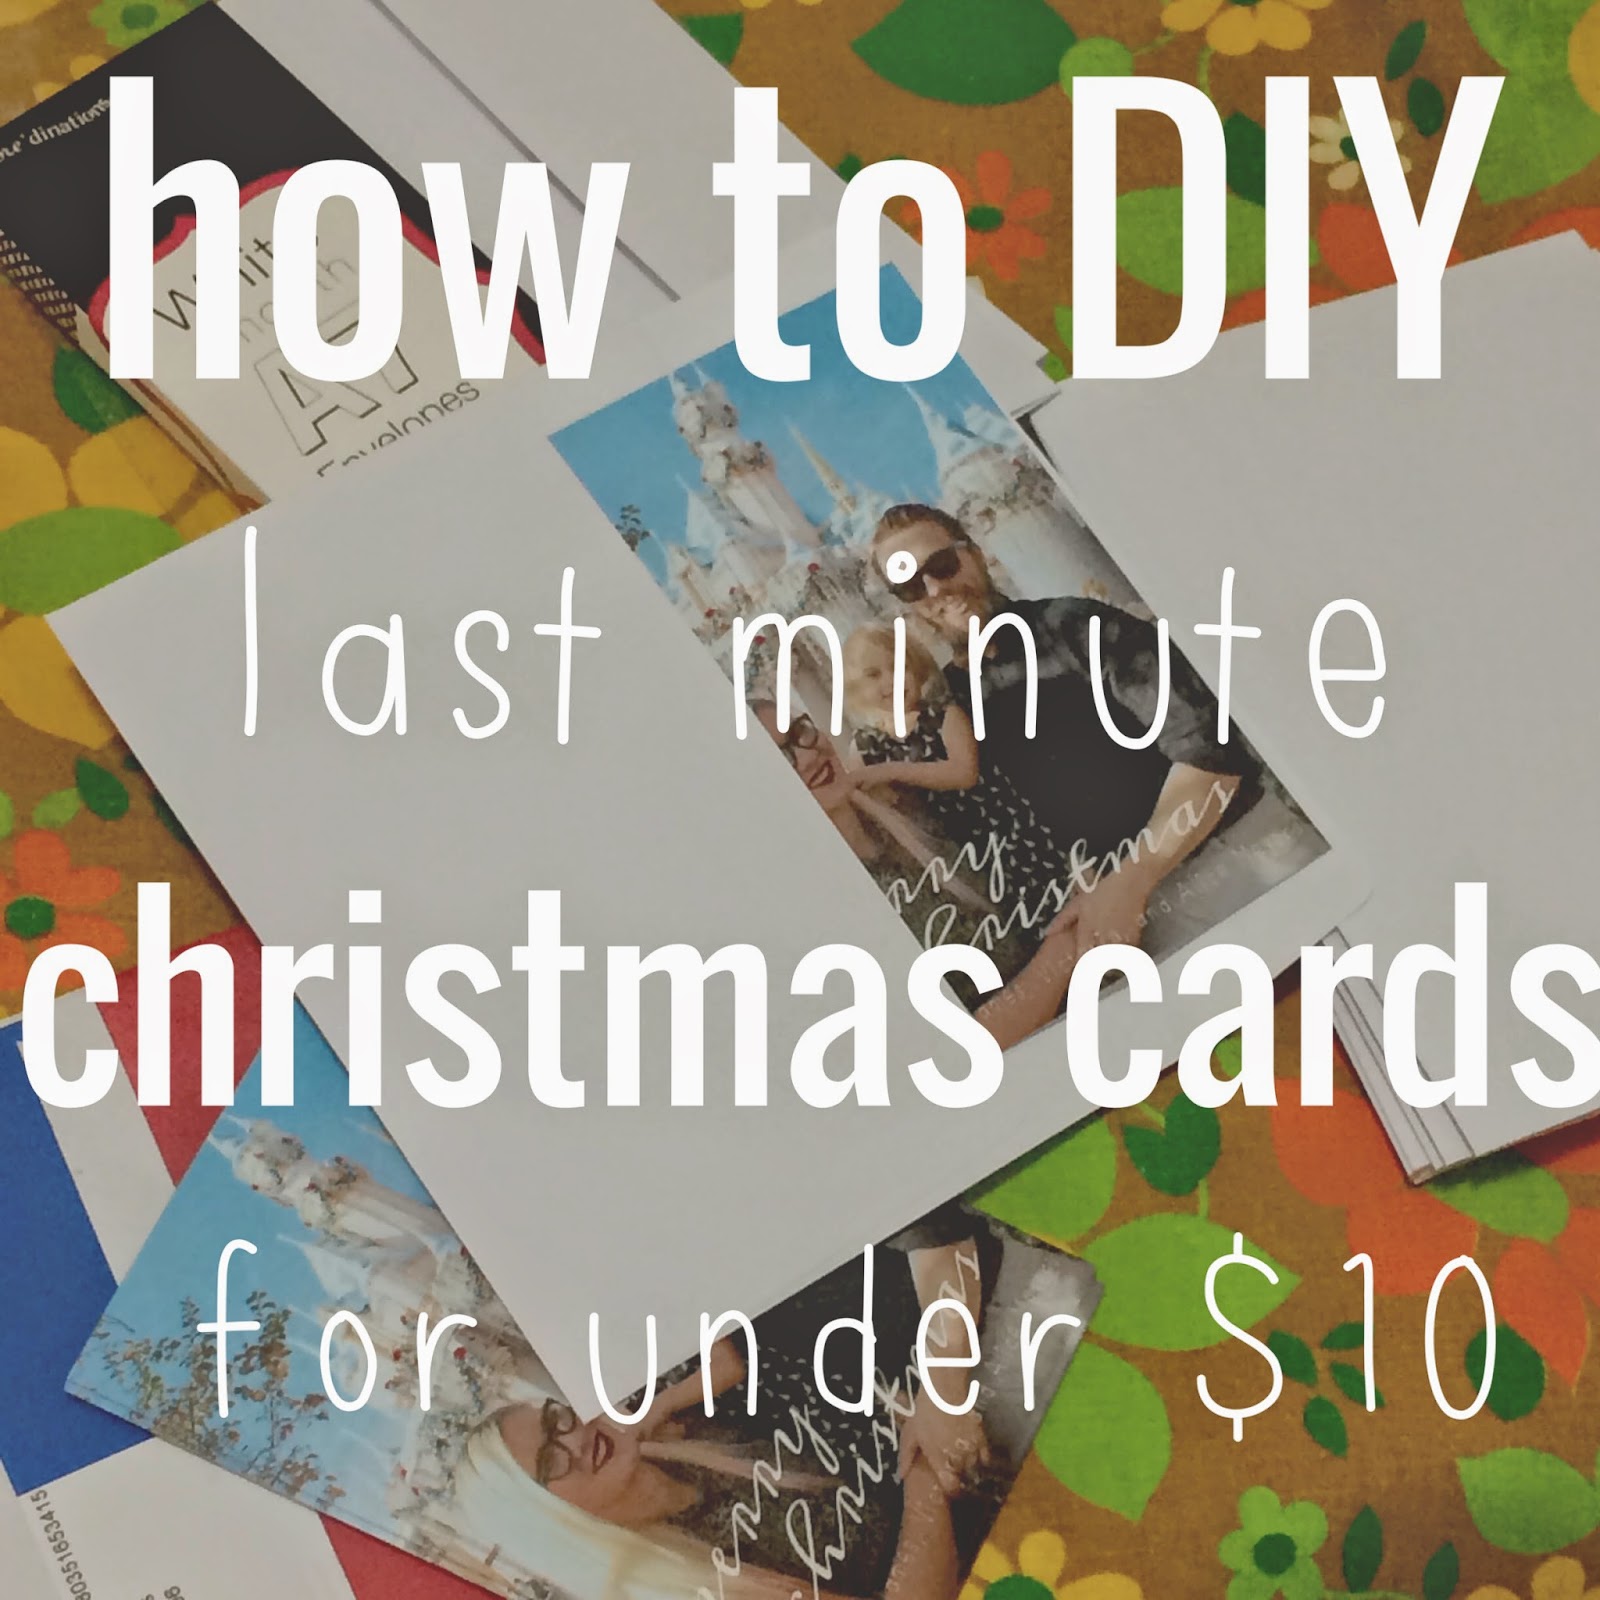
how to DIY last-minute christmas cards for under $10.


who here is a mega christmas procrastinator? oh come on, i know it cant be just me. 

well, funny story: as bad at christmas (and everything) related procrastinating as i usually am, taking way too many classes this last semester (more on that later) has made things about 9000 times worse. its december 19th. i am addressing and mailing our christmas cards as we speak (well, as you read this, since this the internet and all). 

but im damn proud of these christmas cards. yeah theyre maybe a teeny little bit late (but realistically were going to see approximately 90% of our intended recipients in real life before christmas). but they are not one teeny little bit half-assed. actually, theyre awesome, 100% DIY, and cost us less than $10. 

yes, you read that correctly. ten dollars. yes, that includes envelopes. yes, you can totally do the exact same thing right now and have spiffy new christmas cards in a couple hours. actually, writing this tutorial is taking way longer than actually making these cards did. just saying. 

so, ready to make some some legit-looking fast and easy christmas cards? lets go!

1. snap a family picture (or a few). bonus points if you already have a decent photo from earlier in the year. this was actually the most labor intensive step for us because despite my super simple minimalist christmas card concept, james really wanted to take our family picture at disneyland. so while your process might enjoy digging something from your hard drive or having a friend snap a photo at the park, ours involved lugging the tripod and DSLR and toddler that was not having anything to do with this nonsense through disneyland and having everyone stare at us while we took pictures with a timer. i can guarantee that as long as you dont do that this step is super easy. 

2. turn it into a christmas card-worthy graphic. depending on your style, you can VERY easily (even if you have zero design skills like me), slap a simple greeting onto a photo (or collage if youre feeling ambitious) using an app like a beautiful mess or a site like picmonkey. i like a beautiful mess because there arent a ton of options and theyre all curated to coordinate so its really, really hard to make something that looks bad. 

3. print your graphic at target. or walmart, or an office store, or wherever on-demand photo prints are sold. 4x6 prints are going to be the cheapest (i got mine at target for 13 cents each), so make sure you optimized your graphic to print at 4x6 (or 5x7 if youre a big spender). 

4. grab some plain envelopes. obviously, the main advantage for buying christmas cards from a card printer is that they come with envelopes. but this is not nearly as big of a problem as you think it is. joanns sells them in the paper-crafts section with all the other card-making supplies. unfortunately my joanns didnt have any A4 envelopes appropriate for my 4x6 cards, so i got stuck with 5x7 envelopes, but i guess thats not a huge deal since 25 envelopes was $3.99 (and 30% off). 

5. and youre done! seriously, thats it. yesterday, i ordered my prints, ran to joanns for envelopes, and when i got to target to pick them up, they were done. easiest christmas cards ever. and the cost breakdown? 25 prints at $.13 each = $3.25, 25 blank envelopes (on sale) = $2.79. a beautiful mess app = $.99. total cost for 25 totally legit christmas cards? $7.03 (plus tax). 

cant beat that, can you? 

and while were on the topic, merry christmas from the meyers family to yours!


Monday, October 27, 2014

easy diy weeping angels.

youre probably aware by now that i had a totally rad dr who themed birthday party last weekend. and whats a dr who party without some (fake, thank GOODNESS) webbing angels hanging around to scare the bejezzus out of everyone? not much of a dr who party ad all, if you ask me...

anyway, fellow whovian party planners may or may not have seen this incredible tutorial using barbies and stone texture spray paint. its amazing. and also, really really time consuming and potentially very expensive if you dont already have all those supplies just lying around. (if you havent seen the tutorial though, go take a look, its not one to be missed). 

now, i am way, way too broke and lazy to deal with that involved of a project. so i came up with my own cheaper, faster, easier, and still freaking terrifying alternative:


heres what you need: 

1. assorted angel tchotchkes (note: these are surprisingly difficult to find seeing as folks tend to collect them and not get rid of them, so be prepared to spend some time looking for them. though i did find what i needed at a fairly large thrift store)

2. krylon natural stone spray paint (available at craft and hardware stores, i made five weeping angels without using up a whole can, so you dont need a lot)

3. paper and tape to mask off a safe area for overspray (very important)

heres what you do:

step 1: pick a nice sunny spot outside and tape down some paper to protect everything around you from overspray (do NOT make my mistake of picking a spot in the shade because you think it will make the project more comfortable, because all it will do is make your angels take for-freaking-ever to dry):


step 2: thoroughly coat your angels with the spray. please note that the stone spray is a lot less like paint and a lot more like stuff with bits in it so make sure to turn your pieces upside down, spray the underside first, THEN turn them over and spray from the top:


step 3: let your angels dry for at least fifteen minutes in the sun (guess how many tries it took me to figure that one out...), before going back to fill in the nooks and crannies. dont worry about the paint getting thick, lumpy or drippy though, it just adds to the effect. 


step 4: let them dry (again IN. THE. SUN.) for a couple more hours until the stone finish fully hardens, and then YOURE DONE!

wasnt that easy? 

im really happy with how these came out, and i got a LOT of compliments about them at the party. mainly im happy that i got to still have my weeping angels for about $15 and an hour, instead of spending who knows how much on an all day project. 

please let me know if you try this out, id love to see what you make!

(p.s. this post was not sponsored in any way by krylon it just so happens that they make the only stone type spray paint i could find) 


Thursday, April 17, 2014

how to make a fitted sheet (out of that flat sheet that you werent using anyway)


embarrassing confession time: i am a violently fitful sleeper. to the point where i WEAR GIANT GAPING HOLES in my sheets. im not kidding. i wish i was kidding, because a few months ago, i finally wore out the super fancy sheets we got on clearance right after we got married. and i dont mean that the sheet finally wore out, i mean that there was a distinct, obvious, victoria-sized hole on my side of the bed and the rest of the sheet was perfect.

at the time this happened, we had NO money for new sheets. not even crappy ones, given that our (hand-me-down) mattress is a king sized extra thick pillow top and the cheapest cheap sheets i could find were $40 +.  i knew we couldnt get crappy sheets because one time i had crappy sheets and i wore them to ribbons in like a year. so i started researching options and i found a few tutorials on how to make a fitted sheet. 

and i was like, "great! i totally have the flat sheet that came with our set because theres nothing i hate more than flat sheets and i have a matching one hanging out in the linen closet wasting space so ill use that! problem solved!"

but just about all of these tutorials involved measuring your mattress and doing all this complicated math (i guess its not that complicated, but please remember that im HORRIBLE at math), measuring the dimensions of the mattress and adding various amounts to account for hems, elastic casing, and seam allowances. 

i started taking measurements and trying to work out the math but it got too complicated and i wasnt sure the flat sheet would be big enough and my enthusiasm for making a fitted sheet waned all the way down to "oh well, thats too much work, ill just pull out the ugly flannel sheet that i hate and hope we have enough money for nice sheets when that one eventually wears out". 

then one day a couple weeks ago, it hit me that flat sheets are specifically designed to wrap all the way around the mattress and that OF COURSE it was enough fabric and the only measurement i even needed was the mattress height and i didnt even have to do ANY hems or casings. 

awesome. 

so, i finally made our fitted sheet. and because i know that i am certainly not the only person out there that HATES sleeping with a flat sheet (they make me claustrophobic, ok), i thought that all you kind folks would appreciate this little tutorial, because whats better than getting a free extra fitted sheet in your sheet set?

heres what you need:


flat sheet in the same size as your mattress
measuring tape
rotary mat + clear ruler
marking pen of some kind
scissors or rotary cutter
pins
lots and lots of elastic (enough to go ALL THE WAY around your mattress, my king sized sheet used about 8.5 yards)
sewing maching (not pictured)

and heres what you do:

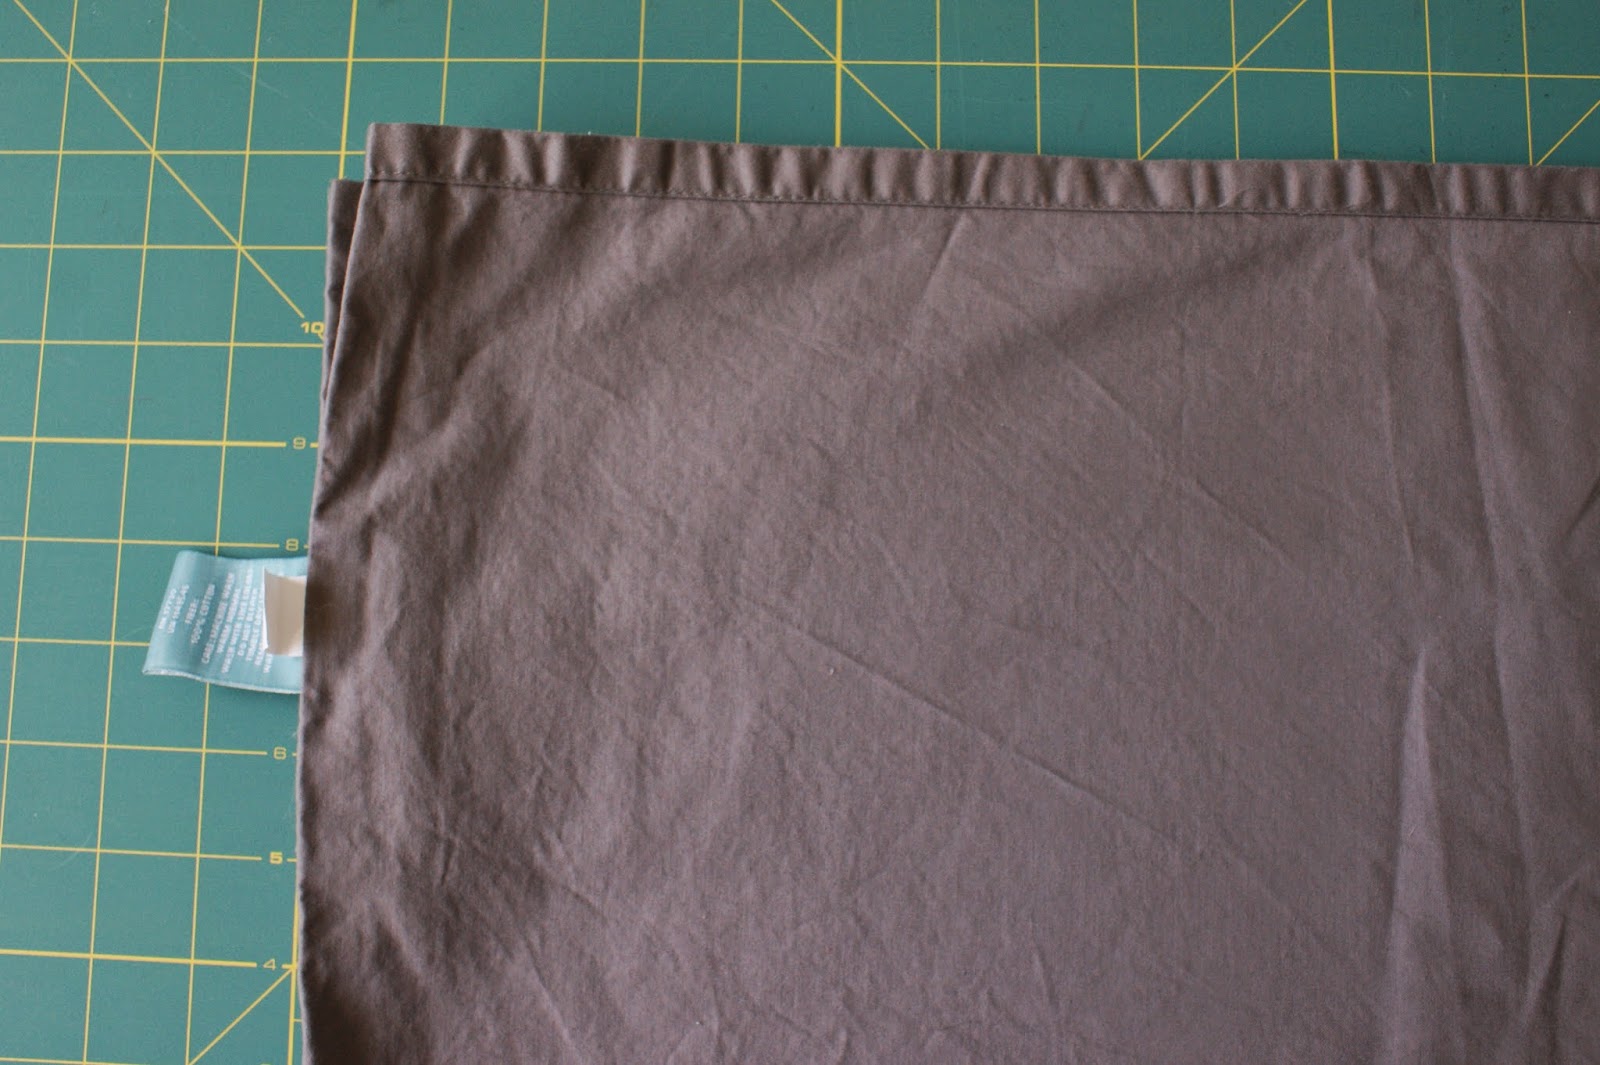
step one: fold your flat sheet in quarters with all four corners exactly together (this makes it so you only have to cut and measure once):


step two: measure the overall height of your mattress, and add about an inch or so to account for the seam allowances (my mattress was about 13 inches high, so i did 14 inches):


step three: mark a square using that measurement on the corner of your sheet (so, in my case, 14x14 inches):


and cut it out, cutting through all four layers at the same time:


step four: pin each corner together right sides together (and dont mess this up like i did):


this is what makes the "pockets" for your mattress)

step five: sew each corner shut, using a short straight stitch for extra durability:


step six: finish your seam allowances with a zigzag stitch (this is important to prevent fraying, since sheets get washed a lot, you dont want the seams to wear out):


step seven: heres where things get tricky, set your sewing machine to a stretch stitch (like the one thats a zigzag/running stitch combination, and place one end of your elastic under the presser foot like so:


and sew a few stitches back and forth to secure the end. next pull your elastic TIGHT and hold it right up against the edge of the sheet (just like in the picture) sew ALL THE WAY around your sheet, keeping the elastic pulled as tightly as possible. 

it should look like this on the inside:


and this on the outside:


step eight: when you get all the way back to where you started, keep sewing the elastic until it overlaps the beginning by about an inch, and then back stitch a few times to make sure its EXTRA secure:


step nine: clip any threads you have left, and then youre done! go enjoy your brand spanking new custom fitted sheet!

but after telling a few people about this project, i noticed that flat sheets are a pretty polarizing issue. people either love them or hate them. what are your thoughts on flat sheets? necessary, or unpleasant? 

Tuesday, March 11, 2014

diy heating pad tutorial.

generally speaking, im not at all shy about the fact that i have about one million health problems. i mean, i dont go out of my way to make a big public show about it, but if you ask me, i wont lie: various types of chronic pain and i have basically been inseparable since i was, i dont know 15 or 16 or something. its not something i really complain about all that much, and i definitely dont want any special treatment over it, its just what i have to deal with. maybe one day ill write a more serious post about living with invisible illness, but today is not that day. 

today I'm going to show you how to make your own super-cute heating pad. these are very, very useful for things like period cramps and muscle spasms and hands that just WILL NOT stop hurting because, i dont know, the wind blew a slightly different direction today. i (obviously) use mine all the time. but the thing is, the one i had was just rice sewn into a (clean) sock, and it was really ugly. not only was it ugly, but the sock was stretchy (like socks usually are) and that made the rice pool in the ends and it would flop around and refuse to lay flat (which was a pretty big issue when i needed to use it for my neck and shoulders). so i made a new one. 

and you should make one too. seriously, everybody should own one. you just pop this thing in the microwave for about a minute and you have over an hour of soothing heat that is way, WAY less wasteful than those stupid disposable ones. and I'm willing to bet that you already have everything you need to make one (also, this project takes maybe half an hour start to finish. YOU DONT EVEN NEED TO PLUG IN YOUR IRON). 

heres what you need:


fabric (a woven cotton is best, i used some leftovers from my battlestar galactica skirts because if anyone can make my pain go away its commander adama)
rice (about three cups)
pins
scissors
marking pen of some kind (im OBSESSED with my new chaco liner, but you can just use a marker)
thread (not pictured)
small funnel or piece of paper to fold into a funnel (not pictured)
sewing machine (not pictured, though you could totally hand sew this too)

step one: measure, mark and cut two rectangles of fabric measuring 5 by 14 inches:


step two: pin your two rectangles together right sides together:


step three: sew a running stitch around all four sides of your rectangle using a half inch seam allowance, and leave a two-inch or so gap on one of the short ends for turning:


please note the gap:


step four: trim your corners to a 45 degree angle, but be extra careful not to cut through your seams:


step five: turn your fabric right side out and use a pencil or chopstick or something to poke the corners out nice and sharp:


step six: using either an actual funnel or a piece of paper (like i did because we dont have a funnel), fill your fabric up with rice (this should take almost exactly three cups of rice):


step seven: fold the seam allowances of the opening back under and pin the heating pad shut:


step eight: sew the opening shut by hand. you can use a whipstitch or running stitch, or you can get fancy and use a ladder stitch like i did, this part is really up to you:


and now youre done!


wasnt that easy? now you have a totally cute heating pad to make all your heating pad needs a little less sucky because at least its cute. 

(p.s. as soon as james saw this he said i NEED to put them in the shop, what do you think?)

Thursday, February 13, 2014

champagne cork stamp tutorial.

so, you know how we've been drinking a lot of sparkling wine? well, we've had a lot of extra corks lying around. 

and alice got a fantastic idea. 

see, at alices ballet class, her teacher gives everyone hand stamps if they're good. alice LOVES getting her stamps from miss regine. well, one day, alice picked up a cork and told me "put your hands on your head for stamps!", and "stamped" my hands with her imaginary cork-stamp. 

which gave me an equally fantastic idea: i could totally make her a whole set of actual stamps with all the champagne corks lying all over the place. and since, you know, i have a degree in printmaking (which, by the way, is a super in-demand employable skill and i never have to explain what i went to school for. sarcasm), it was actually REALLY easy. 

in this project I'm basically using the same principles as a potato stamp, but since were using corks instead of potatoes, we can clean them up when were done and keep them forever, so its way less wasteful. plus, now alice has a whole bunch of fun stamps that were basically free. 

you should totally try it out. 

heres what you'll need:


champagne corks (obviously)
a marker
a small, sharp knife
scrap paper 
stamp pad (or paint)

and heres what youll do:

step 1: use your marker to draw the desired finished shapes of your stamps. you'll want to stick to simple shapes (remember, they are pretty small and the cork is soft and not suitable for intricate details). i mainly wanted these for alice to use at craft time (and maybe help her learn her shapes), so i did a heart, star, triangle, square, flower, and arrow:


step two: use your knife to cut a thin layer of cork away from the area NOT colored with marker (in artsy terms, this is called "negative space", you want to get rid of it). the best way to do this is to make vertical cuts (perpendicular to the surface of the cork) all the way around the outline of your desired shape, and then make horizontal cuts (parallel to the surface of the cork) about a millimeter or two below the surface of the cork to remove the negative space. if you do it right, when you're done, your cork will now look like a stamp:


step 3: using your stamp pad (or paint, my "big and juicy" stamp pad was NOT as juicy as advertised, and i ended up just using paint) to test out your stamp on the scrap paper and make sure the resulting shape is what you wanted (and if not, simply wipe off and fine-tune with your knife).

and ta-da! youre done:


now you have a whole set of (basically) free stamps for all your paper crafting needs!


i was actually really surprised that the curvy shapes (like the heart and flower) and the more complex shapes (like the star and arrow)  ended up coming out MUCH nicer than the simpler ones (like the triangle and square). 

and now if i could just find my stash of blank greeting cards we could make some valentines...

Thursday, January 9, 2014

arm-knit infinity scarf tutorial.

hello friends! hope everyones having a good week so far! this week is my first week back to juggling all three of my jobs after christmas break, and it hasnt exactly been the smoothest transition. BUT james worked three days (so far) at his regular job AND (thanks to a really weird assortment of food left from last weeks botched meal plan) i managed to pull together a meal plan for this week that only required $15 of groceries! and that makes me pretty happy. 

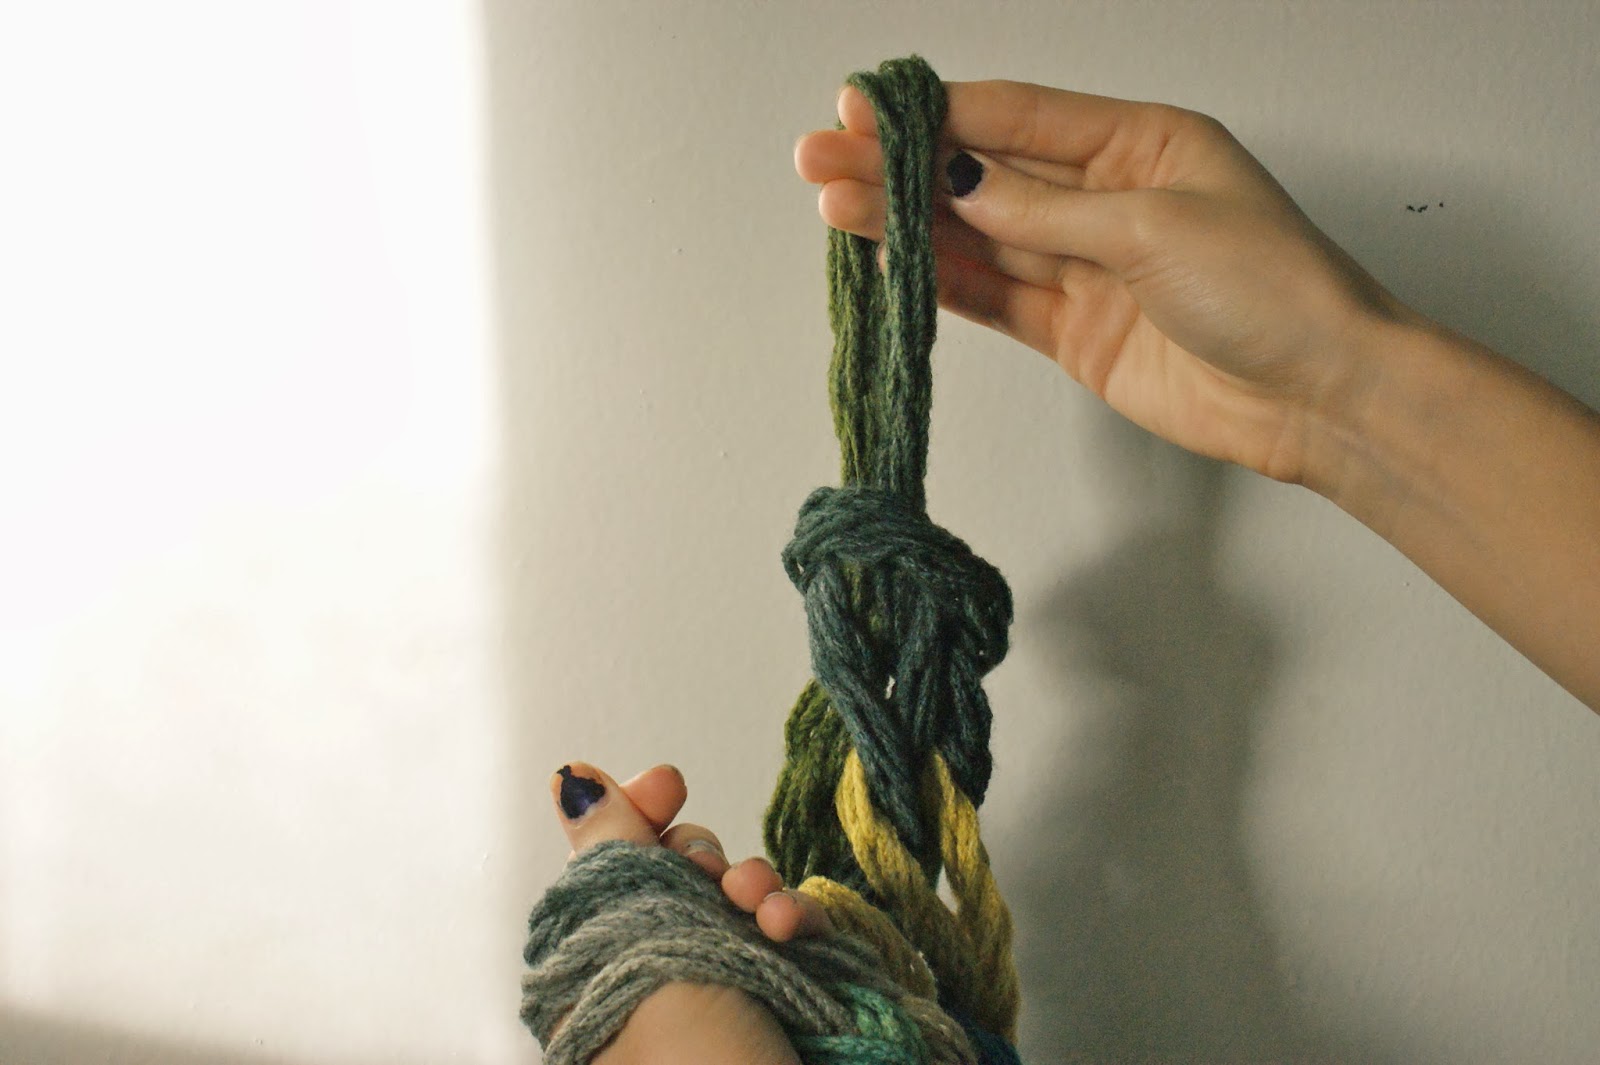
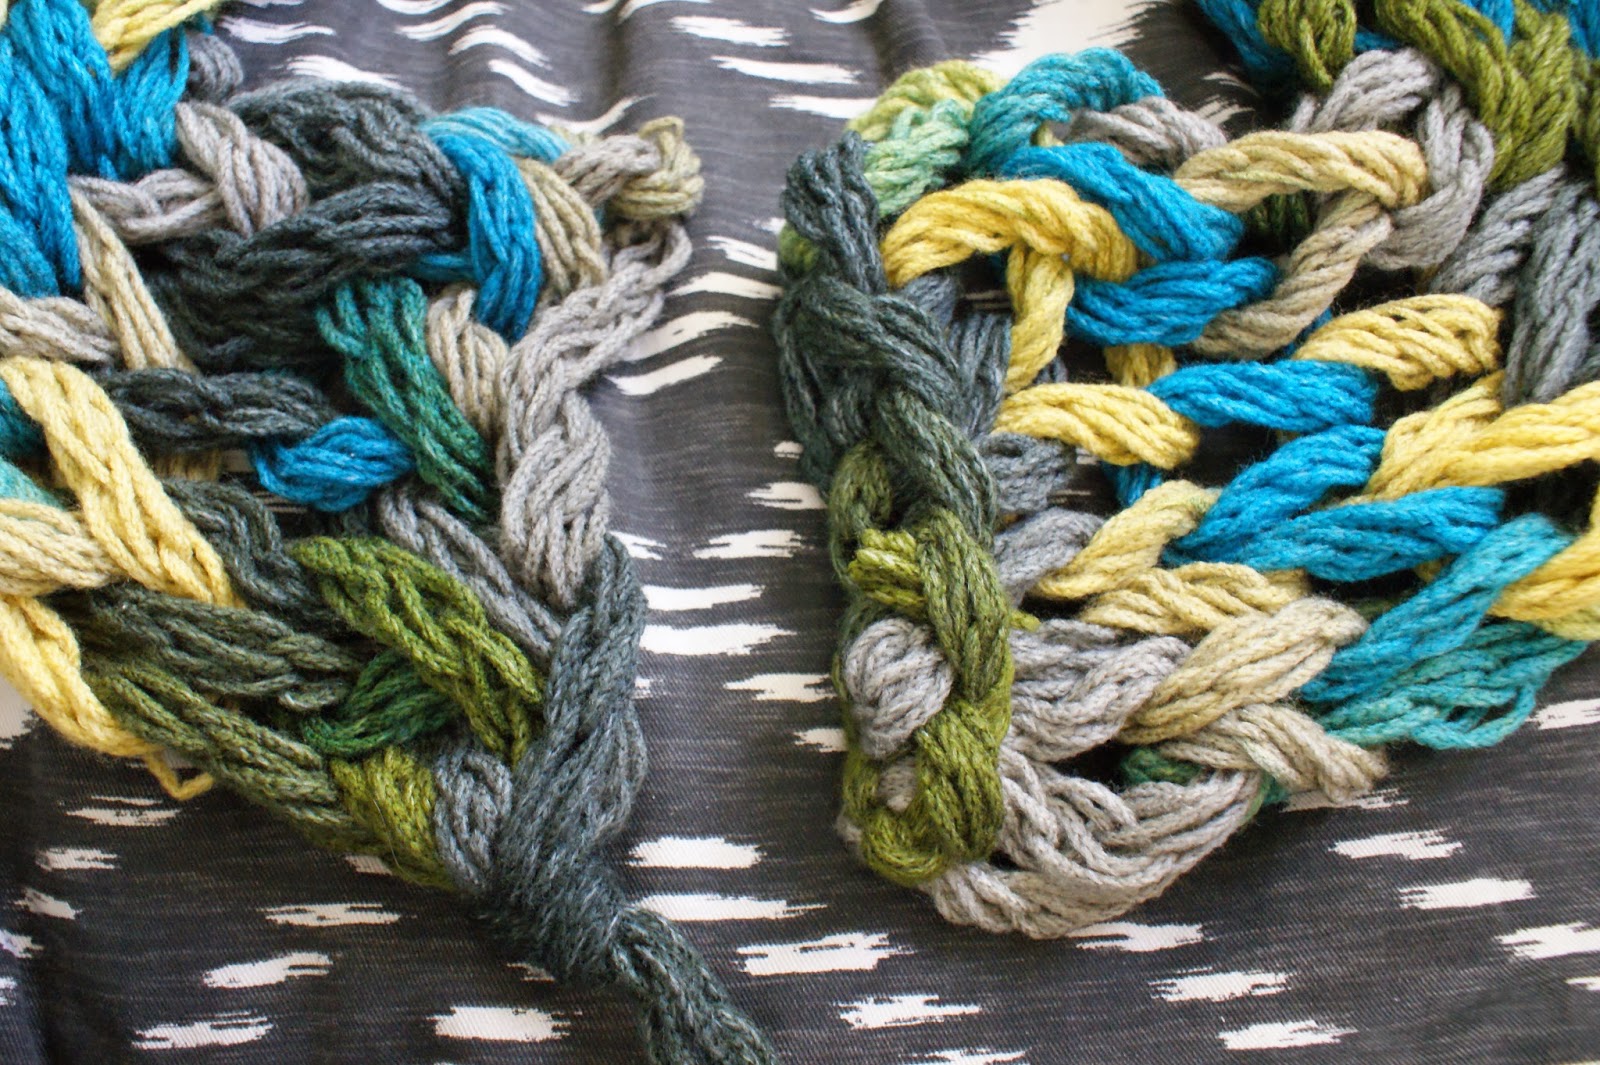
but not as happy as i am to show you how to make this super cozy giant knit infinity scarf:


which, by the way, is knit using your arms, and only your arms. im serious. i first tried this technique maybe 5 or 6 years ago when i read about it in one of the stitch n bitch books (i made a few scarves from strips of recycled tshirts), and then didnt really think about it again until a recent youtube search for an unrelated knitting technique revealed that arm knitting is totally a thing now. 

then a few days later it was double-discount day at work (meaning we got an extra forty percent off sale prices instead of twenty) and i saw this dash yarn by red heart and i knew that it would be the perfect christmas gift for my sister. 

and then i started making it and realized i HAD to share this project with you guys. why? well one, its super cute and practical and on trend. and two, it only uses one skein of yarn that retails for about $10 (meaning, as long as you go to joanns with a coupon you wont pay more than $6). and three, it takes less than an hour from start to finish. 

so what im getting at here is that you can make a super impressive handmade gift in less than an hour for $6. 

and heres how you do it:

(disclaimer: this was jamess very first time shooting a tutorial with me and we had some lighting issues due to not owning studio lights, so please excuse the inconsistent photography)

you will need:
1 skein red heart boutique dash in the color of your choice (i used meadow)
your arms
and maybe some scissors

step 1: start by making a slip knot about 3 feet from the end of your yarn. if you dont know how to make a slip knot, ill show you right now. start by making a fish shape with the cut end (tail) of your yarn crossing over the long (working) end like so:


next, reaching under the "body" side of the fish closest to where the tail crosses over, pinch a little piece of the "tail" like so:


and pull that little bit up through the "body" of the fish shape:


and pull your little loop away from the two ends of the yarn to tighten:


and ta-da! slip knot:


step 2: cast on your first row of stitches by placing your slip knot over your left hand like so:


next, using your right hand, reach through the loop on your left hand and pinch a little bit of the long (working) end of the yarn (not the tail!):


and pull it back through the loop on your left hand:


stretching it out until its big enough to fit onto your left hand next to the first loop:


now repeat this process again with the next loop so that you have three:


four:

five stitches on your left hand:


step 3: start knitting your first row by pulling a loop through your last stitch just as you were before:


only this time, drop the left hand loop off and leave the new loop on your right hand, like so (basically you just did a knit stitch without needles):


and repeat this process in each of the stitches on your left hand:


until you have five loops on your right hand and none on your left:


step 4: knit your second row by reversing the process of your first row, using your left hand to pull the yarn through the loops on your right hand:


dropping the right hand loop, and moving the stitches to your left hand:


all the way across:


step five: repeat steps three and four until you end a row with about 3-4 feet of yarn left over. your scarf will look something like this:


step six: begin the bind-off row by "knitting" your first:


and second loops:


next, begin binding off by taking the first loop (the one on the far right):


and pulling it up and over the second loop, dropping it so that only the second loop remains:


repeat this process, knitting one loop:


and pulling the previous loop over it:


until you only have one loop left:


and pull the last of your yarn through this last loop, forming a knot and the end of your bound off edge:


step seven: finish your scarf by first tucking the tail left from your bind off edge back into the scarf so that its hidden:


then, using the long tail that you left in the beginning:


"sew" the two ends of the scarf together:


making sure to match the rows of stitches so that the edges are straight:


finally, knot the end of your seam:


and weave the last of your tail into the wrong side of the seam to hide it, trimming if necessary:


step eight: go out and show off your super cute new scarf:


and when people compliment it (which they will) you can say, "oh, this old thing? its just something simple that i whipped up one afternoon", because, its true. 

hope youve enjoyed this tutorial, please PLEASE let me know if you end up using it, id LOVE to see the scarves that you make!