remember how i said i was going to do a little tutorial soon, and it never happened? well, i havent exactly been on top of my blog scheduling and it kind of slipped through the cracks. but im finally back on track and here it is!
today well be making a quick and simple aline skirt with an elastic waist. if youre new to sewing this is a really great project to practice your sewing fundamentals because its all straight lines. if youre a more advanced seamstress (or seamster, i wont judge), this is a really good project to have memorized, because i guarantee that it will come in handy for when say, your daughter gets invited to a party that you forgot about until the last minute (a, ahem, purely hypothetical scenario) or when you find yourself buying way too much adorable fabric and need to justify the purchase (again, completely hypothetical). my favorite thing about this project though is that you can scale it up or down pretty much infinitely, from doll-sized to plus-sized, and the basic instructions remain the same.
anyways, back to our project, heres what youll need:
materials:
fabric (light/medium weight wovens work best, yardage depends on the size of skirt youre making, here i was making a 3t and used just under 1/2 a yard of 45" wide fabric)
scissors
fabric marking pen
rotary mat and clear ruler (optional)
measuring tape
pins
thread
elastic (here i used 3/4 inch elastic, this is fine for baby/toddler sizes but for girls and womens sizes i would recommend a wider elastic)
large safety pin (not pictured)
sewing machine (not pictured)
iron and ironing board (not pictured)
and heres what to do:
(note: if youre making a size 3t you can skip step 1 and just cut out two rectangles 21.5 inches wide and 15.5 inches long)
step 1: first youll need to take a couple measurements: the circumference of the intended wearers waist and the desired finished length of the skirt (if youre making the skirt as a gift, heres a handy list of measurements for toddler and girls skirts). in this case im making a size 3t, so i want a 20.5 inch waist and 12 inch finished length. now take your waist measurement and add one inch for seam allowances (making 21.5 inches here), and add 2.5 inches to the length for your hem and casing (making 15.5 inches here).
step 2: if you want to keep a paper pattern for reference, trace these measurements onto paper or interfacing, otherwise just trace them directly onto your fabric, and cut two rectangles to your measurements:
(note: these measurements are for a 1 inch elastic casing, if youre using wider elastic, you will need to add some extra length for the casing).
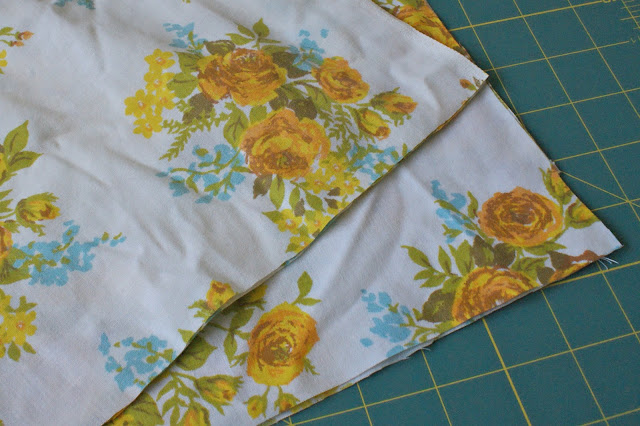
step 3: pin your two pieces wrong sides together along the shorter (length) sides and sew a straight stitch using a 1/2 inch seam allowance, making a "tube" of fabric:
step 4: press your seam allowances flat like this:
step 4: sew a small zigzag stitch on your seam allowance to prevent fraying (if you have a serger this would be a good time to use it), and trip off any excess if necessary:
step 5: now were going to make our casing, start by taking the top edge of your fabric "tube", fold it down 1/4 inch and press:
step 6: fold the top edge down one inch, press and pin:
step 7: starting about one inch from one of your side seams, sew a straight stitch very close to the fold of the hem (shift your needle alignment to the left):
stopping about one inch before you reach where you started, leaving an opening like this:
step 8: to make the bottom hem, repeat steps 5-7 on the bottom of your skirt, only this time sew all the way around, like this:
step 9: cut a length of elastic about an inch shorter than your desired finished waist measurement (so here i cut a piece about 19 inches long). to insert the elastic, start by cutting a length of elastic about one inch smaller than your desired finished waist measurement (in our case, 19 inches), and attach a large safety pin to one end:
use the pin to push the elastic all the way through the casing, being very careful not to let it twist:
until it comes out the other side of the opening:
step 10: sew the ends of the elastic together, again being very careful to make sure it doesnt twist:
step 10: stretch out your waistband so the elastic gets sucked back into the casing:
and sew the gap closed, stretching the elastic as you go to make sure the seam stays flat:
and thats it! just give it one last quick iron and youre done:
obviously you could stop here and have a super cute basic skirt, but the potential for embellishment and customization is endless (i sell a pocketed version in my etsy shop).
please let me know if you try this project out, id love to see what you make with it!


No comments:
Post a Comment