hello friends! hope everyones having a good week so far! this week is my first week back to juggling all three of my jobs after christmas break, and it hasnt exactly been the smoothest transition. BUT james worked three days (so far) at his regular job AND (thanks to a really weird assortment of food left from last weeks botched meal plan) i managed to pull together a meal plan for this week that only required $15 of groceries! and that makes me pretty happy.
but not as happy as i am to show you how to make this super cozy giant knit infinity scarf:

which, by the way, is knit using your arms, and only your arms. im serious. i first tried this technique maybe 5 or 6 years ago when i read about it in one of the stitch n bitch books (i made a few scarves from strips of recycled tshirts), and then didnt really think about it again until a recent youtube search for an unrelated knitting technique revealed that arm knitting is totally a thing now.
then a few days later it was double-discount day at work (meaning we got an extra forty percent off sale prices instead of twenty) and i saw this dash yarn by red heart and i knew that it would be the perfect christmas gift for my sister.
and then i started making it and realized i HAD to share this project with you guys. why? well one, its super cute and practical and on trend. and two, it only uses one skein of yarn that retails for about $10 (meaning, as long as you go to joanns with a coupon you wont pay more than $6). and three, it takes less than an hour from start to finish.
so what im getting at here is that you can make a super impressive handmade gift in less than an hour for $6.
and heres how you do it:
(disclaimer: this was jamess very first time shooting a tutorial with me and we had some lighting issues due to not owning studio lights, so please excuse the inconsistent photography)
you will need:
1 skein red heart boutique dash in the color of your choice (i used meadow)
your arms
and maybe some scissors
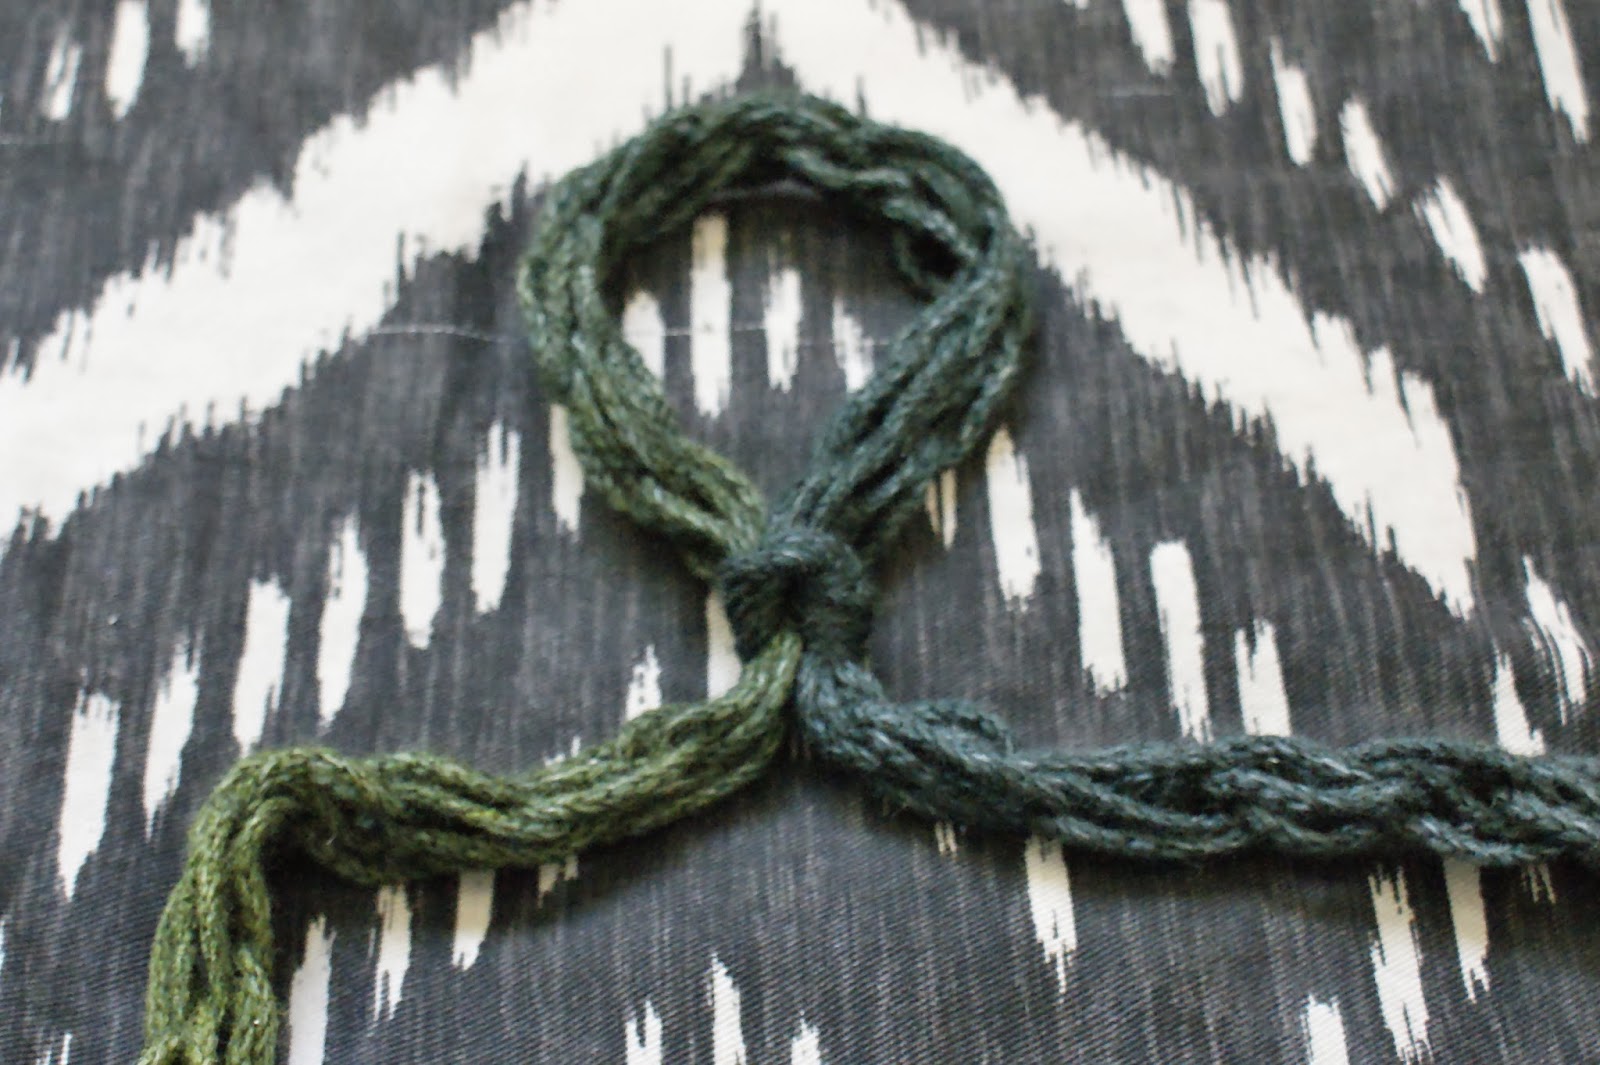
step 1: start by making a slip knot about 3 feet from the end of your yarn. if you dont know how to make a slip knot, ill show you right now. start by making a fish shape with the cut end (tail) of your yarn crossing over the long (working) end like so:

next, reaching under the "body" side of the fish closest to where the tail crosses over, pinch a little piece of the "tail" like so:

and pull that little bit up through the "body" of the fish shape:

and pull your little loop away from the two ends of the yarn to tighten:

and ta-da! slip knot:
step 2: cast on your first row of stitches by placing your slip knot over your left hand like so:

next, using your right hand, reach through the loop on your left hand and pinch a little bit of the long (working) end of the yarn (not the tail!):

and pull it back through the loop on your left hand:

stretching it out until its big enough to fit onto your left hand next to the first loop:

now repeat this process again with the next loop so that you have three:

four:

five stitches on your left hand:

step 3: start knitting your first row by pulling a loop through your last stitch just as you were before:

only this time, drop the left hand loop off and leave the new loop on your right hand, like so (basically you just did a knit stitch without needles):

and repeat this process in each of the stitches on your left hand:

until you have five loops on your right hand and none on your left:
step 4: knit your second row by reversing the process of your first row, using your left hand to pull the yarn through the loops on your right hand:

dropping the right hand loop, and moving the stitches to your left hand:

all the way across:

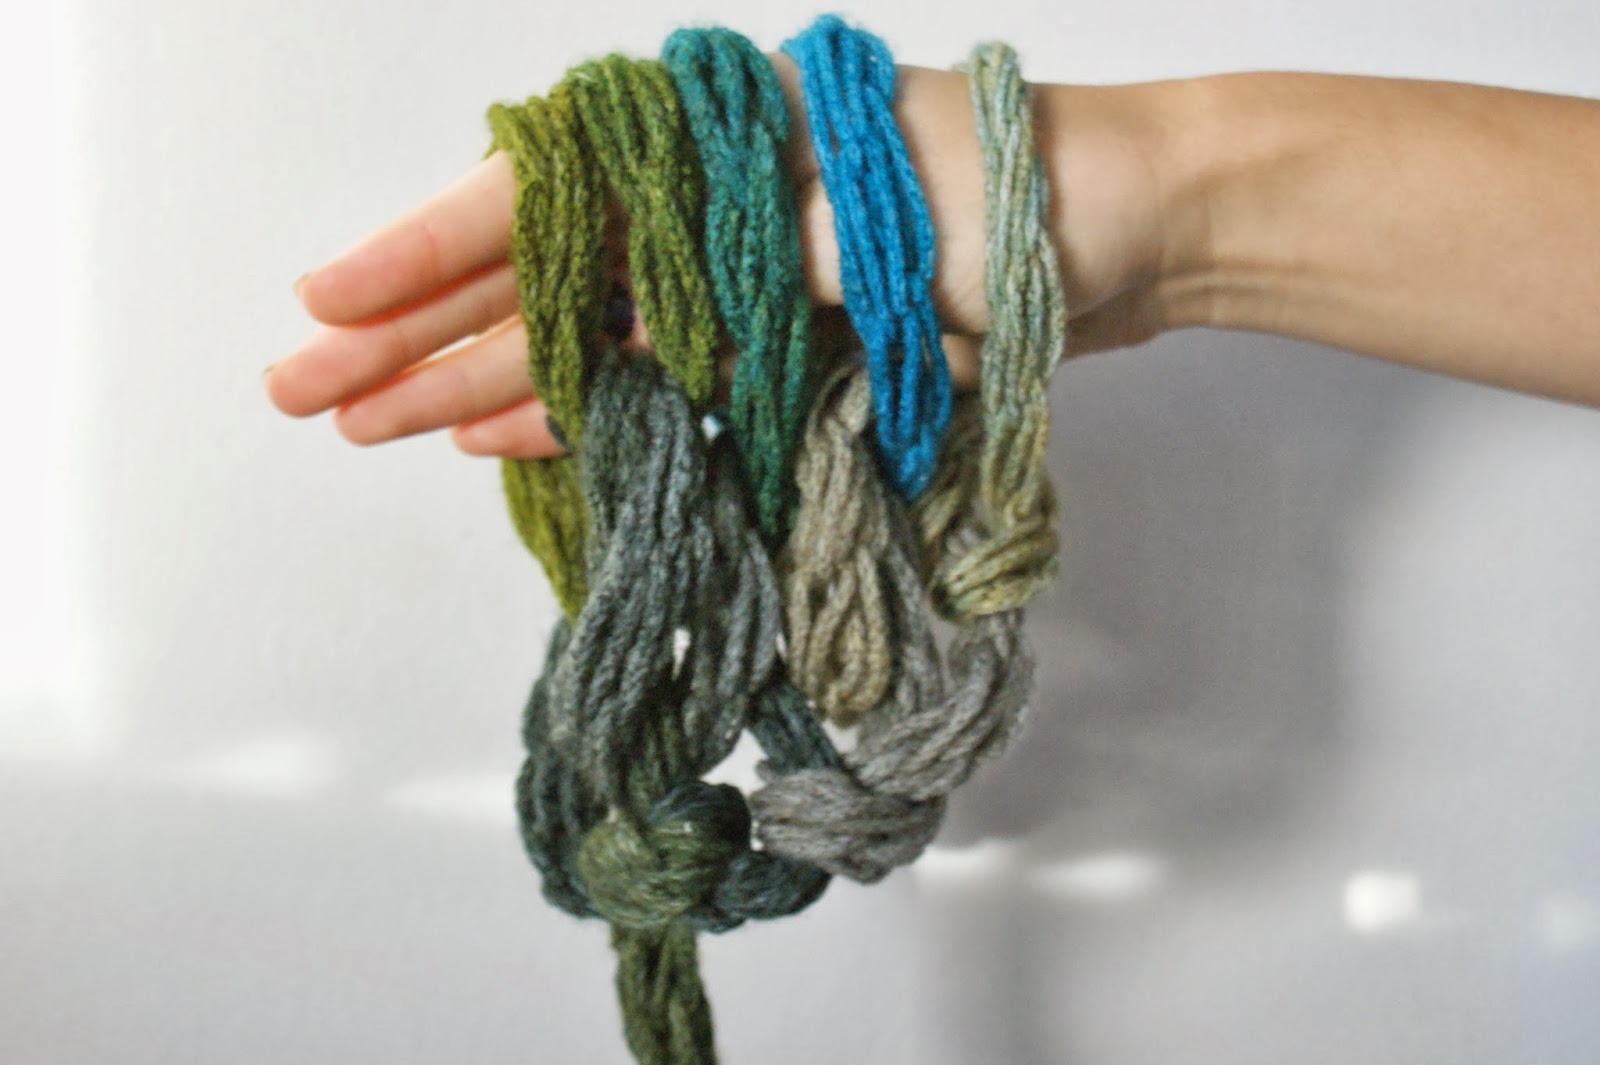
step five: repeat steps three and four until you end a row with about 3-4 feet of yarn left over. your scarf will look something like this:

step six: begin the bind-off row by "knitting" your first:

and second loops:

next, begin binding off by taking the first loop (the one on the far right):

and pulling it up and over the second loop, dropping it so that only the second loop remains:
repeat this process, knitting one loop:

and pulling the previous loop over it:

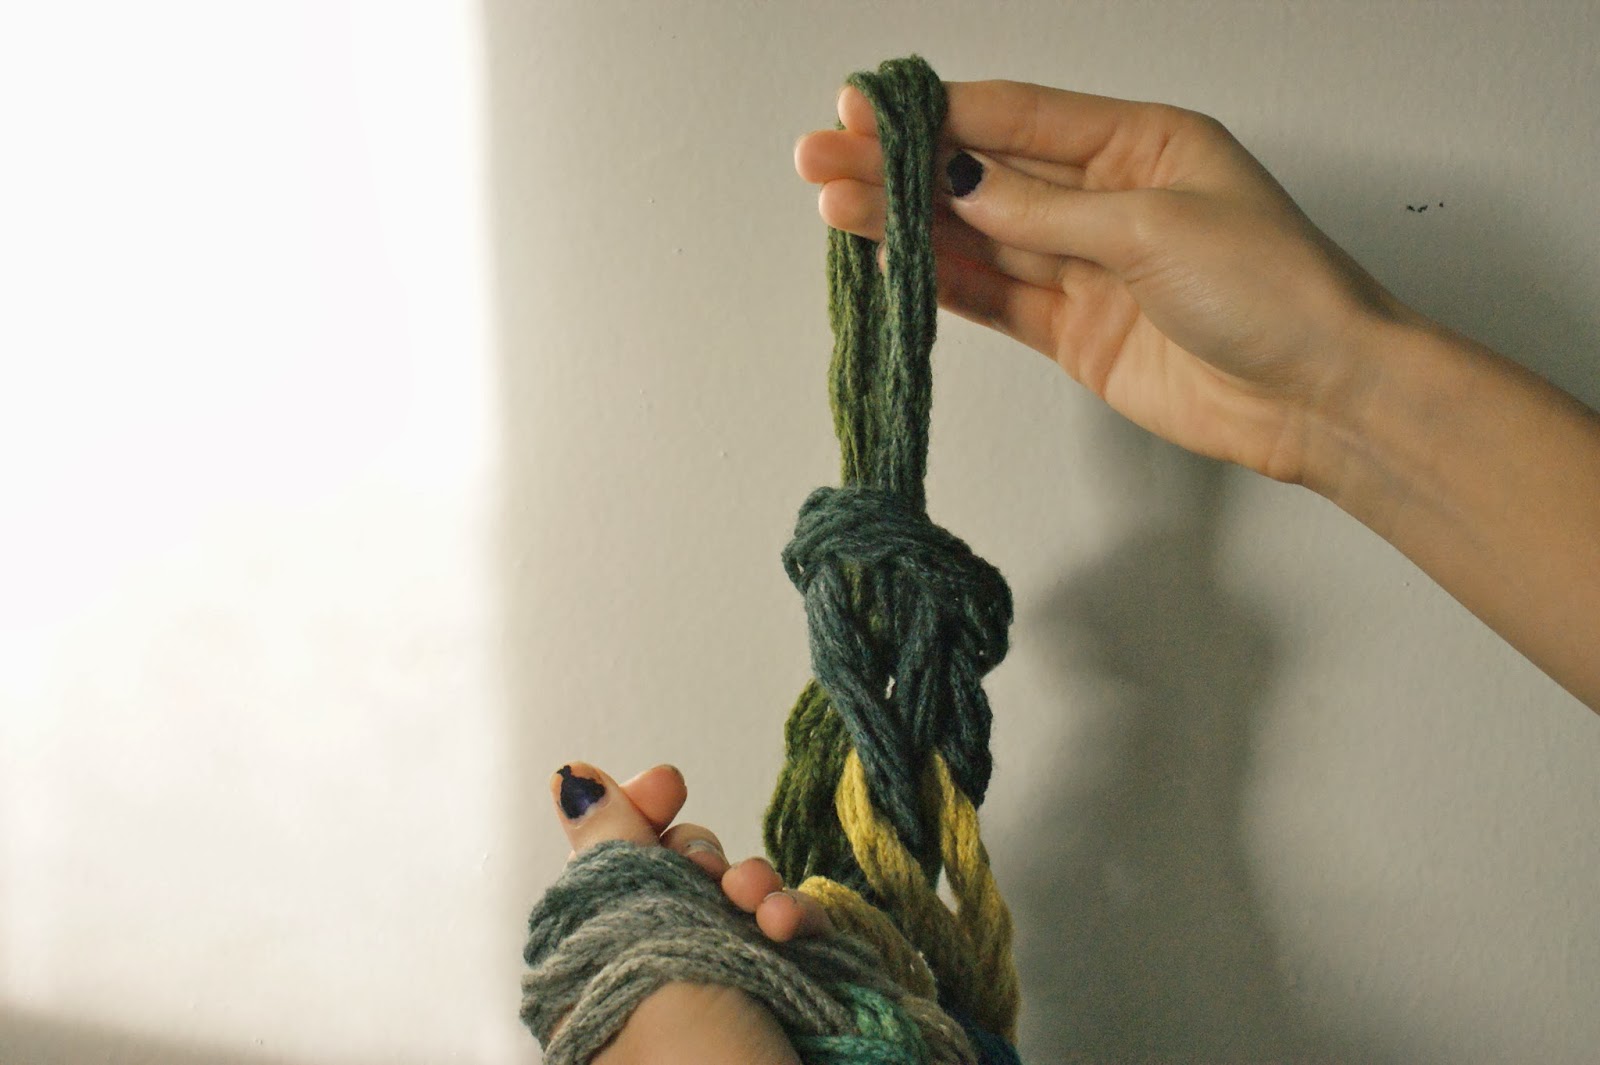
until you only have one loop left:

and pull the last of your yarn through this last loop, forming a knot and the end of your bound off edge:

step seven: finish your scarf by first tucking the tail left from your bind off edge back into the scarf so that its hidden:

then, using the long tail that you left in the beginning:
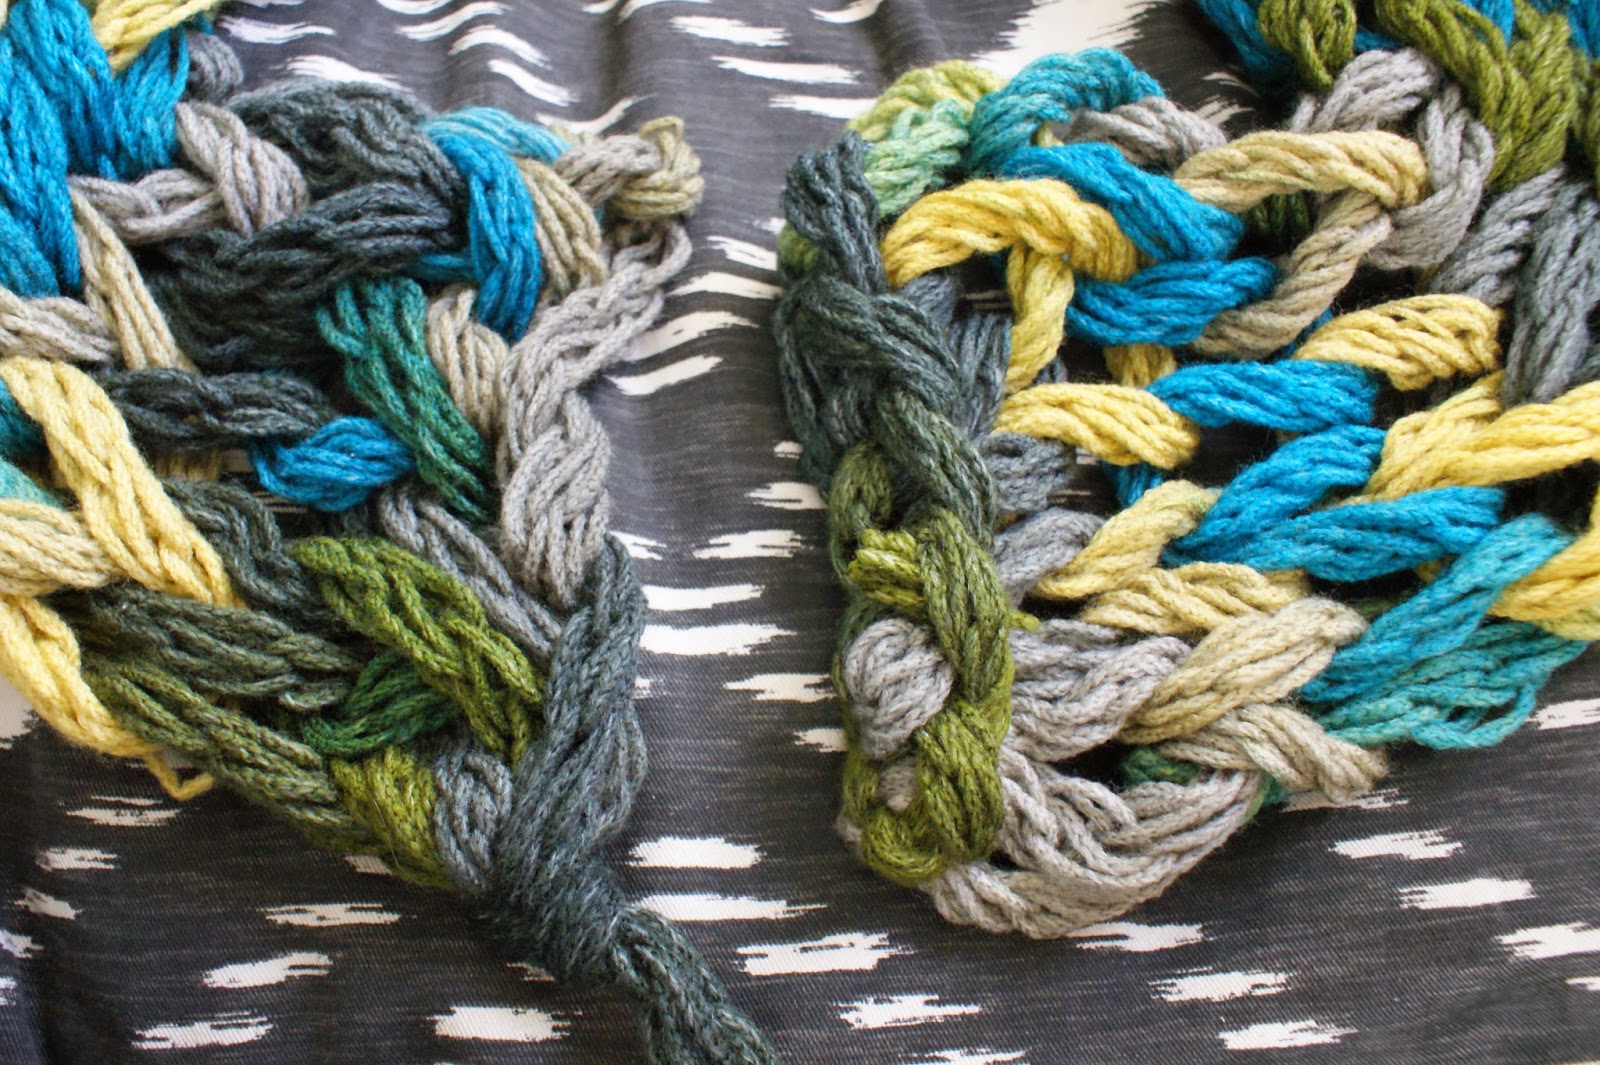
"sew" the two ends of the scarf together:

making sure to match the rows of stitches so that the edges are straight:

finally, knot the end of your seam:

and weave the last of your tail into the wrong side of the seam to hide it, trimming if necessary:

step eight: go out and show off your super cute new scarf:

and when people compliment it (which they will) you can say, "oh, this old thing? its just something simple that i whipped up one afternoon", because, its true.
hope youve enjoyed this tutorial, please PLEASE let me know if you end up using it, id LOVE to see the scarves that you make!

Thank you for sharing this version of the infinity arm knit scarf. I knitted one a few months ago but made it wider. I like yous much more, it looks so much neater. I also like the yarn you used. I haven't seen one with that type of texture before, I will definitely have to buy some to make my infinity scarf with...Thanks again!
ReplyDeleteMade one of these today and it turned out great! Thanks for the idea. Super cool. :)
ReplyDeleteMade one of these today and it turned out great! Super cool. Thanks for sharing the idea. :)
ReplyDeleteThis is really a great tutorial - very well done! I may just have to try it out with my girls :)
ReplyDeletethanks! arm-knitting would be a great craft for genessa!
ReplyDeleteAre you able to loop it around your neck twice?
ReplyDeleteyes! if you use the dash yarn there is enough to make it long enough to wrap twice, though i cant make any guarantees with any other yarns.
ReplyDelete