
today im going to show you how i made the cute little fabric buntings (pennants? banners? streamers? whats the proper term for these?) that i used for the photo backdrop at alices birthday party. last year i had made similar ones (from different fabrics, obviously) using this tutorial for alices first birthday party, but id like share it with you guys, this time with an emphasis on efficiency.
because lets be honest here, aint nobody got time to be dilly-dallying on crafts for hours and hours at a time. last years buntings took like three days for me to make. not this time. im going to show you how to make four nine-foot scalloped buntings in just a couple hours.
heres what you need:
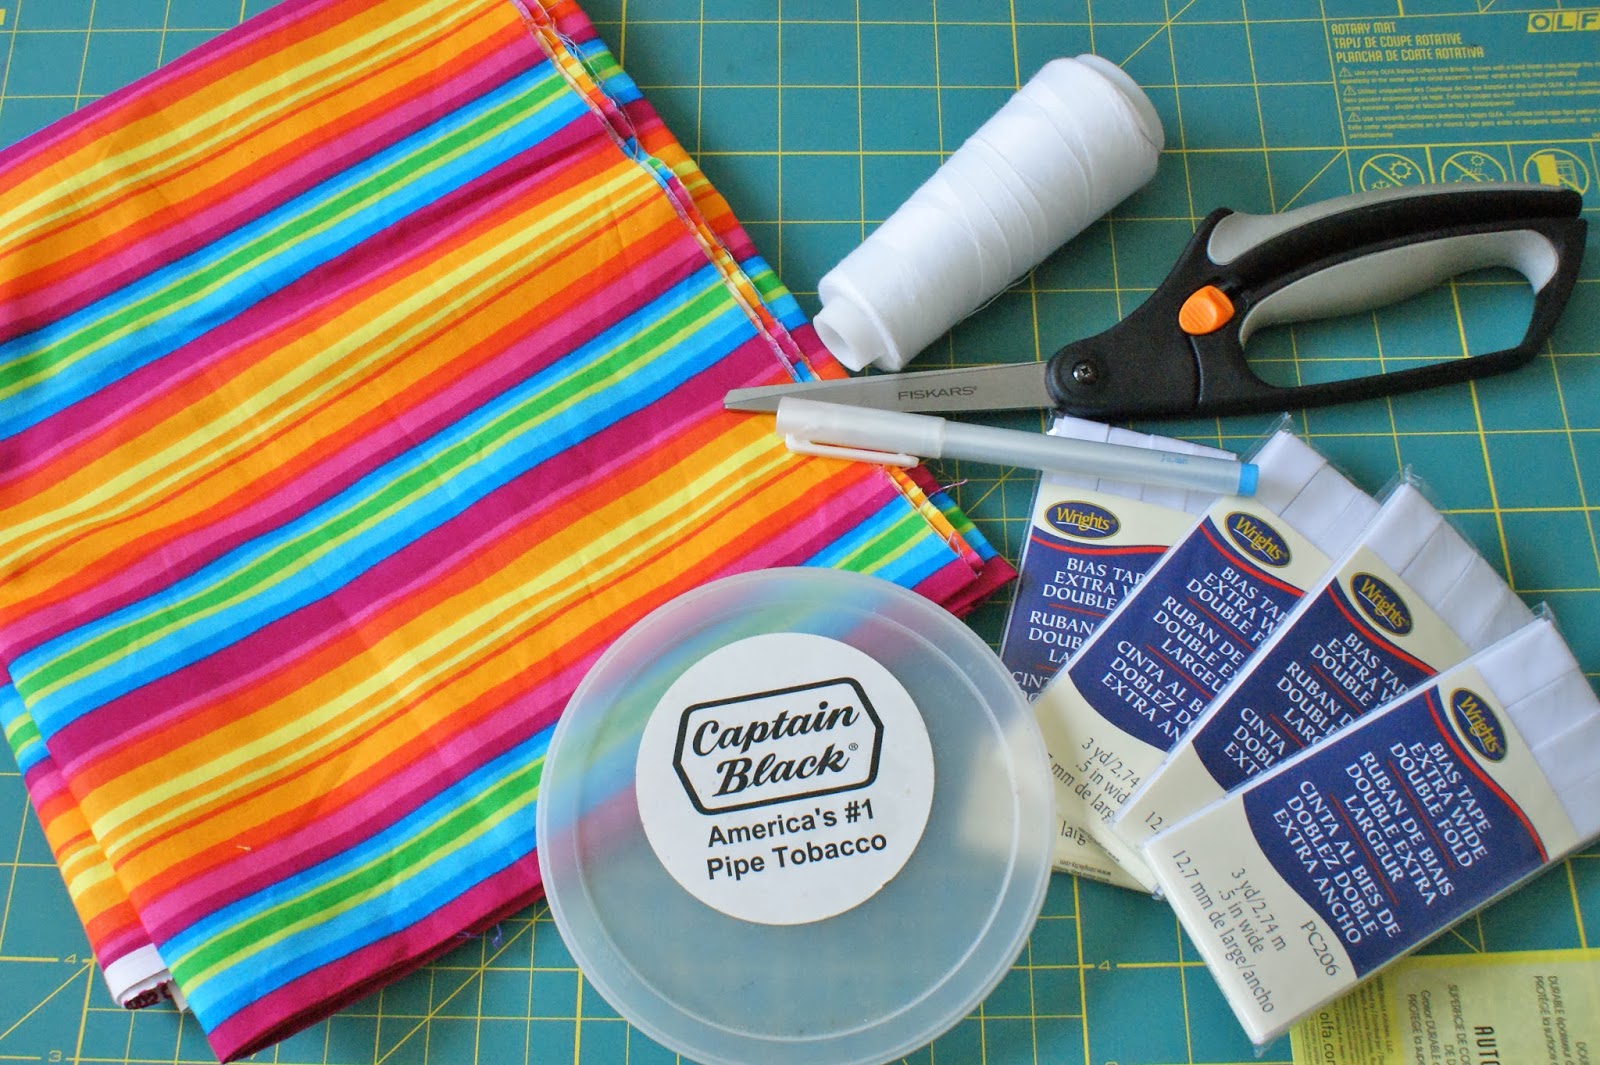
1.5 yards 45 inch wide fabric
scissors
marking pen
4 packages extra-wide double-fold bias tape
thread
5-6 inch circle template (i used the lid from a tin of pipe tobacco that was about 5.5 inches in diameter because thats what i had on hand)
iron and ironing board (not pictured)
pins (not pictured)
sewing machine (not pictured)
heres what you do:
step 1: start by ironing your fabric and folding it in half widthwise (selvages together) wrong sides together, and then in half again lengthwise (cut ends together). this way we can save time by cutting our circles out four at a time.
step 2: starting at one corner of your fabric, trace your circle template with your marking pen:

and repeat, placing your next circle very close to the first:

step 3: repeat step 2 in sort of a grid pattern over your whole fabric, you should be able to fit 20 circles (actually 80, since your fabric is folded in quarters):

step 4: cut out your circles, cutting through all four layers of fabric at a time:

and stack up all your circles:

you should now have 80 fabric circles, neatly stacked and already wrong sides together. witchcraft, i tell you.
step 5: take your stack of cut circles over to your sewing machine and sew all the way around each pair of circles with a 1/4 inch or smaller seam allowance:

yes, sew all the way around, and dont worry about backstitching. trust me.
step 6: repeat 39 more times until you have 40 circles that look like this:

step 7: cut your circles in half, making sure to keep your pattern straight:

step 8: turn all your half circles right side out and iron flat:

step 9: open up all your bias tapes and iron out all the creases:

step 10: find the middle of one piece of bias tape and open it up. place one of your half-circles all the way into the back of the fold:

and pin it shut:

step 11: repeat step 10 nine more times on each side of your second scallop (for a total of 19 scallops per bunting)

step 12: starting at one end of the bias tape, sew a straight stitch very close to the open (not folded) edge:

continuing all the way down the length of the tape, making sure all your scallops are properly "sandwiched" in the bias tape:

step 13: repeat steps 10-12 with your other three pieces of tape (youll have four scallops leftover), and then youre done!
please let me know if you find this tutorial helpful, id LOVE to see what you make!


No comments:
Post a Comment